Level 3 Configuration - Macros, Modules & Configuration Documents.
To build success you need to have solid foundations.
At the heart of Simplicity is a configuration layer that is central to the success and flexibility of Simplicity. Although many systems claim to be configuration based, few truely are. The training steps set out will help you to understand and unlock the benefits in using a rich configuration based solution.
Configuration Documents
The Simplicity application suite runs on one code base accross all Simplicity implementations. So what makes one Simplicity implementation completely different from another and the modules that are accessible within an implementation comes down to configuration. The Simplicity configuration is stored within a Simplicity configuration file (E.g. Sample.soc) just like a word document saves the letter you've written in a word document (E.g. Sample.docx). These configuration documents are stored within the client database and also published to the web server running the Simplicity Assembly Info web service for the Simplicity Desktop App to use. These documents can be opened, changed, copied and quickly becomes the IP of your specific implementation.
Configuration Modules & Macros
Modules are part of Simplicity's high level scripting configuration language that are used to gain huge efficiencies and encapsulation for components you can define that make up the conceptual Simplicity modules.
Macros are part of Simplicity's high level scripting configuration language that are used to gain huge efficiencies and provide the instruction set for applying changes to a Simplicity configuration document.
If we were to put modules and macros into the context of baking a cake then a module would be a shopping list of ingredients where no particular brand for the ingredients you could use and a macro is the set of instruction to make the cake with the set of ingredients you actually purchsed for the cake.
Level 3 Configuration - Topics Index
Level 3 Configuration - Identifying Your Configuration Changes.
Steps 1 - 10
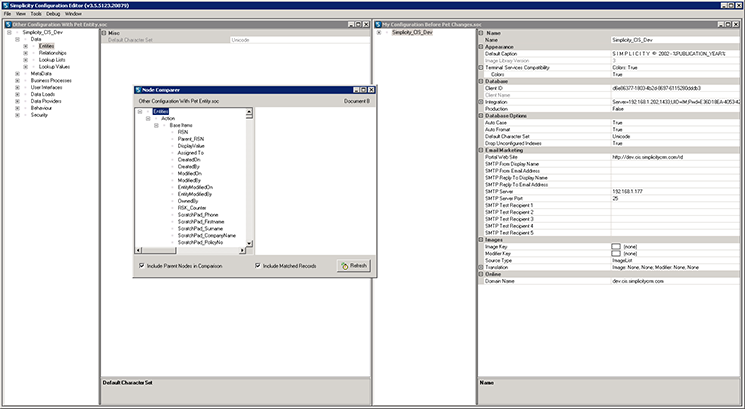
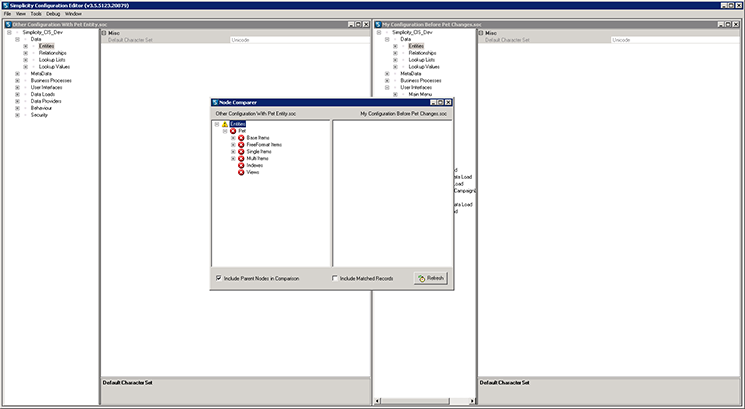
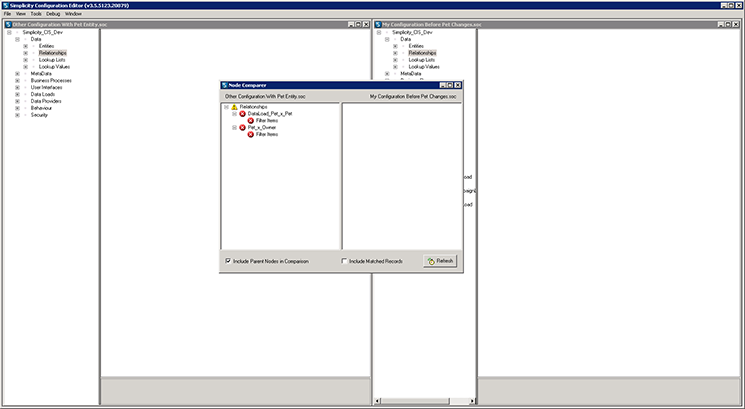
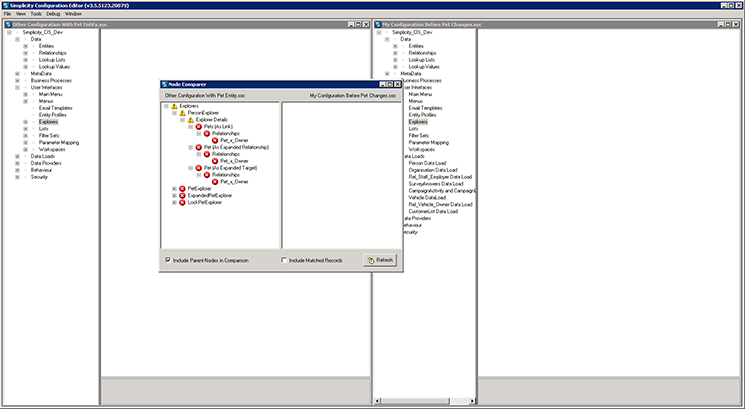
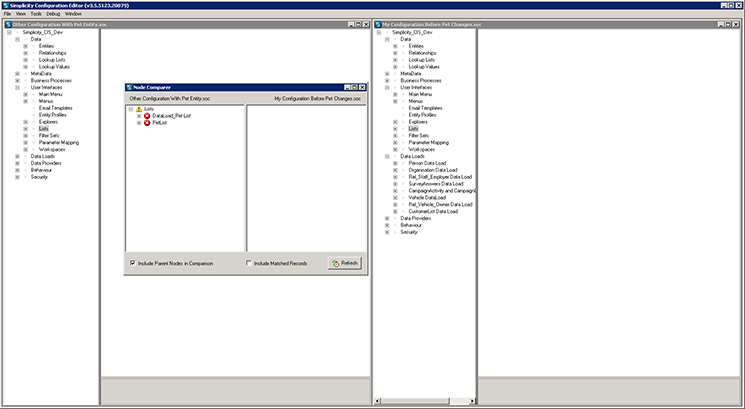
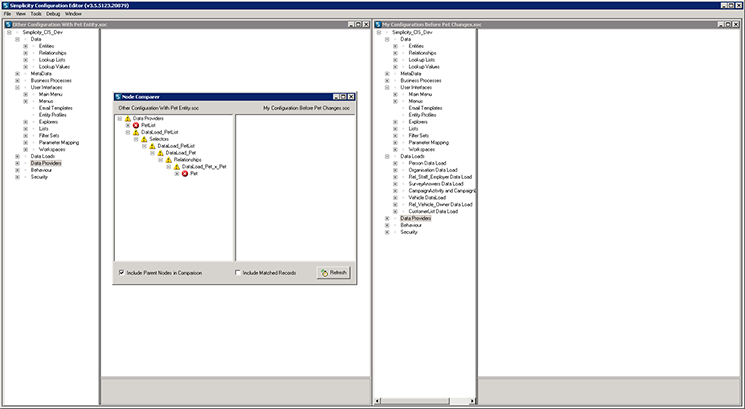
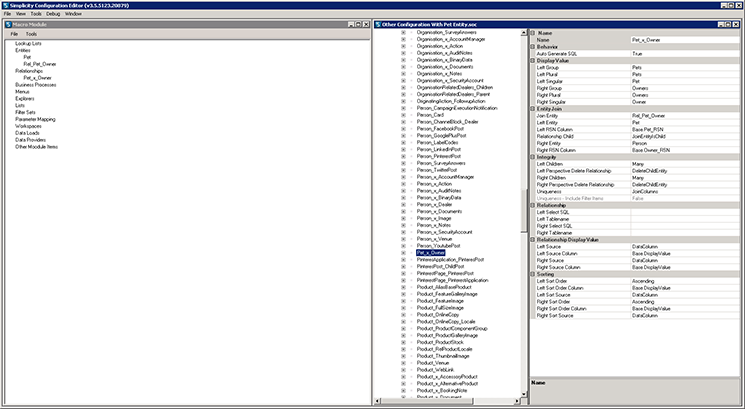
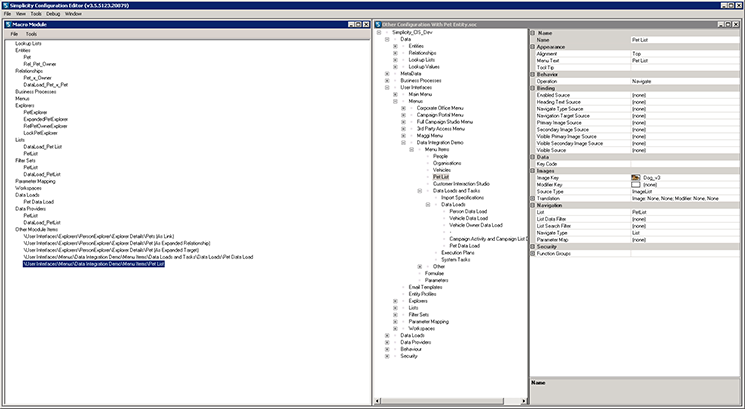
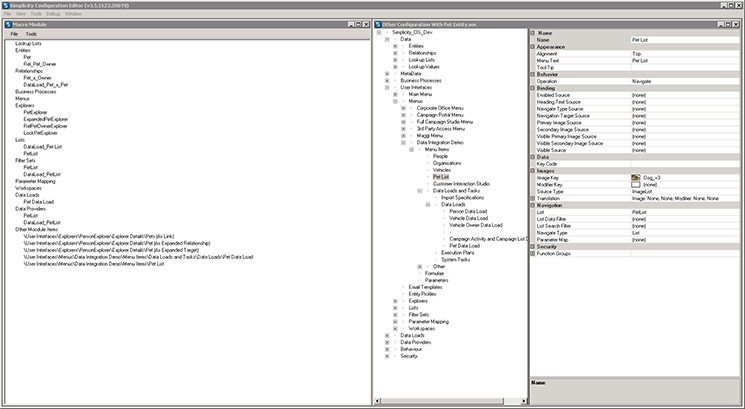
The following walk through takes you through the process of identifying your configuration changes with the node comparer tool using the example of creating a new pet entity configuration module.
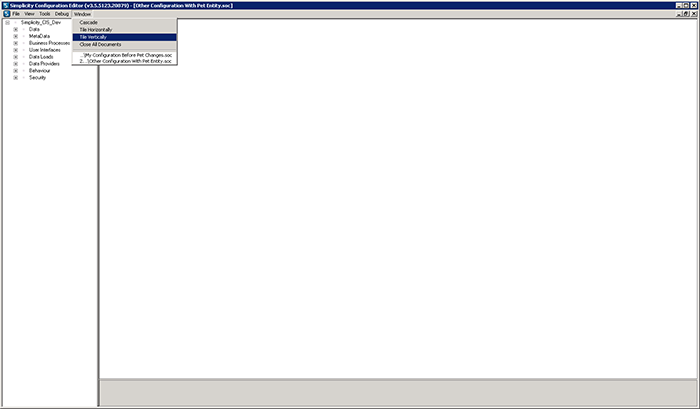
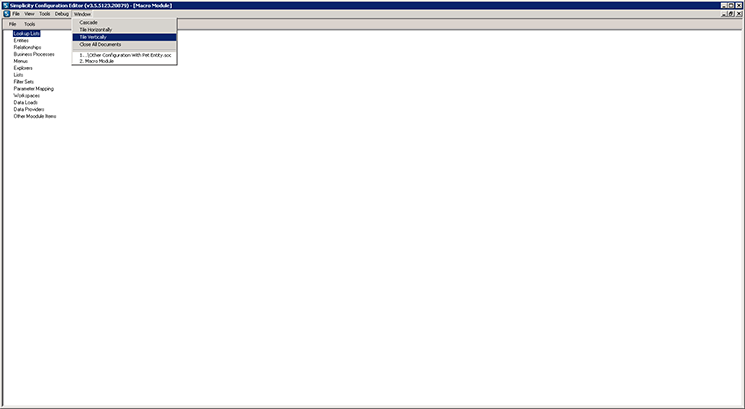
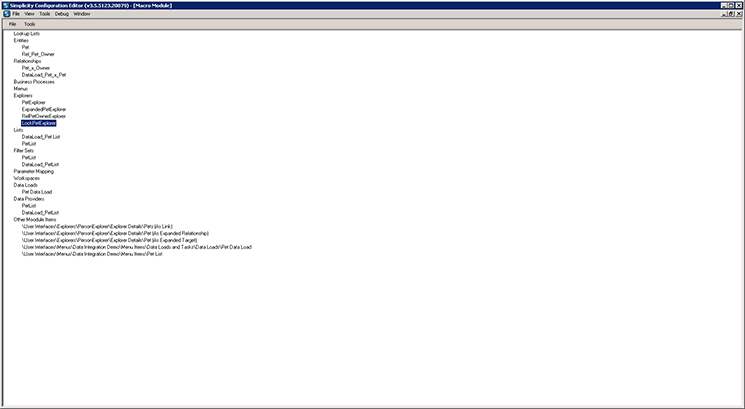
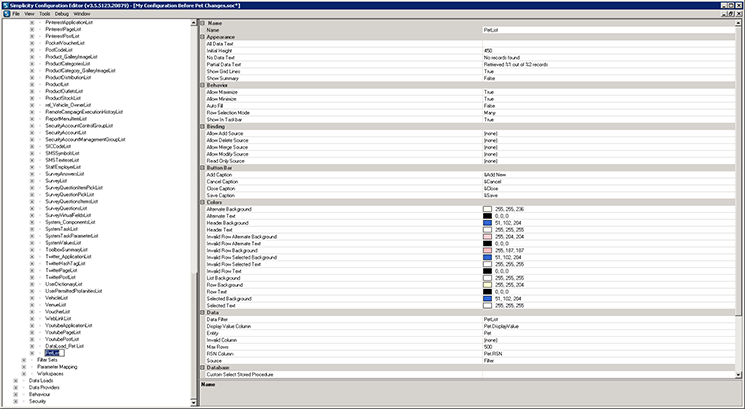
STEP 1.
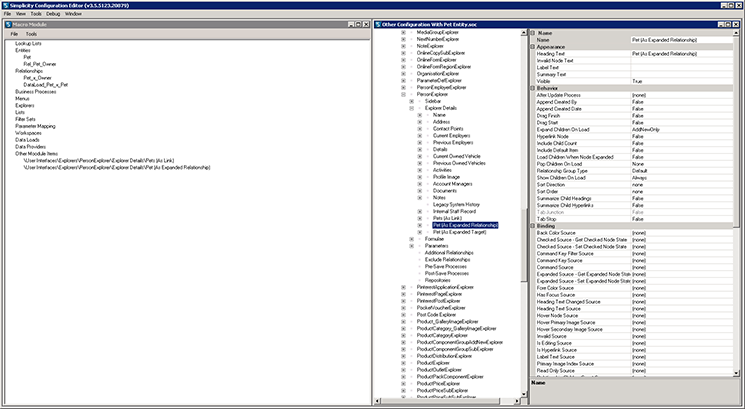
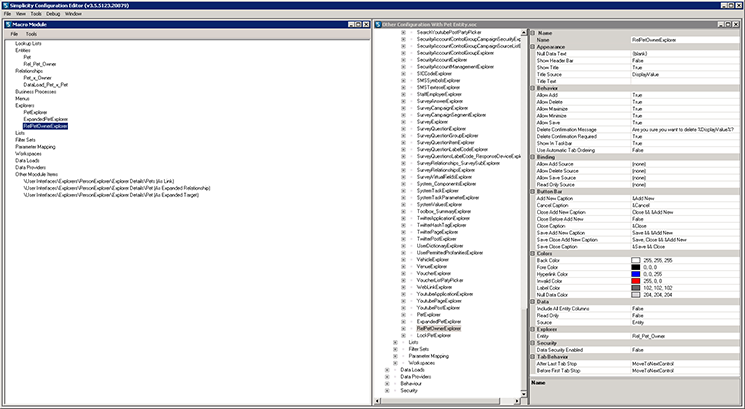
Click on the preview below to view the full image.
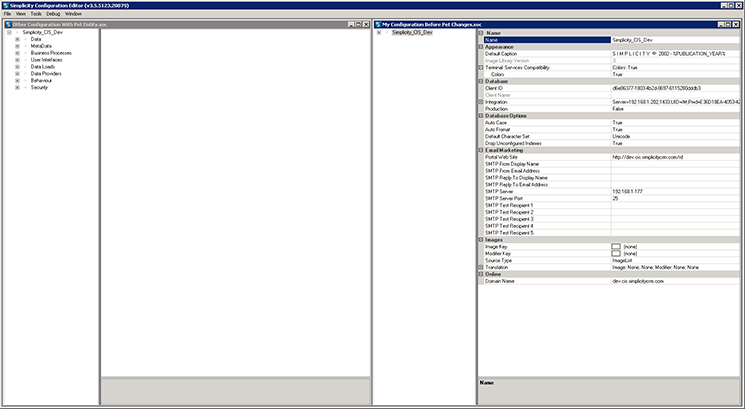
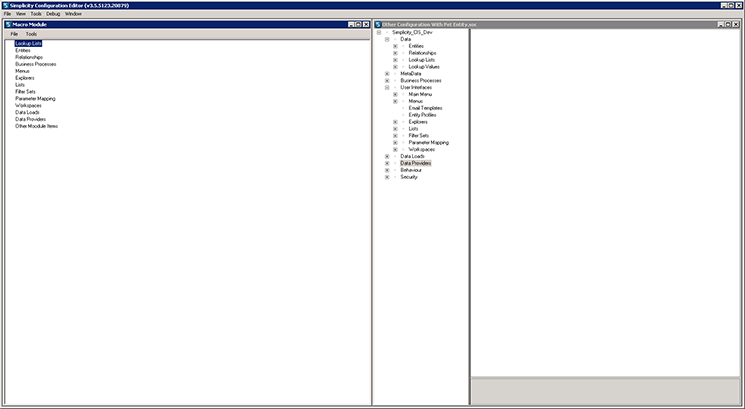
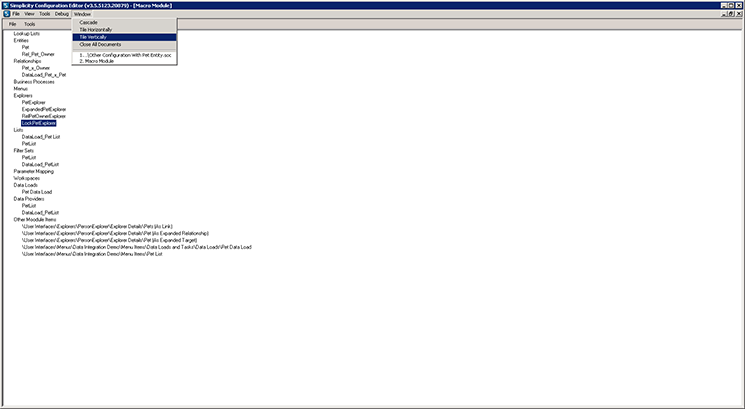
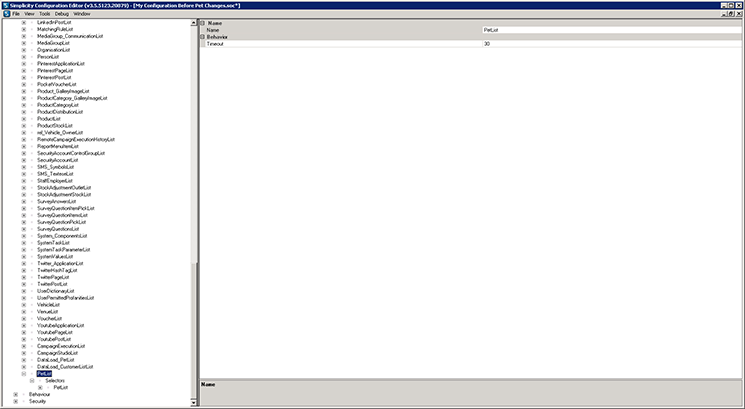
STEP 2.
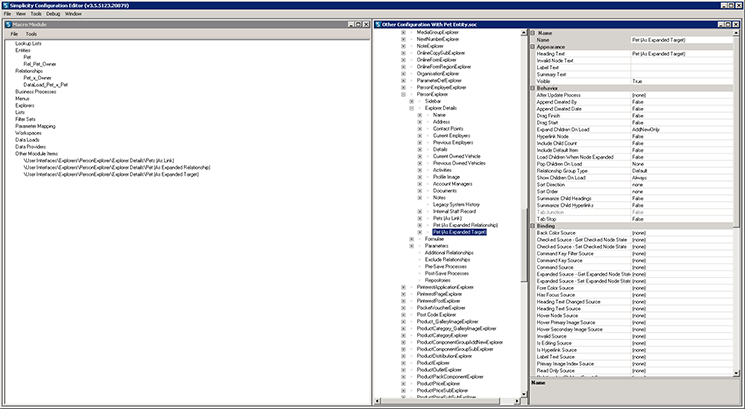
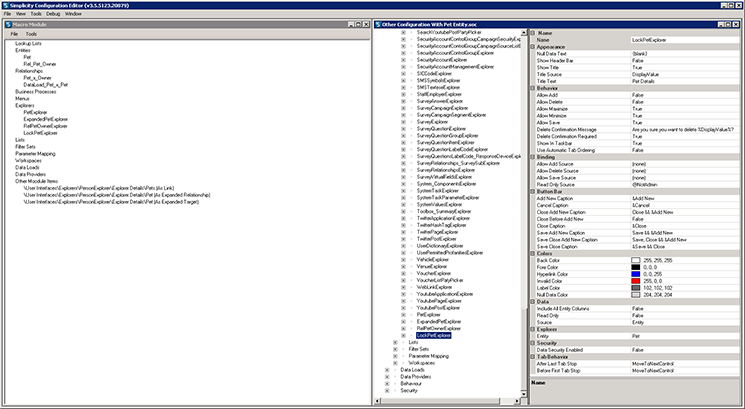
Click on the preview below to view the full image.
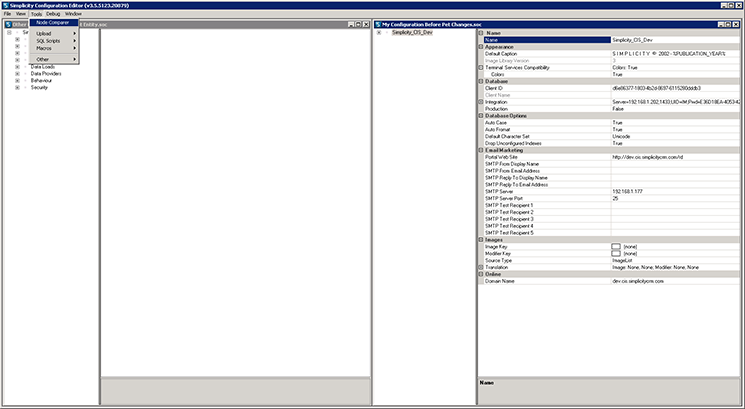
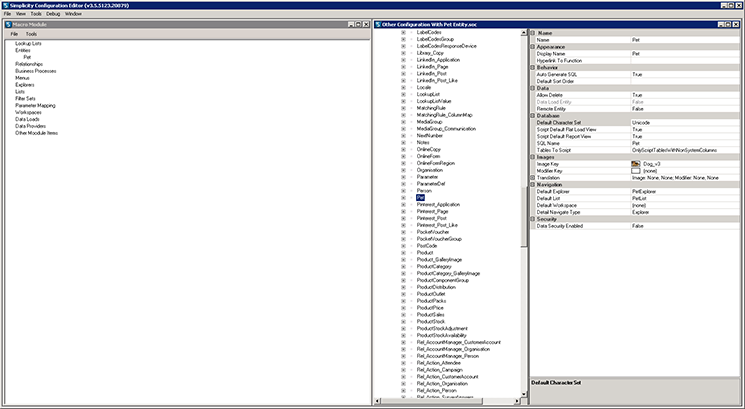
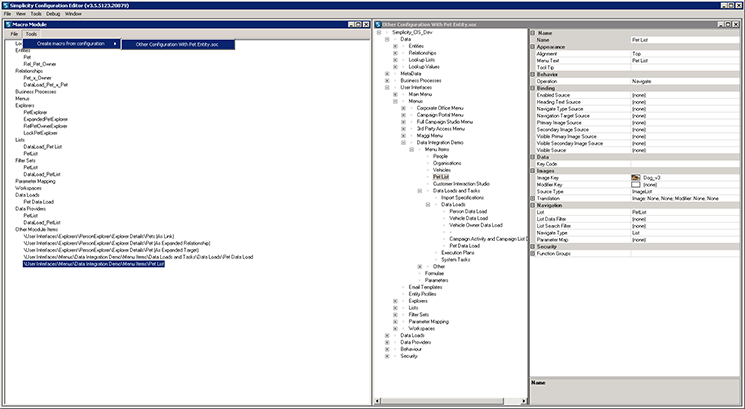
STEP 3.
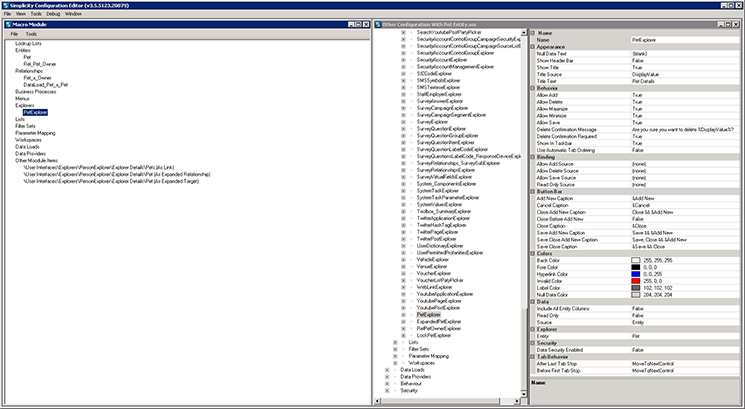
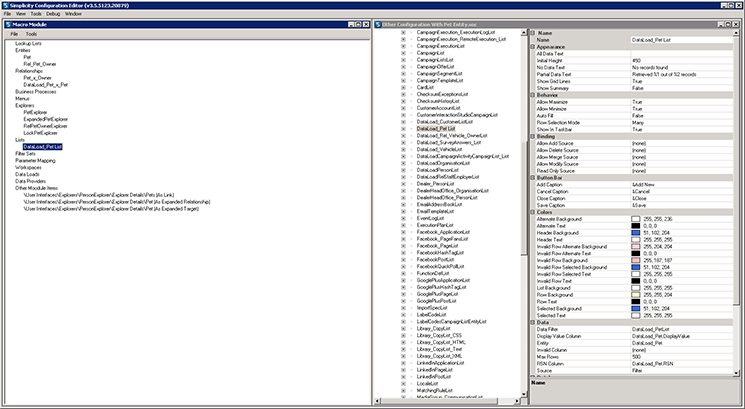
Click on the preview below to view the full image.
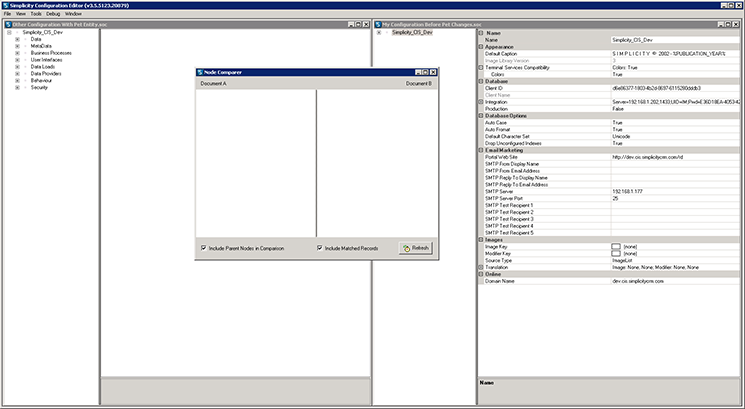
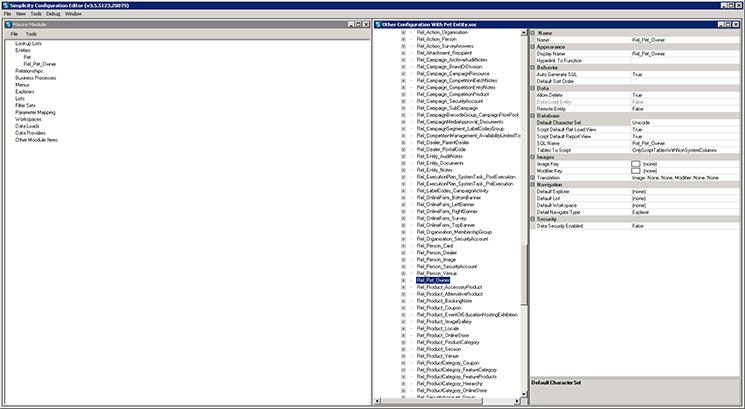
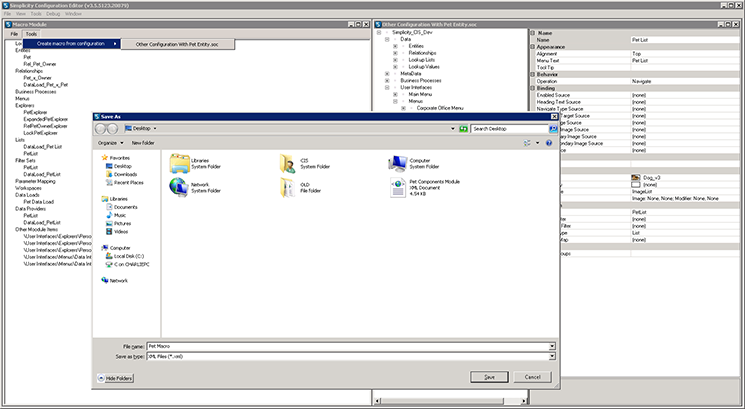
STEP 4.
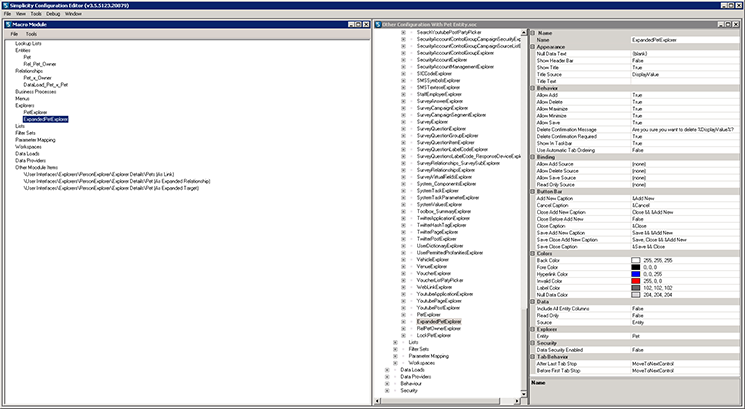
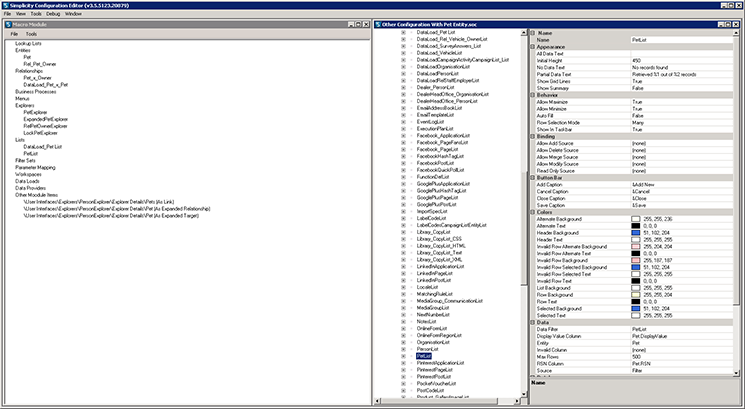
Click on the preview below to view the full image.
STEP 5.
Click on the preview below to view the full image.
STEP 6.
Click on the preview below to view the full image.
STEP 7.
Click on the preview below to view the full image.
STEP 8.
Click on the preview below to view the full image.
STEP 9.
Click on the preview below to view the full image.
STEP 10.
Click on the preview below to view the full image.
Back to Topics Index.
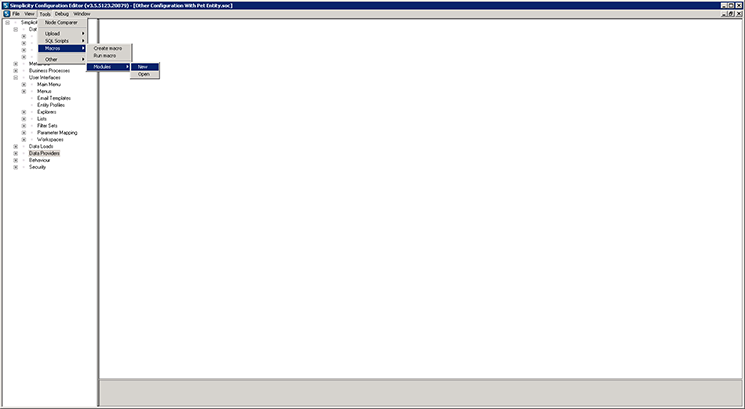
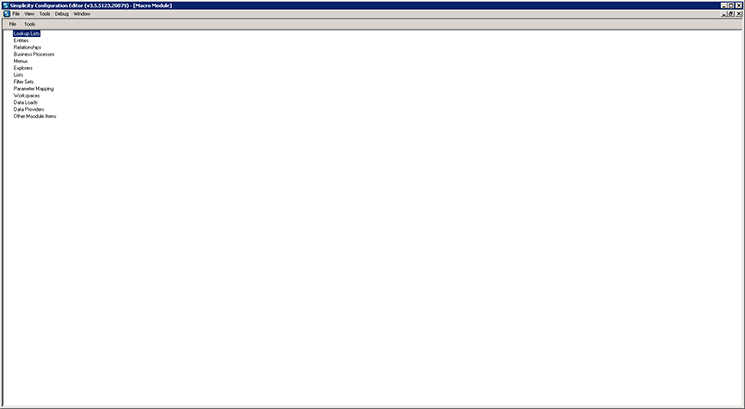
Level 3 Configuration - Creating Your Configuration Module.
Steps 11 - 38
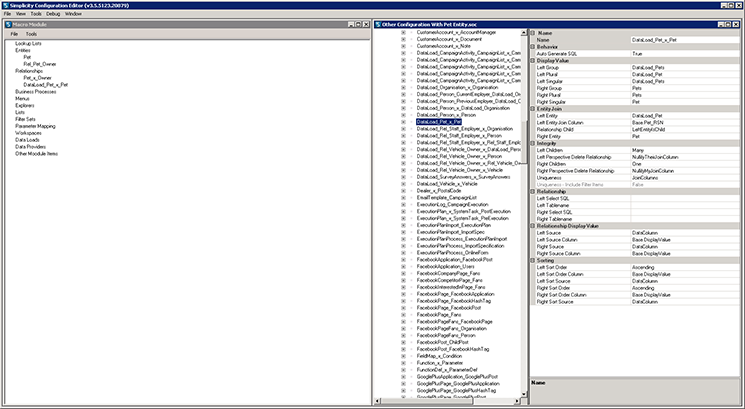
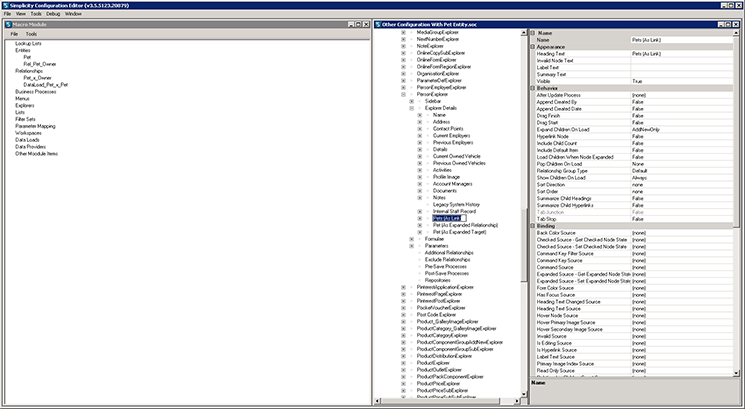
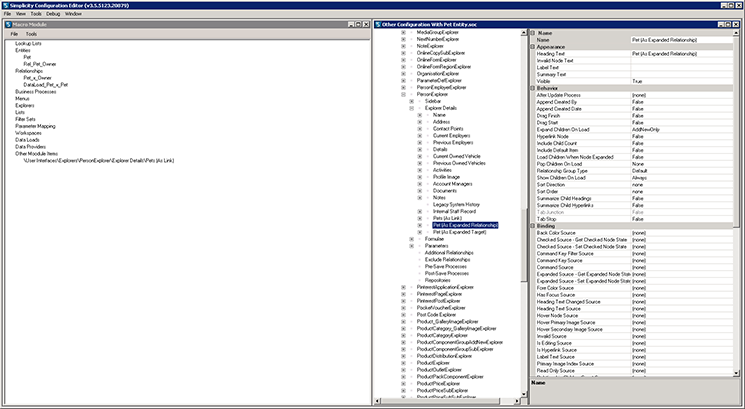
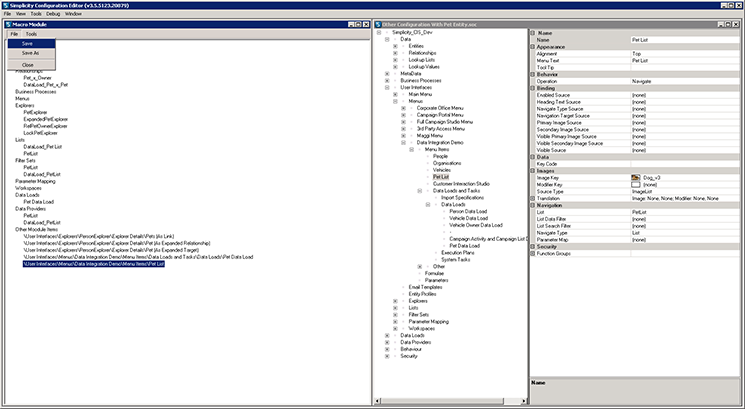
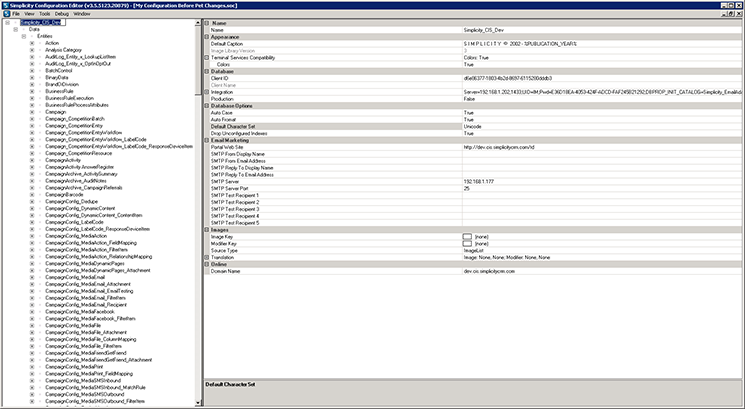
The following walk through takes you through the process of creating your configuration module using the example of identified pet entity configuration changes from steps 1 - 10.
STEP 11.
Click on the preview below to view the full image.
STEP 12.
Click on the preview below to view the full image.
STEP 13.
Click on the preview below to view the full image.
STEP 14.
Click on the preview below to view the full image.
STEP 15.
Click on the preview below to view the full image.
STEP 16.
Click on the preview below to view the full image.

STEP 17.
Click on the preview below to view the full image.
STEP 18.
Click on the preview below to view the full image.
STEP 19.
Click on the preview below to view the full image.
STEP 20.
Click on the preview below to view the full image.
STEP 21.
Click on the preview below to view the full image.
STEP 22.
Click on the preview below to view the full image.
STEP 23.
Click on the preview below to view the full image.
STEP 24.
Click on the preview below to view the full image.

STEP 25.
Click on the preview below to view the full image.
STEP 26.
Click on the preview below to view the full image.
STEP 27.
Click on the preview below to view the full image.
STEP 28.
Click on the preview below to view the full image.
STEP 29.
Click on the preview below to view the full image.
STEP 30.
Click on the preview below to view the full image.
STEP 31.
Click on the preview below to view the full image.

STEP 32.
Click on the preview below to view the full image.
STEP 33.
Click on the preview below to view the full image.

STEP 34.
Click on the preview below to view the full image.
STEP 35.
Click on the preview below to view the full image.
STEP 36.
Click on the preview below to view the full image.
STEP 37.
Click on the preview below to view the full image.
STEP 38.
Click on the preview below to view the full image.
Back to Topics Index.
Level 3 Configuration - Creating Your Configuration Macro.
Steps 39 - 47
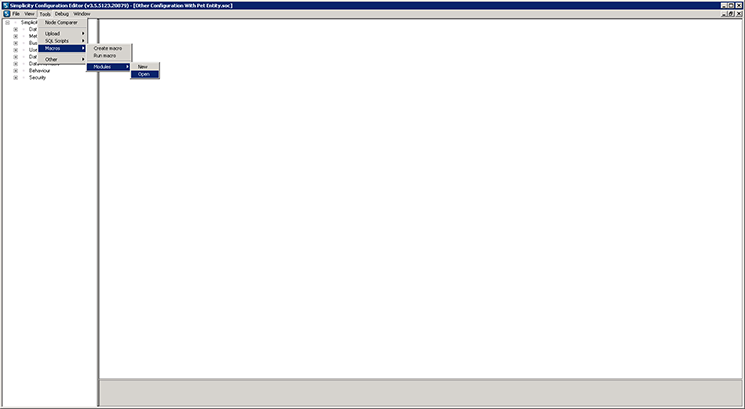
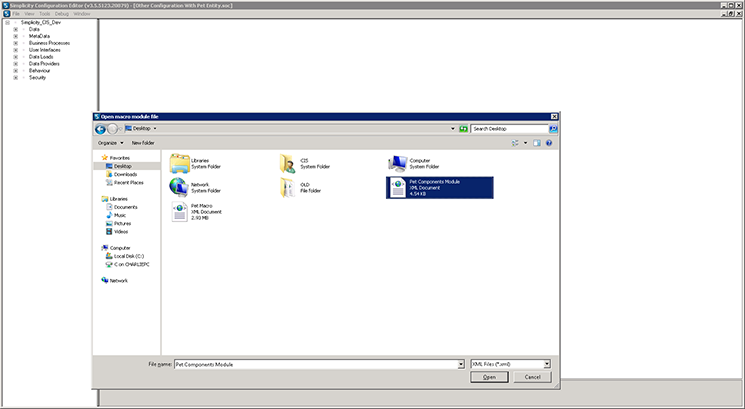
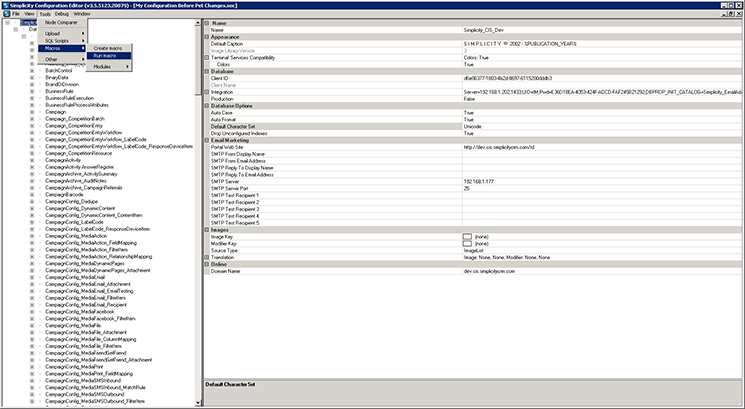
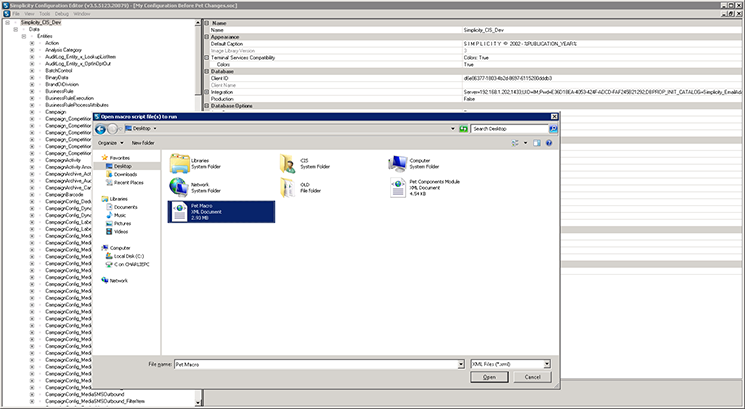
The following walk through takes you through the process of creating your configuration macro using the example of your new pet module created from steps 11 - 38 using the configuration file containing the example pet configuration changes.
STEP 39.
Click on the preview below to view the full image.
STEP 40.
Click on the preview below to view the full image.
STEP 41.
Click on the preview below to view the full image.
STEP 42.
Click on the preview below to view the full image.
STEP 43.
Click on the preview below to view the full image.

STEP 44.
Click on the preview below to view the full image.

STEP 45.
Click on the preview below to view the full image.
STEP 46.
Click on the preview below to view the full image.
STEP 47.
Click on the preview below to view the full image.
Back to Topics Index.
Level 3 Configuration - Executing a Configuration Macro.
Steps 48 - 53
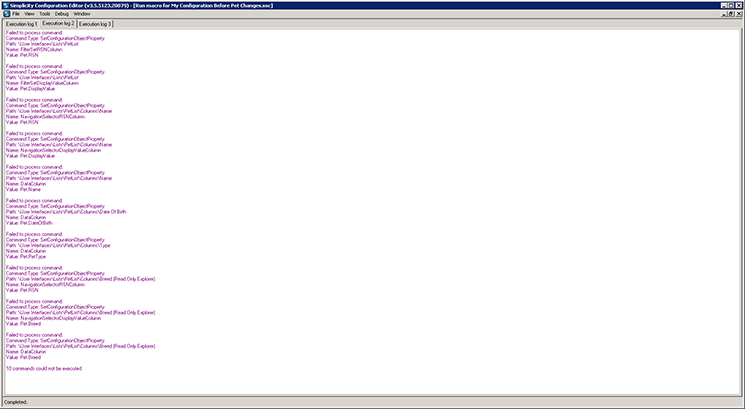
The following walk through takes you through the process of executing a configuration macro using the example of executing the new pet macro created from steps 39 - 47 against a configuration file which doesn't have pets or their associated entities configured.
STEP 48.
Click on the preview below to view the full image.
STEP 49.
Click on the preview below to view the full image.
STEP 50.
Click on the preview below to view the full image.
STEP 51.
Click on the preview below to view the full image.

STEP 52.
Click on the preview below to view the full image.
STEP 53.
Click on the preview below to view the full image.
Back to Topics Index.
Level 3 Configuration - Previewing Executed Macro Changes.
Steps 54 - 58
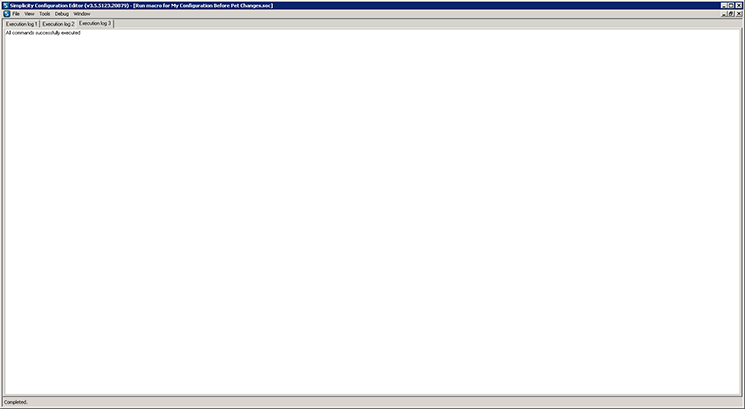
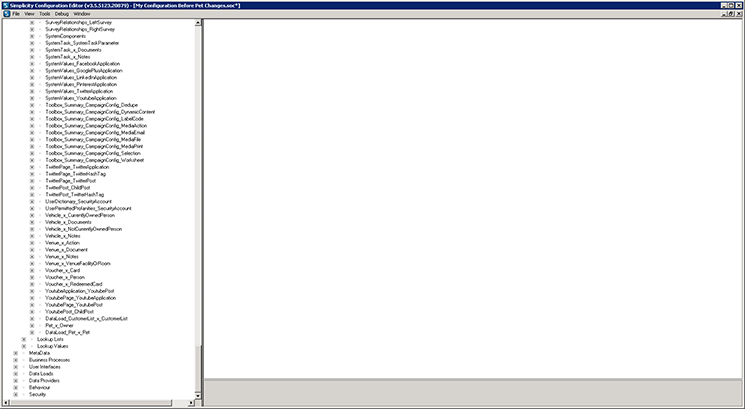
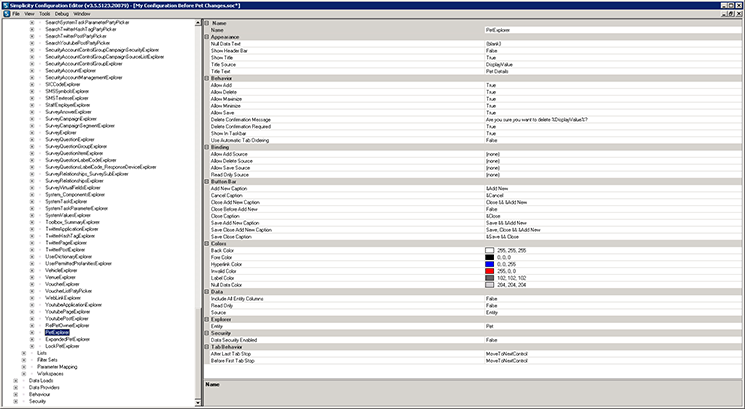
The following walk through takes you through the process of reviewing that applied changes from executing a configuration macro using the example of the pet macro created from steps 39 - 47.
STEP 54.
Click on the preview below to view the full image.

STEP 55.
Click on the preview below to view the full image.
STEP 56.
Click on the preview below to view the full image.
STEP 57.
Click on the preview below to view the full image.
STEP 58.
Click on the preview below to view the full image.
Back to Topics Index.