Executing Campaigns.
Follow steps 58 to 74 to execute a campaign.
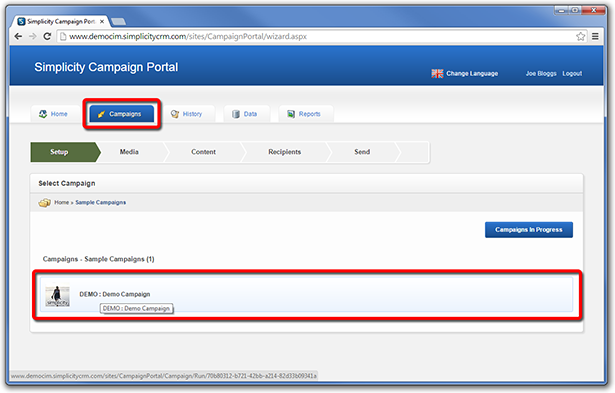
STEP 58.
To view a list of campaigns available for execution, click on the Campaigns tab. The campaigns are presented in a folder structure. The Favourites folder stores any campaigns you have previously executed and saved as a Favourite.
Click on a campaign to select it for execution.
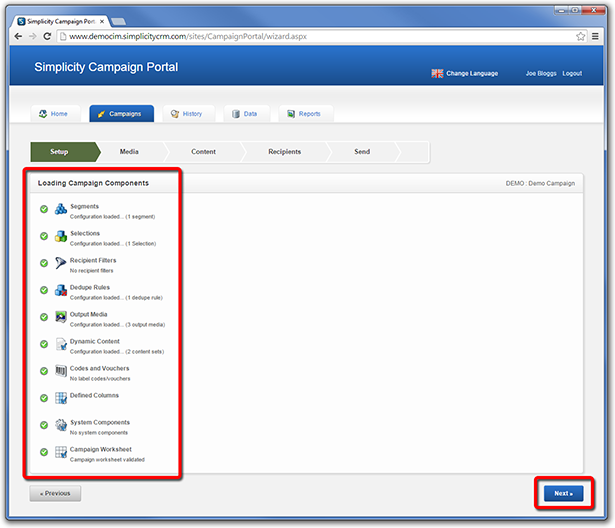
STEP 59.
The required campaign components will now be loaded from the server.
If all the components are loaded successfully, click Next.
If any of the components fail to load or load with errors, this indicates there is an issue with the campaign. The issues must be resolved before you can proceed to execute the campaign.
STEP 60.
Select the Media you wish to include in this campaign execution.
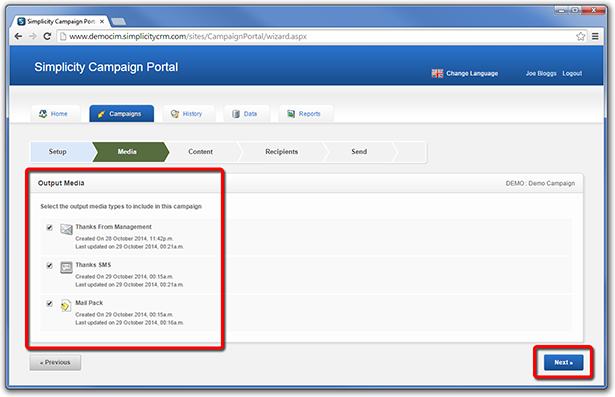
STEP 61.
Campaigns can contain multiple media types - for example email, SMS and direct mail (postal campaign) media.
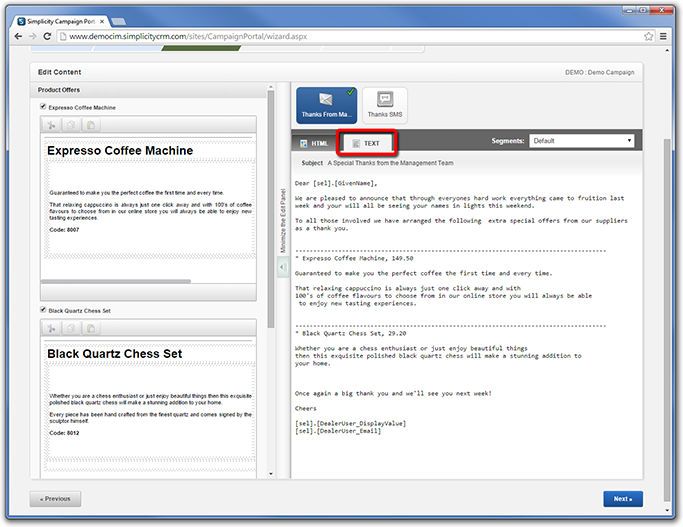
Each media type may contain editable content. Editable content is displayed on the left side. Review each editable item and make any changes you require. The changes you make will be updated directly in the Preview Pane on the right side of the screen.
Email media contains an HTML version and also a Plain Text version.

STEP 62.
For email media, you can update and preview both the HTML and Text versions.
STEP 63.
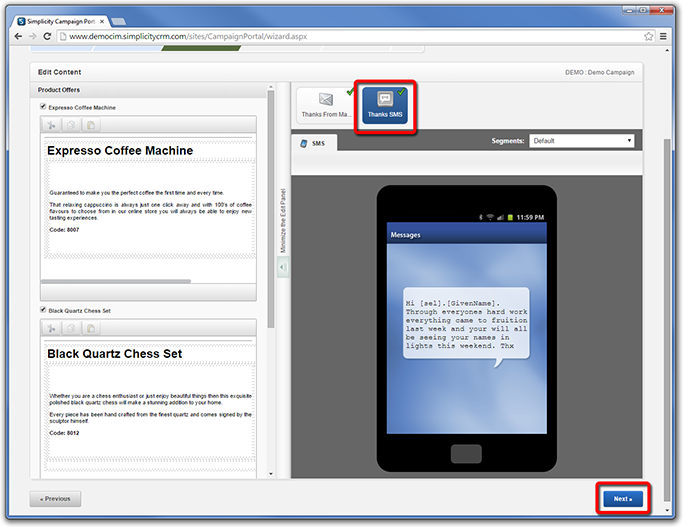
SMS Media can also contain editable content.
Once you have reviewed all media and updated the editable items, click Next.
STEP 64.
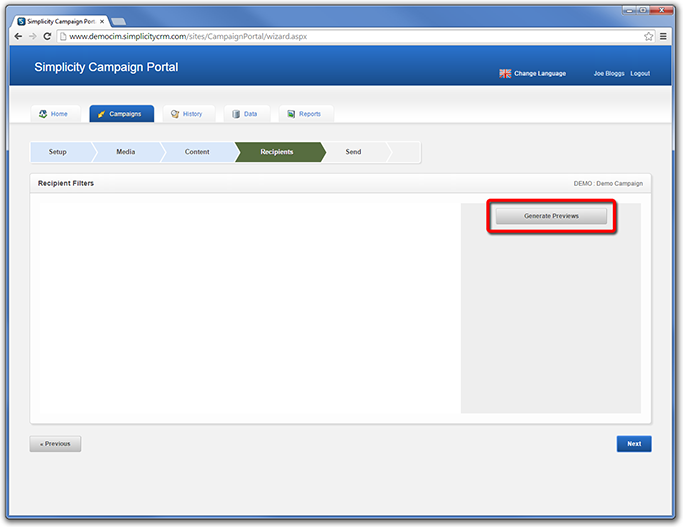
Campaigns can contain recipients filters that enable you to target the campaign to specific users.
Select any recipient filters you require and click Generate Previews to obtain a recipient count for each media type.
STEP 65.
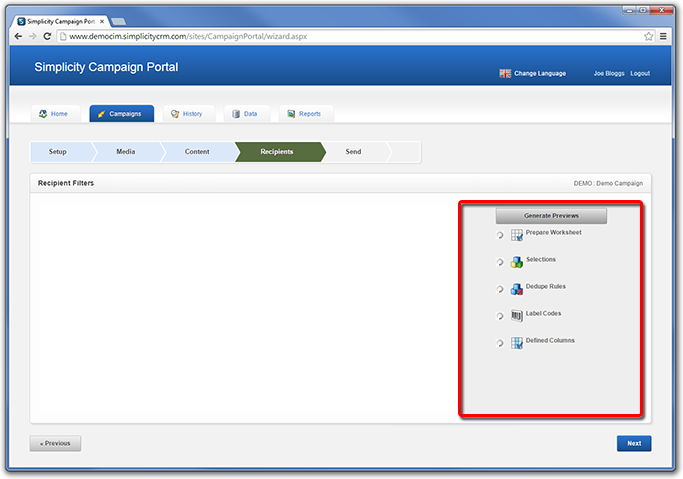
A loading screen will display while the previews are generated.
STEP 66.
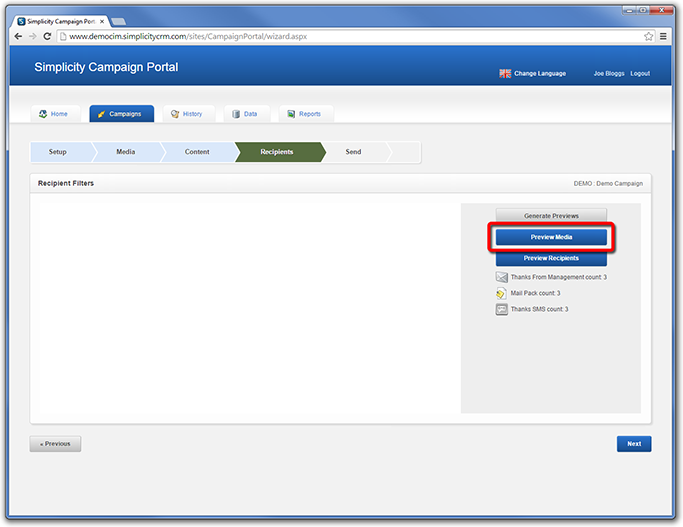
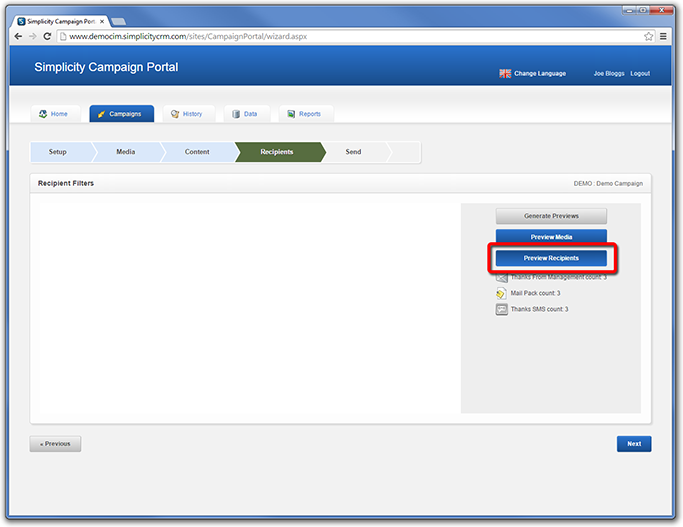
A count for each media will display.
Click Preview Media to review the campaign fully populated with data and dyanamic content selections you have made.
STEP 67.
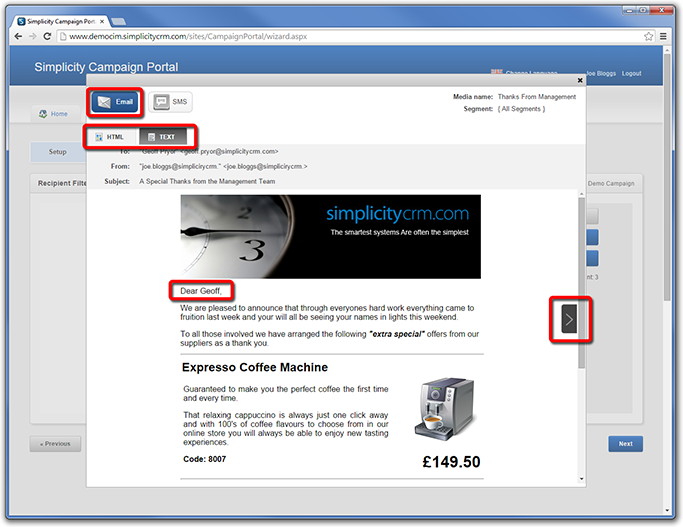
The Media Preview screen will display.
You can review each media type. For email media there is an HTML and also a Text version.
You will notice any personalisation fields are fully populated now. Click on the arrow buttons to cycle through example media previews for each recipient record.
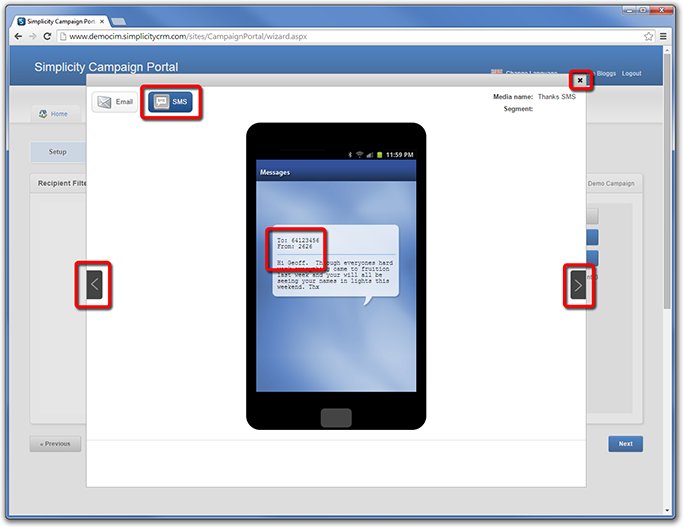
STEP 68.
You can also preview the SMS media. Click on the arrow buttons to cycle through the generated previews.
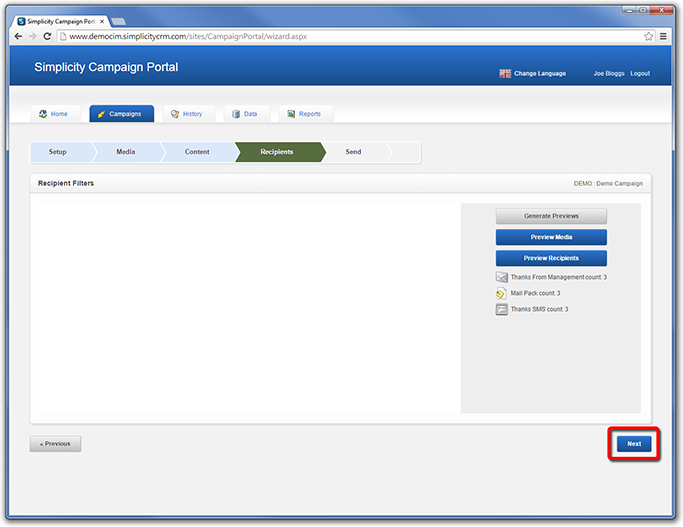
STEP 69.
Click Preview Recipients to preview a list of campaign recipients.
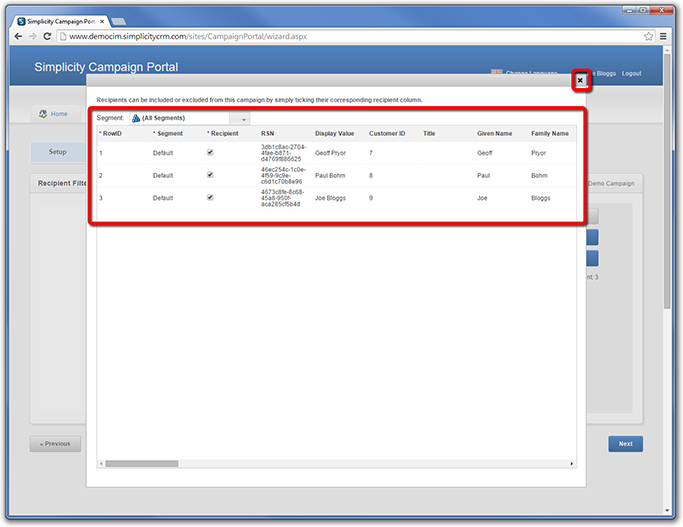
STEP 70.
A list of recipient data is displayed.
You can check or uncheck recipients manually. Only recipients with a check-mark will receive the campaign.
STEP 71.
Click Next when you are ready to proceed.
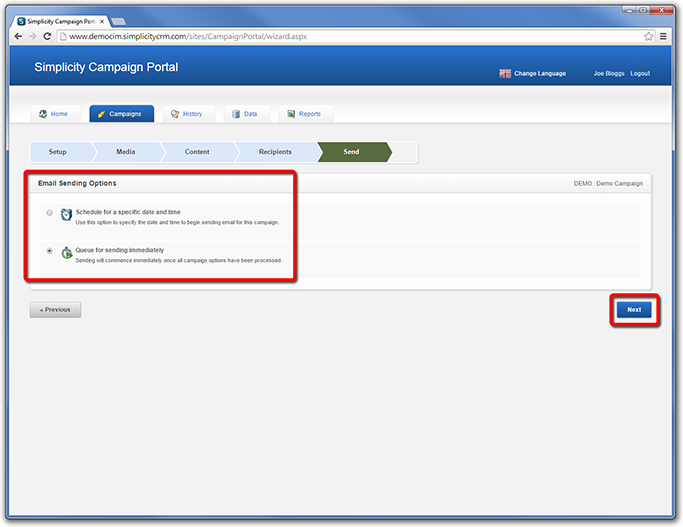
STEP 72.
You can choose whether to send Email media immediately or on a specific date and time.
You can also choose whether to send SMS media immediately or on a specific date and time.
Click Next after you have made a selection.
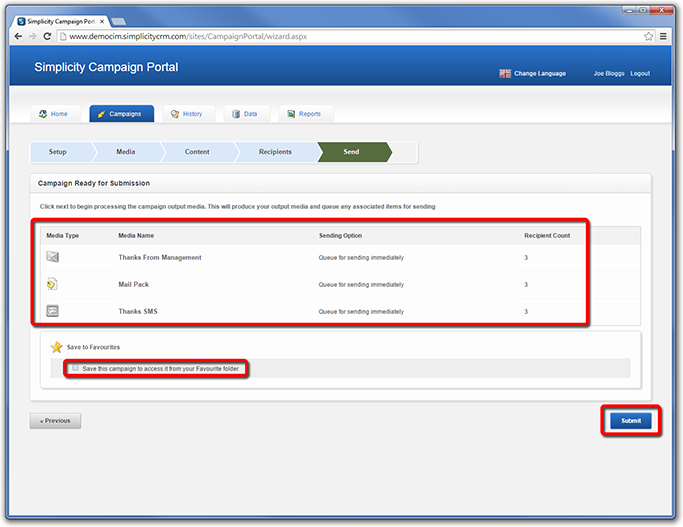
STEP 73.
A campaign summary screen is displayed.
You can Save the campaign to your favourites folder, if you plan to send the campaign again in future. This will save all of your campaign settings to make executing the campaign easier and faster.
When you are ready to submit the campaign for processing, click Submit.
STEP 74.
A confirmation page is displayed. You will also receive email notifications updating you on the status of your campaign.
