Campaign Portal - Creating New Users.
Follow the steps below to create new Campaign Portal users.
Create a new Simplicity Security Account
Campaign Portal users are required to have a Simplicity security account. If the new user does not already have a Simplicity security account, follow the create a new user guide to create one.
STEP 1.
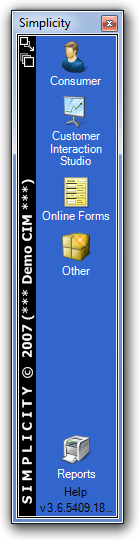
Open the Simplicity Desktop Application.

STEP 2.
Search for the consumer or person in Simplicity.
STEP 3.
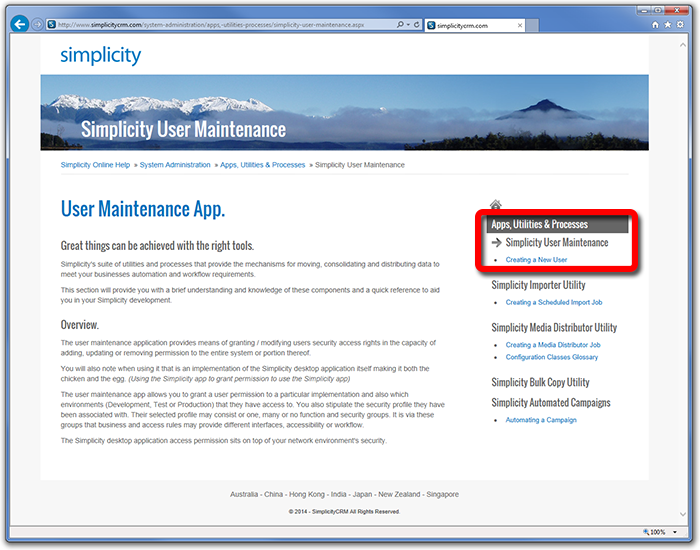
Refer to the Simplicity User Maintenance section of the online help for guidance on creating new users.
STEP 4.
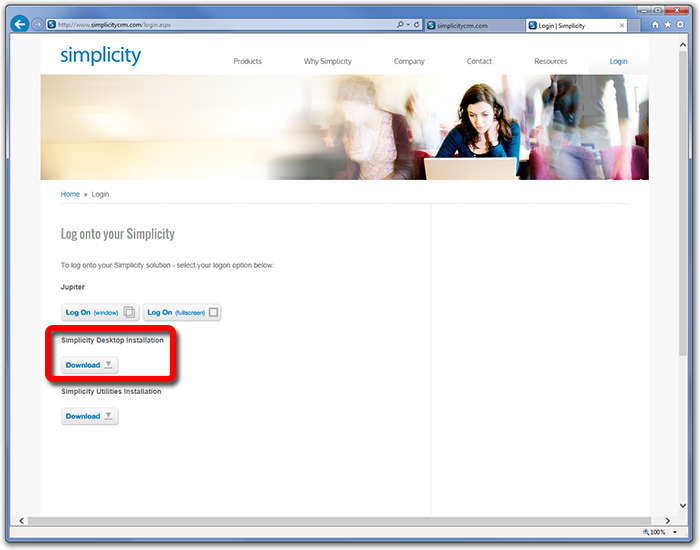
If you need to install Simplicity, visit the login page.
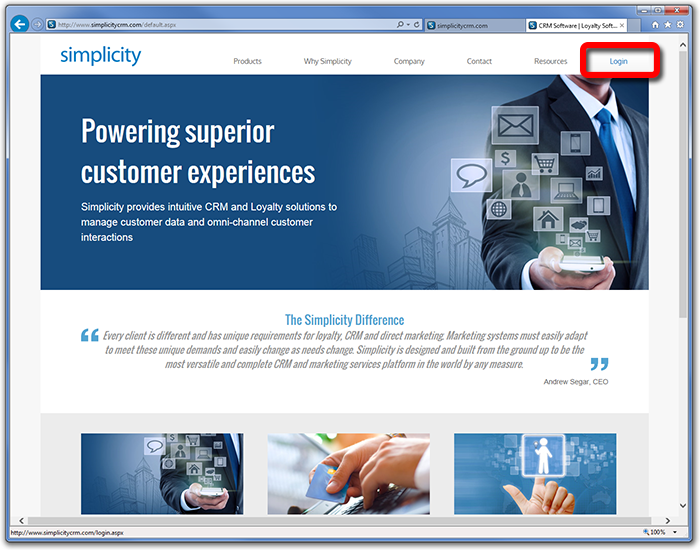
STEP 5.
Download the Simplicity Desktop Installation.
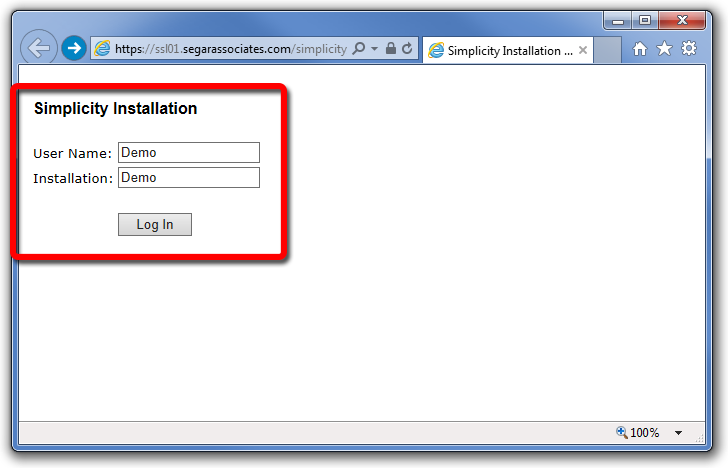
STEP 6.
Enter the authentication details provided to you.
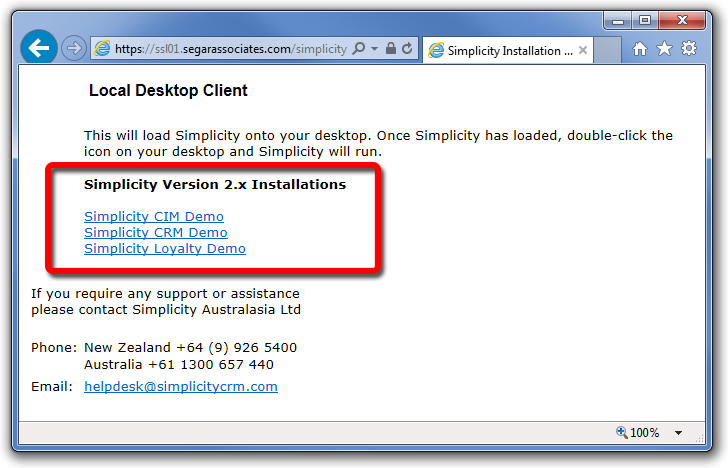
STEP 7.
Select and install the appropriate application.
Setup Campaign Portal access for the user
Once the user has a security account, follow the steps below to setup access to the Campaign Portal.
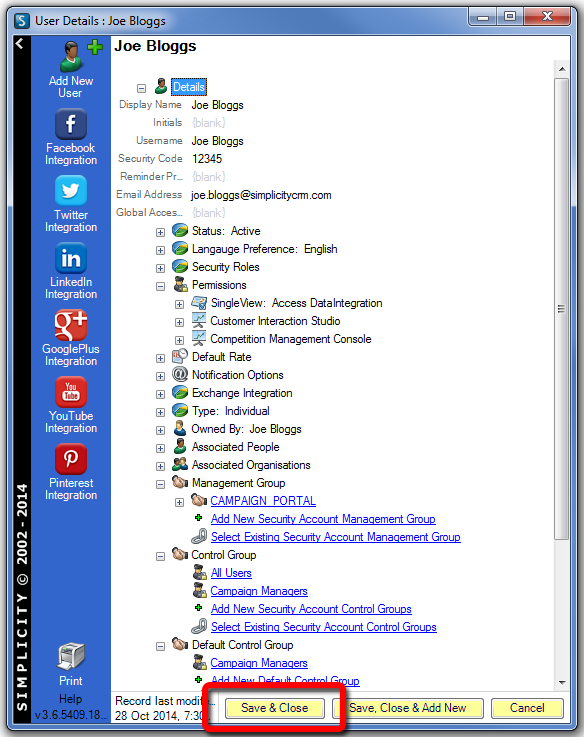
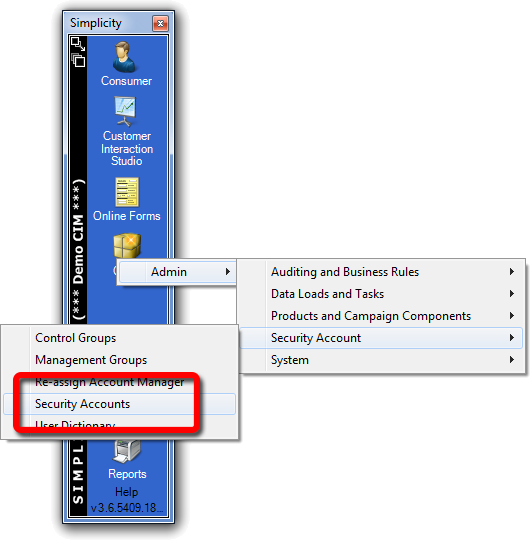
STEP 8.
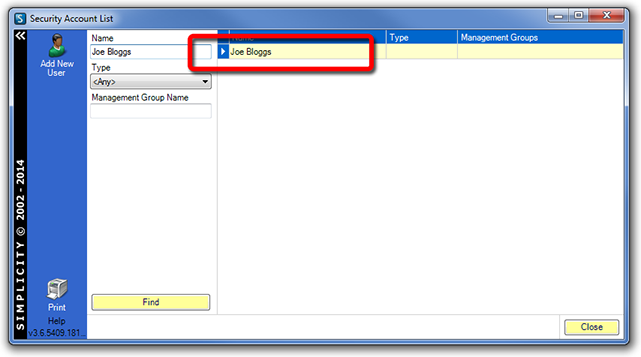
Open the Security Accounts explorer.
STEP 9.
Find and click on the appropriate account.
STEP 10.
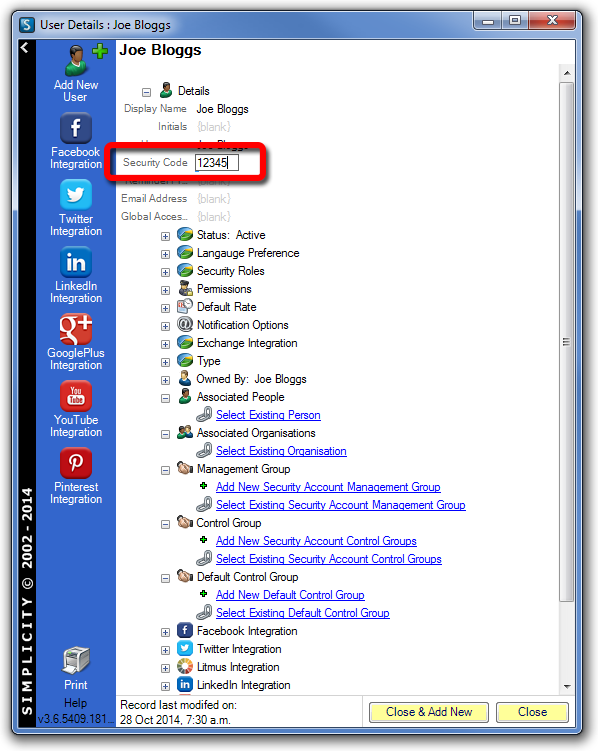
Update the Security Code field. This is the password the user will use in the Campaign Portal.
STEP 11.
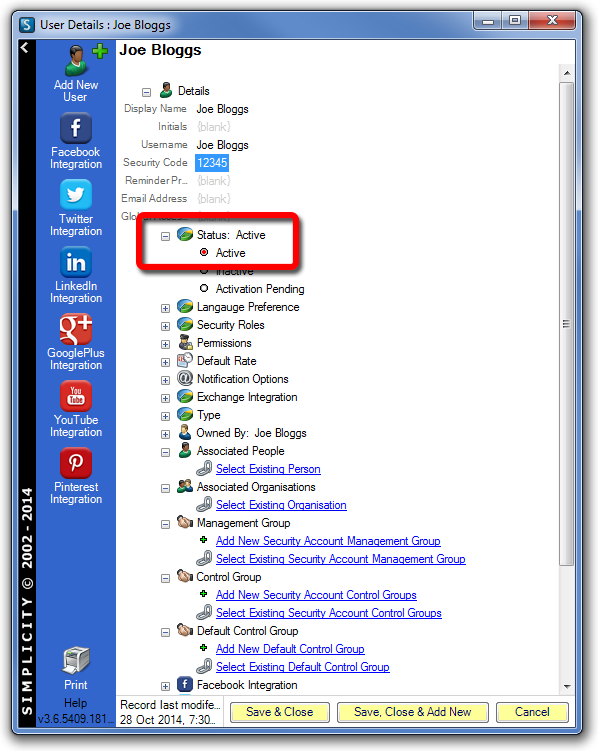
Set the Status for the user to Active.
STEP 12.
Select the initial language for the user. They can update this themselves later.

STEP 13.
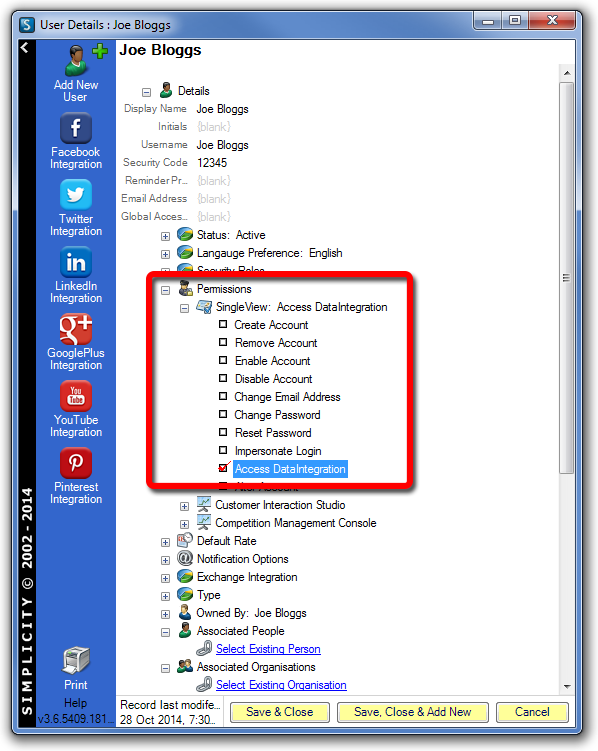
In the Permissions field, check the Access DataIntegration option.
STEP 14.
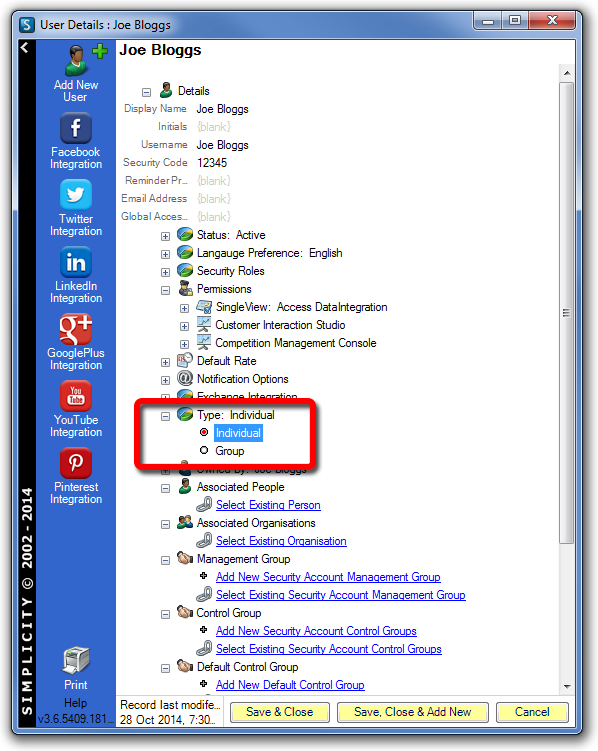
Set the Type field to Individual.
Check group membership
STEP 15.
You may use groups to control user access. To manage groups, locate and click on the group in the Security Accounts explorer.
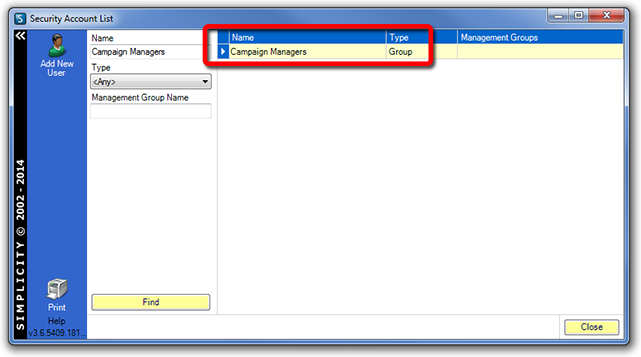
STEP 16.
Note the group members.

Add a user to a management group
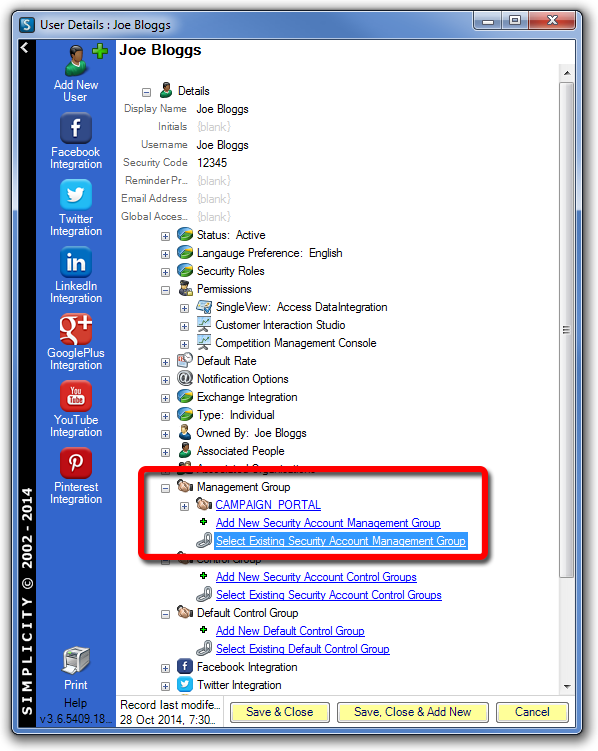
STEP 17.
Open the user record. In the Management Group field, click Select Existing Secutiy Account Management Group and select the appropriate group.
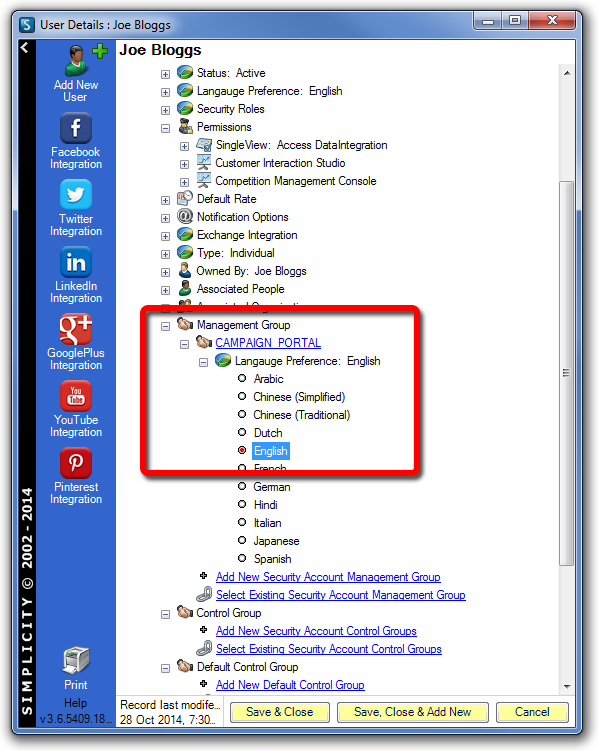
STEP 18.
Select the user's default language preference for the Group Membership.
Add a user to a control group
STEP 19.
Open the user record. In the Control Group field, click Select Existing Sercutiy Account Control Groups
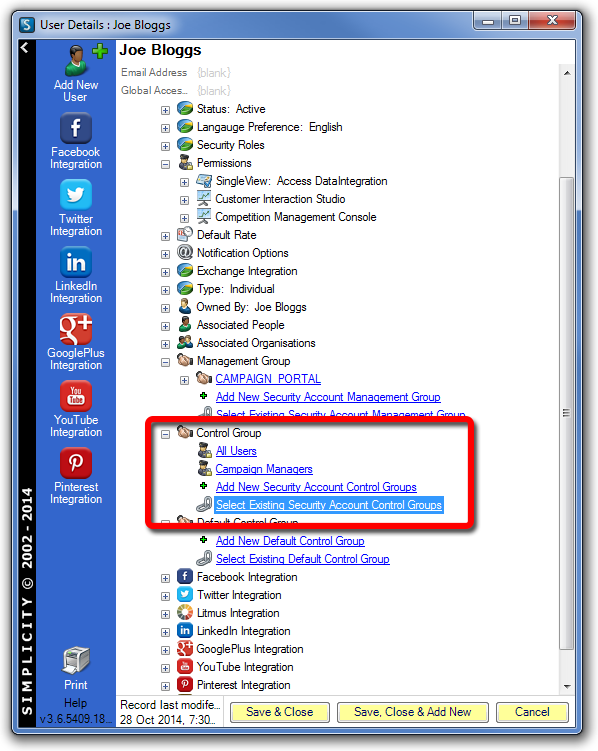
STEP 20.
To select a default control group, set the Default Control Group field.
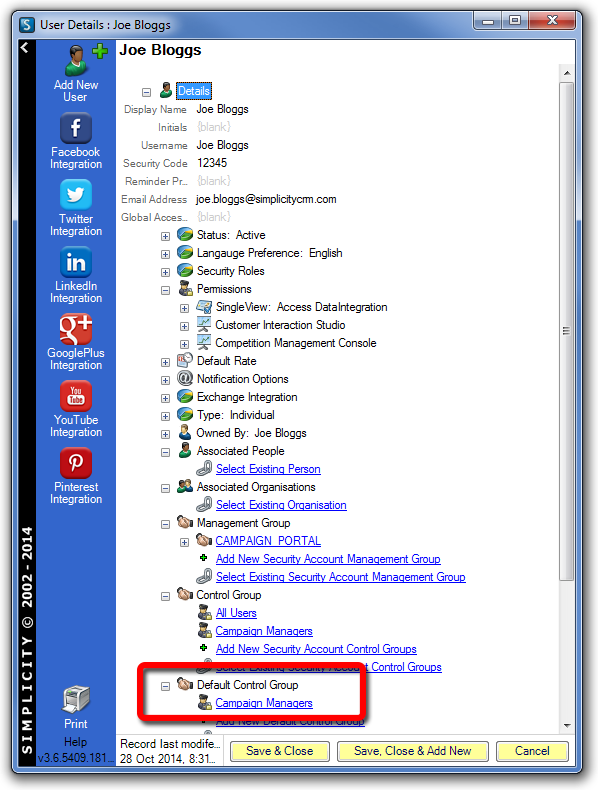
STEP 21.
Click Save & Close.