Working with Data in the Campaign Portal.
The Campaign Portal enables users to import and maintain a Customer List for use in executing campaigns.
Follow steps 42 to 51 below to learn about importing and viewing Customer List data.
Import new data into your Customer List
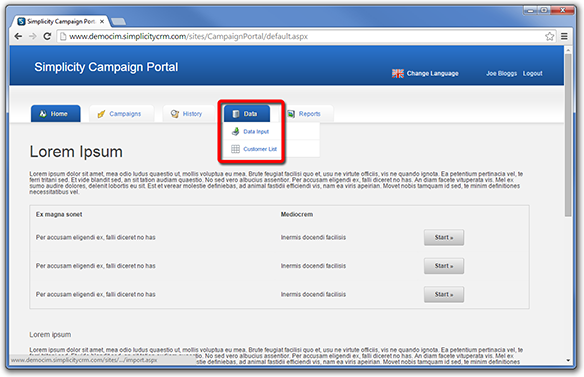
STEP 42.
To import data, click on the Data Input menu option on the Data tab.
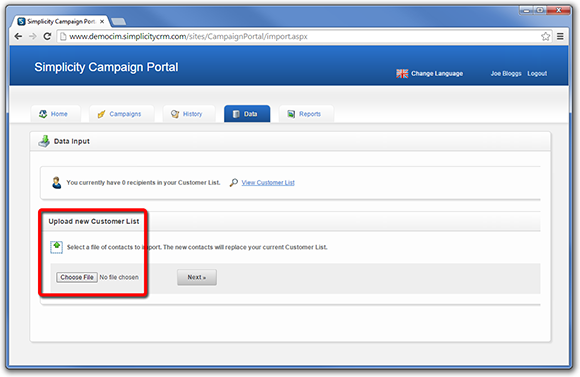
STEP 43.
Select a file of contacts to import into your Customer List. The new file of contacts will replace the existing Customer List.
STEP 44.
Click on the preview below to view the full image.

STEP 45.
Select the file. Excel files and most common text file formats are accepted.
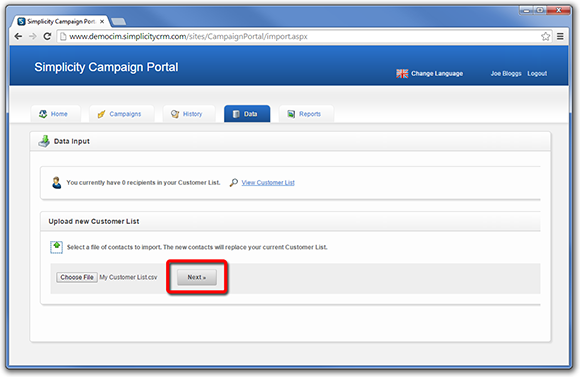
STEP 46.
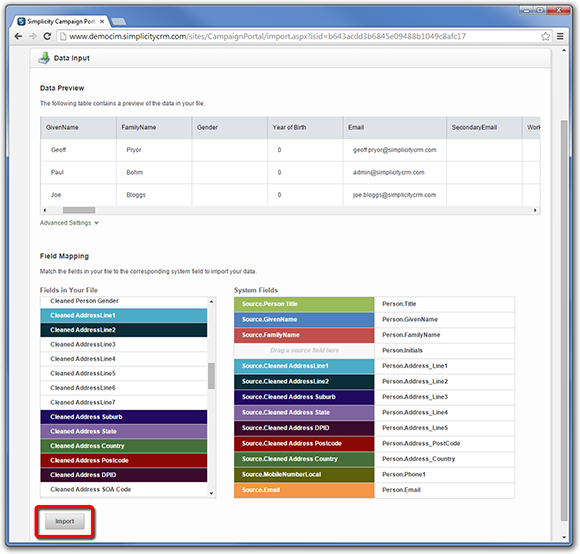
Map the fields in your file to the available system fields. The Campaign Portal will try to automatically map your fields based on the name. You should check each field to verify the mapping is appropriate, and to add any additional mappings required.
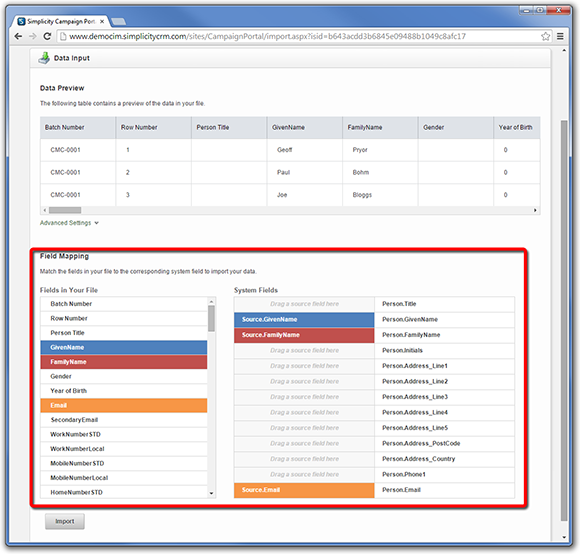
STEP 47.
When you have completed the field mapping, click Import.
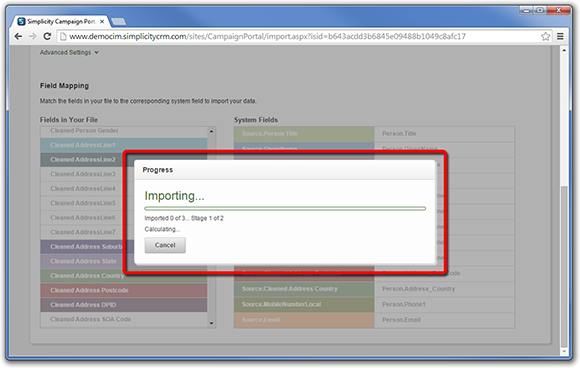
STEP 48.
The Campaign Portal will commence importing your data file.
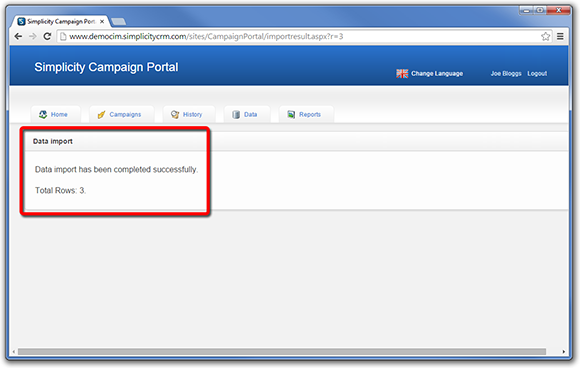
STEP 49.
After importing your data, you will reach a confirmation page that confirms the number of records imported.
View your Customer List
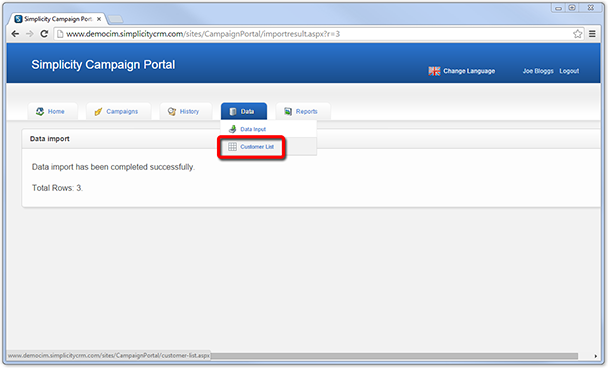
STEP 50.
To view your Customer List, click on the Customer List menu option on the Data tab.
STEP 51.
Review the records in your Customer List.
