Campaign Portal Administration.
Follow steps 32 to 41 below to learn about Campaign Portal administration.
Update the landing page
STEP 32.
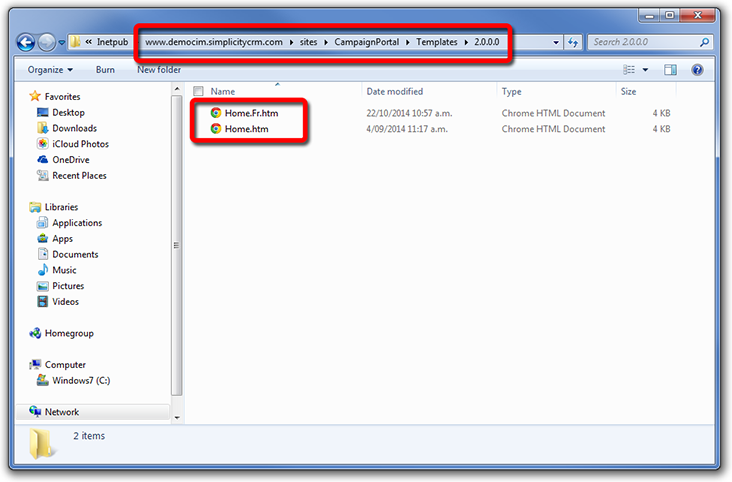
To update the landing page, navigate to this file path:
/sites/CampaignPortal/Templates/2.0.0.0
The Home.htm file is the default landing page. To create a landing page in a different language, save the file with the following naming convention:
Home.[language code].htm
The language code is ISO 639-1 code for languages.
Where available, the Campaign Portal will load the landing page in the user's preferred language.
Update the styling
STEP 33.
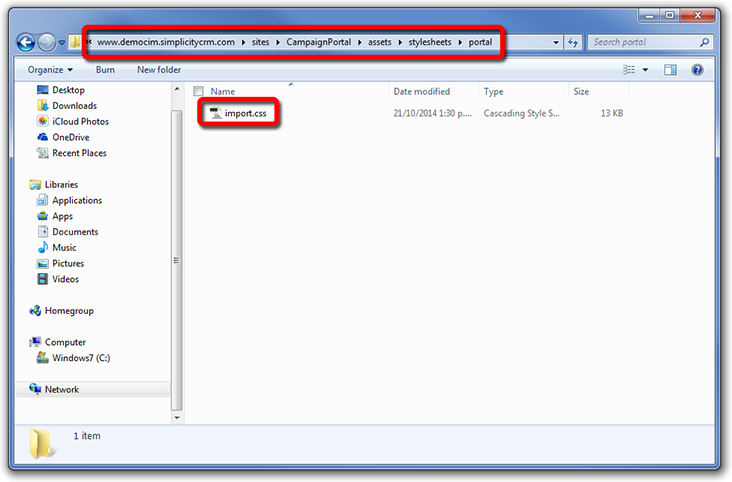
To update the styling for the Campaign Portal, edit the CSS files at the following location:
/sites/CampaignPortal/assets/stylesheets/
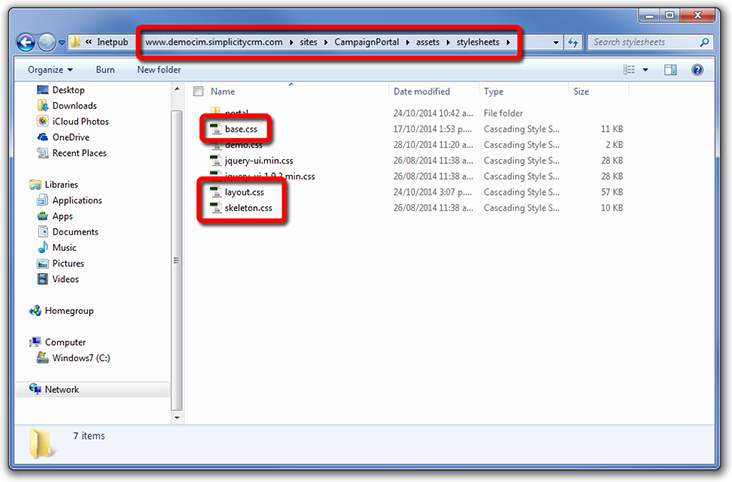
STEP 34.
The stylesheet for the Data Loading pages are stored in the portal folder.
Update the display text
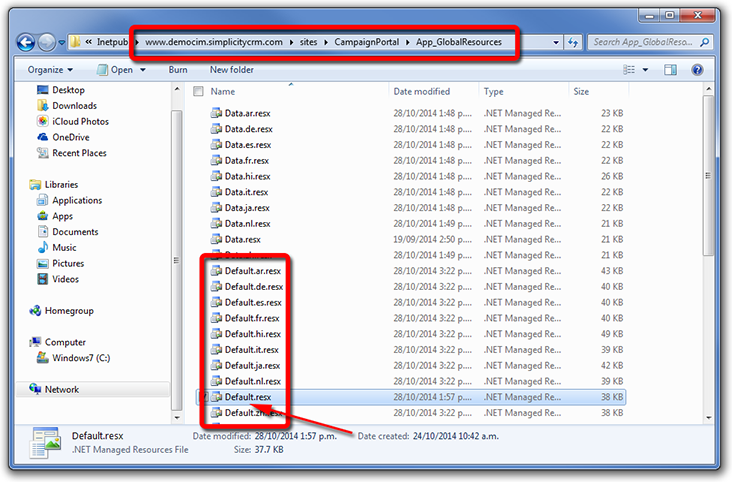
STEP 35.
To update the display text (wording and labels) used in the Campaign Portal, update the resource files at the following location:
/sites/CampaignPortal/App_GlobalResources/
Use an XML editor to update the files.
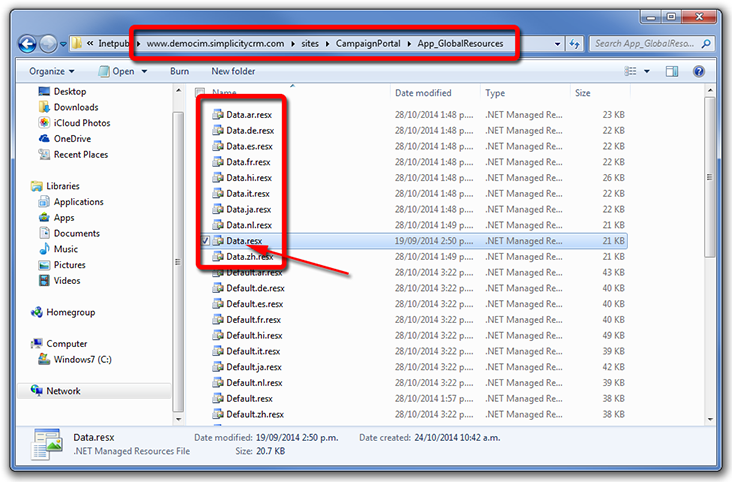
STEP 36.
Update the appropriate resource files for the pages you wish to update. The name of the files correlates to a set of pages on the Campaign Portal.
The naming convention for resource files is:
[pageset name].[language code].resx
The language code is the ISO 639-1 code for languages.
The Campaign Portal will load the resource file in the user's preferred language.
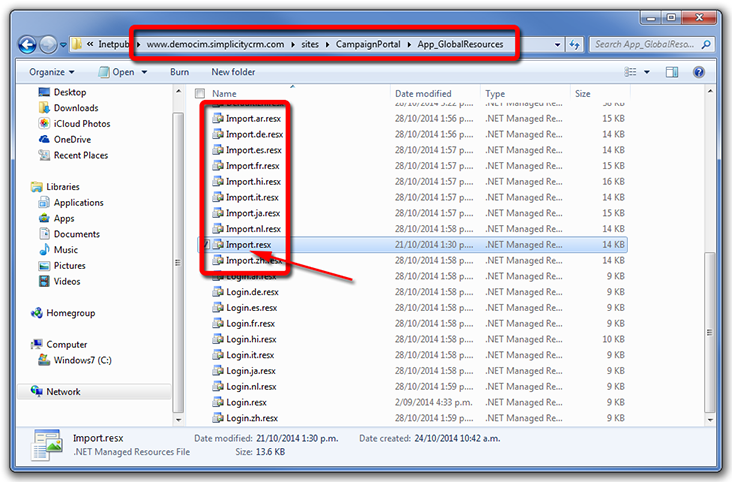
STEP 37.
You can also update the Import.*.resx resource files.
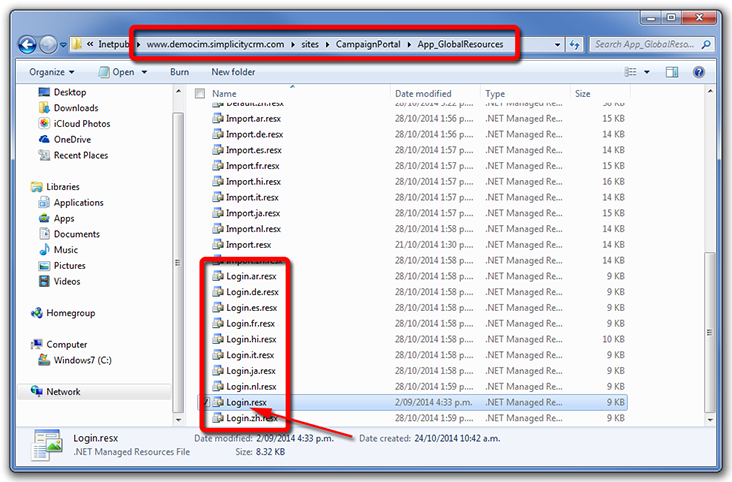
STEP 38.
You can also update the Login.*.resx resource files.
Update icons and images
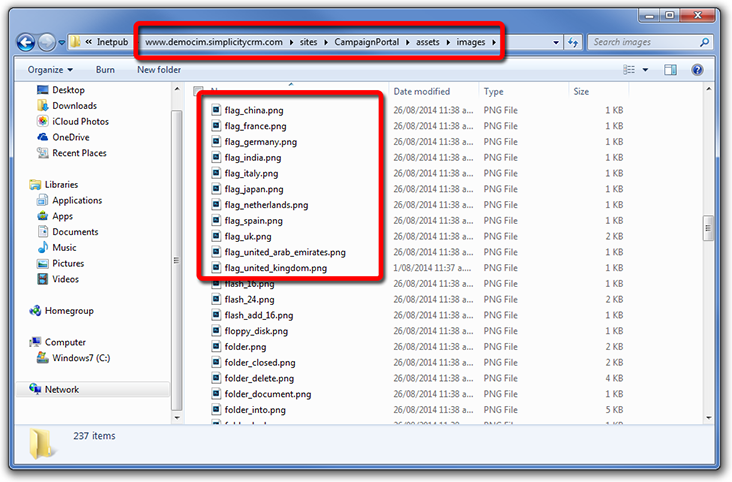
STEP 39.
To update the default images used in the Campaign Portal, update the images at the following location:
/sites/CampaignPortal/assets/images/
Update the available languages
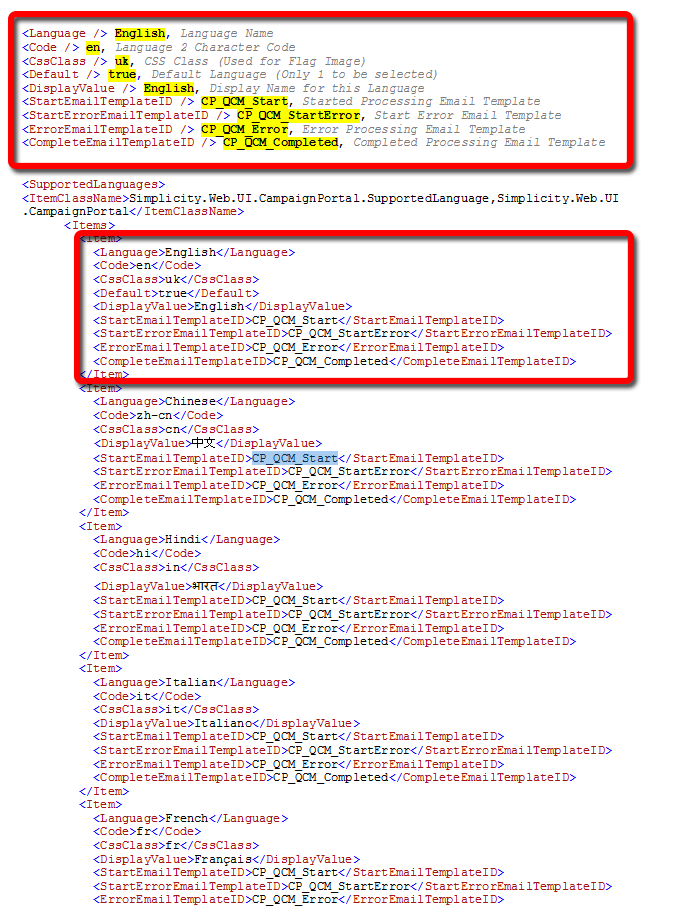
STEP 40.
To update the list of available languages, update the Web.config file at the following location:
/sites/CampaignPortal/
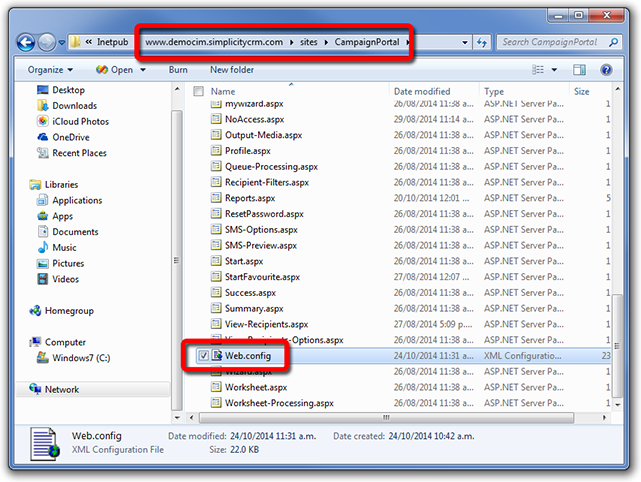
STEP 41.
Open the Web.config file with an XML editor and add or remove the appropriate language items:
- The following image describes the appropriate values for each attribute of a language item.