Configuration Editor - Level 2 Configuration.
To build success you need to have solid foundations.
At the heart of Simplicity is a configuration layer that is central to the success and flexibility of Simplicity. Although many systems claim to be configuration based, few truely are. The training steps set out will help you to understand and unlock the benefits in using a rich configuration based solution.
Level 2 Configuration - Topics Index
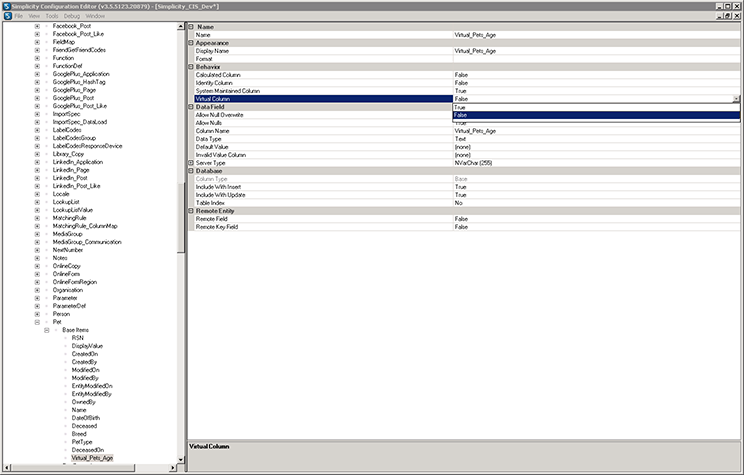
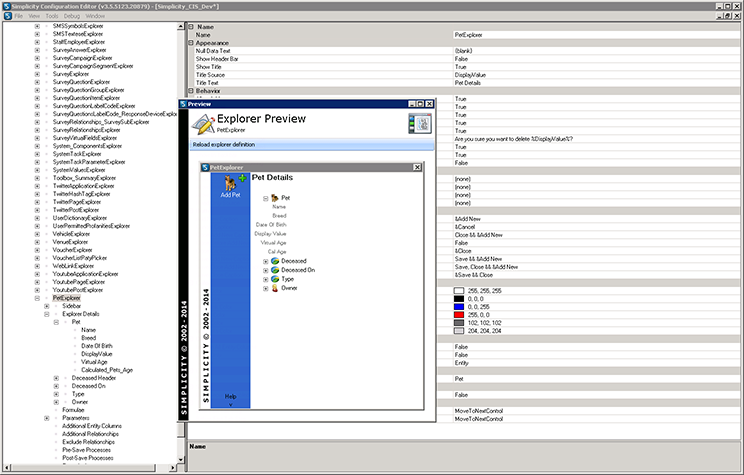
Level 2 Configuration - Virtual and Calculated Columns.
Steps 1 - 17
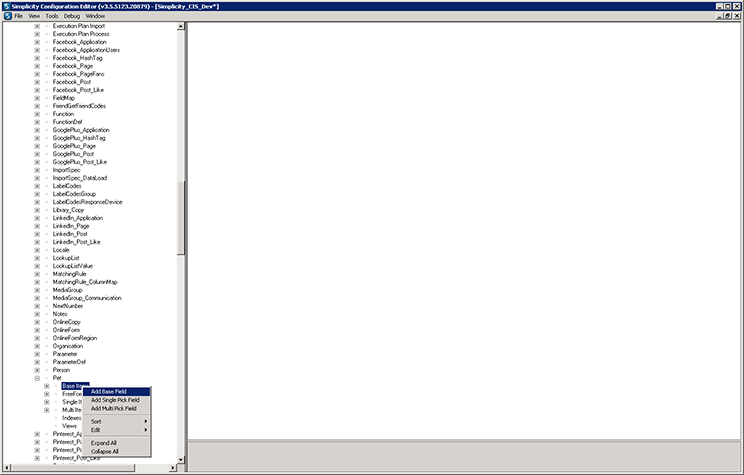
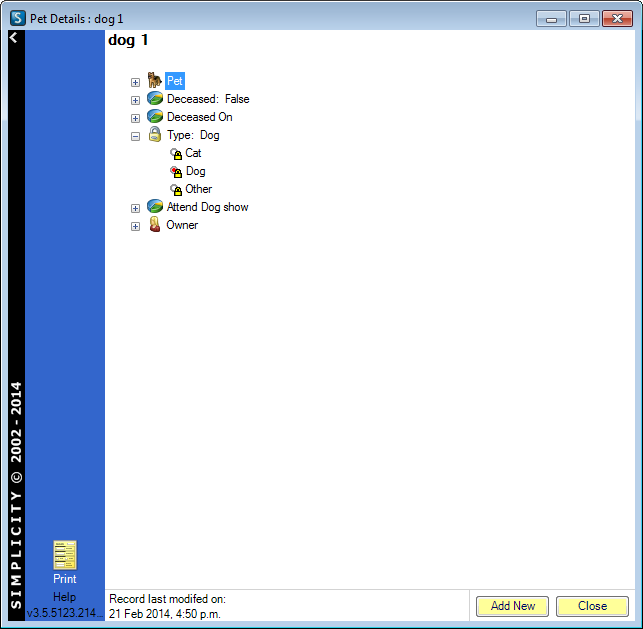
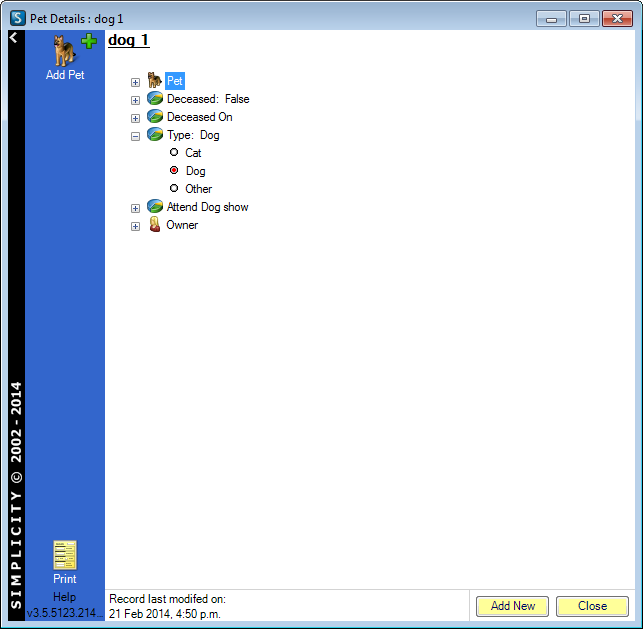
The following walk through takes you through the process of adding virtual and calculated entity data columns using the example of adding virtual and calculated columns to a pet entity.
Virtual Columns verses Calculated Calculated Columns?
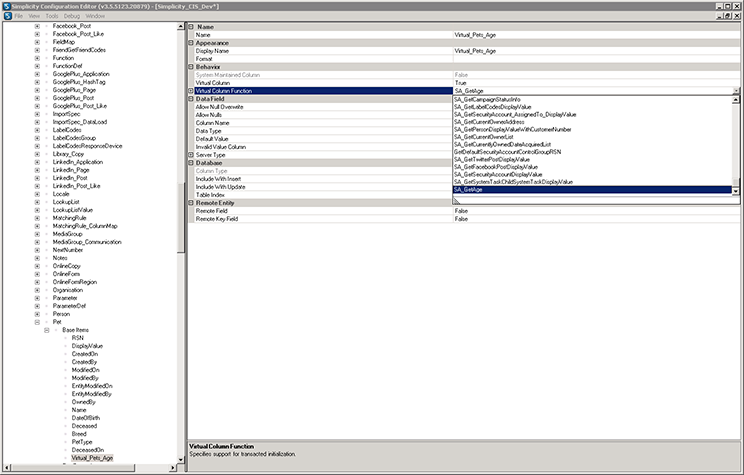
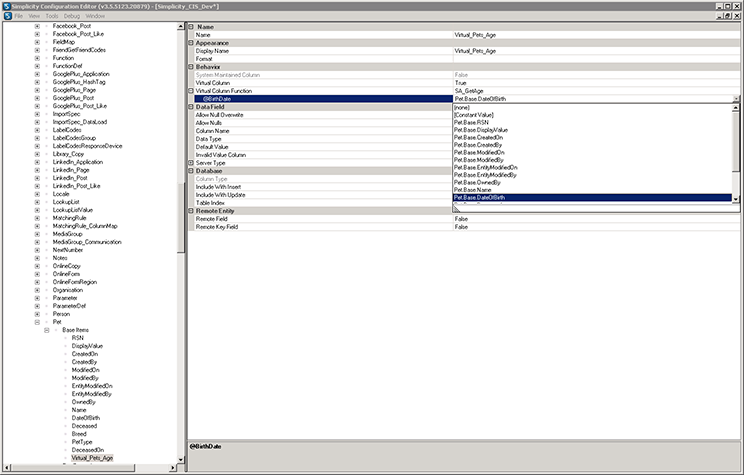
Virtual column data is not stored but recalculated everytime the information is requested. Virtual columns have the advantages of having no storage requirements and have no overhead for entity insert and update statements and a small overhead when selecting data. Virtual columns cannot be indexed so are not suitable for large result sets where selection criteria will be used on the virtual column.
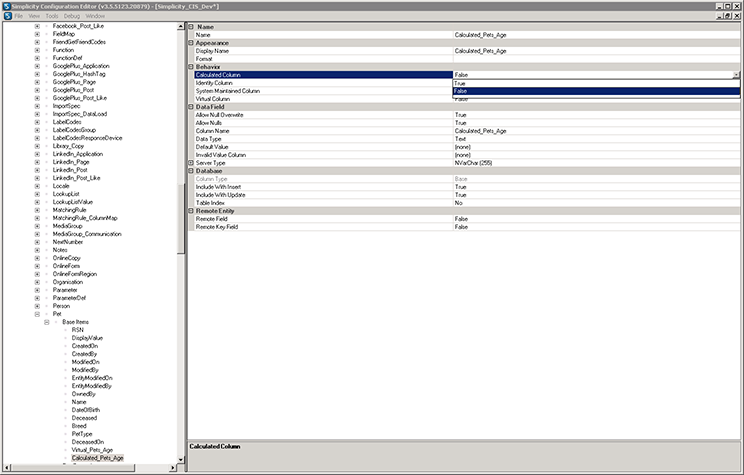
Calculated column data is updated everytime one of its dependant columns is changed to then caculate the new value and store the result in the database. Calculated columns have the advantages of allow for fast selections and may be indexed for further improve selection performance. Calculated columns have a small overhead to entity inserts and update statements.
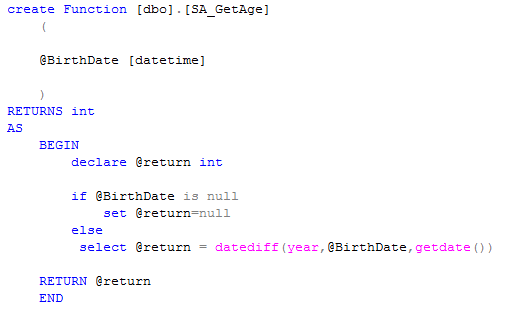
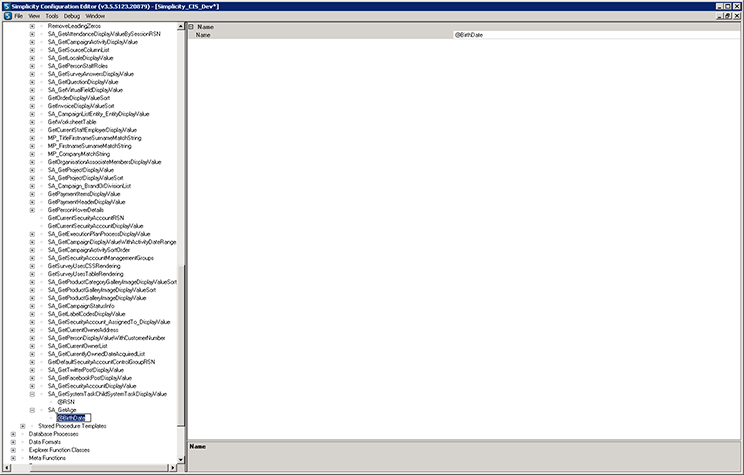
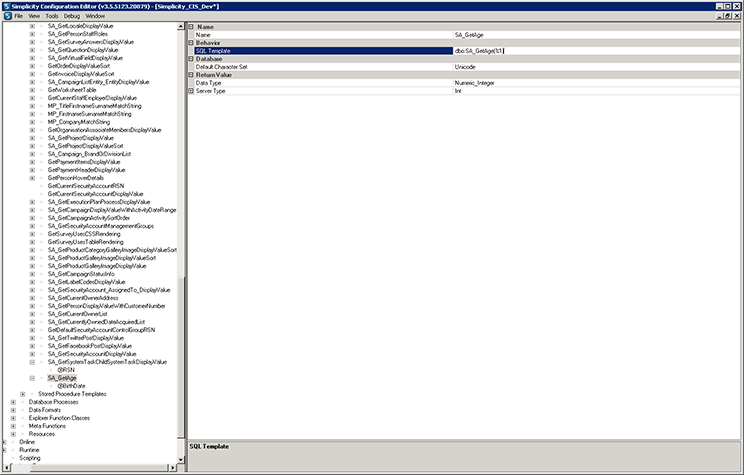
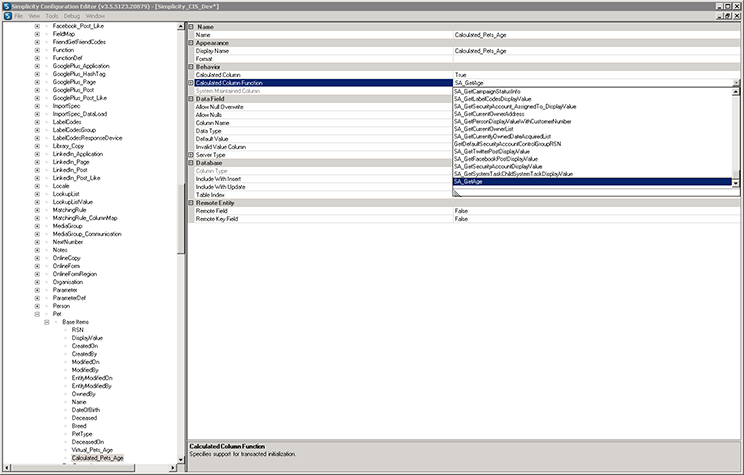
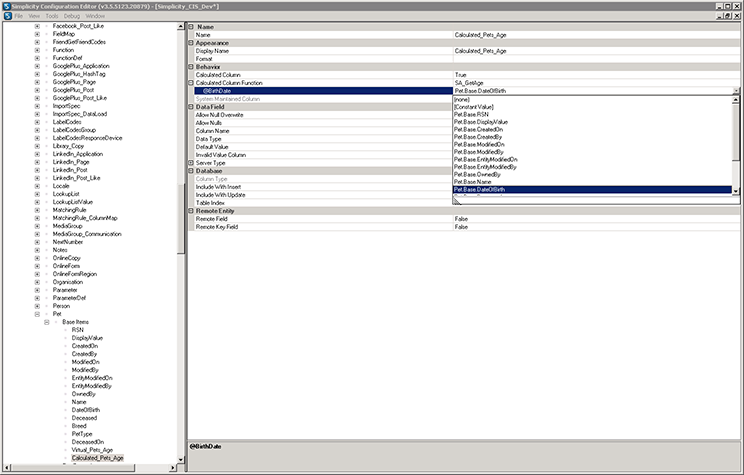
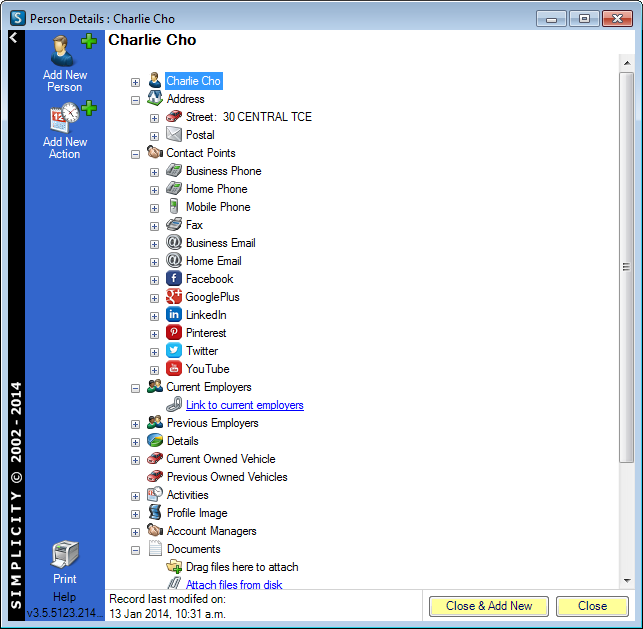
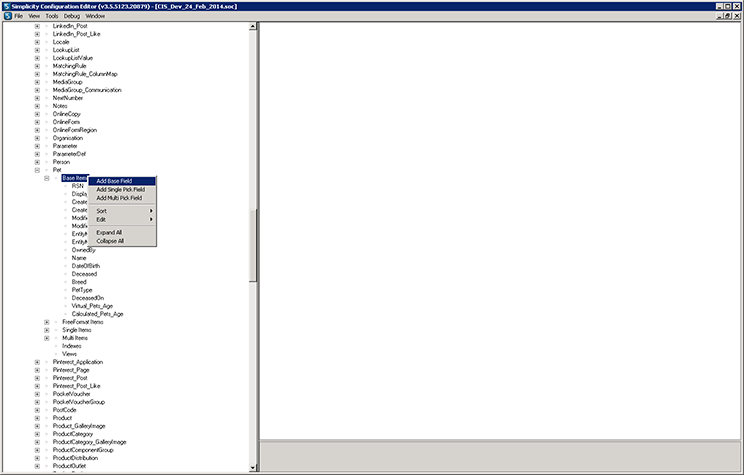
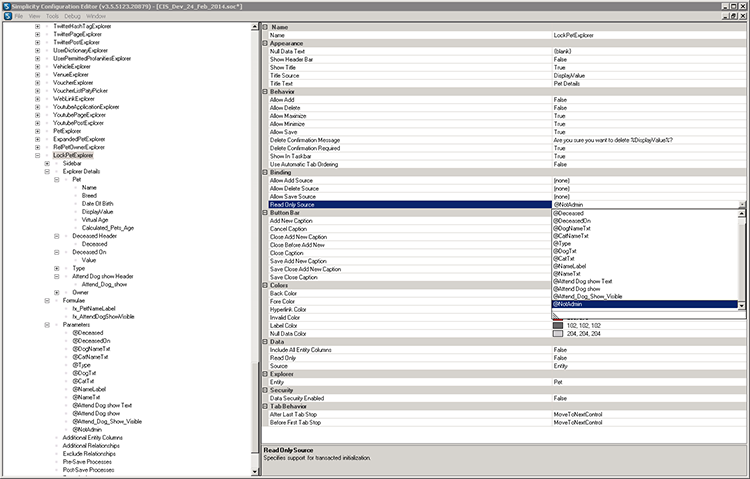
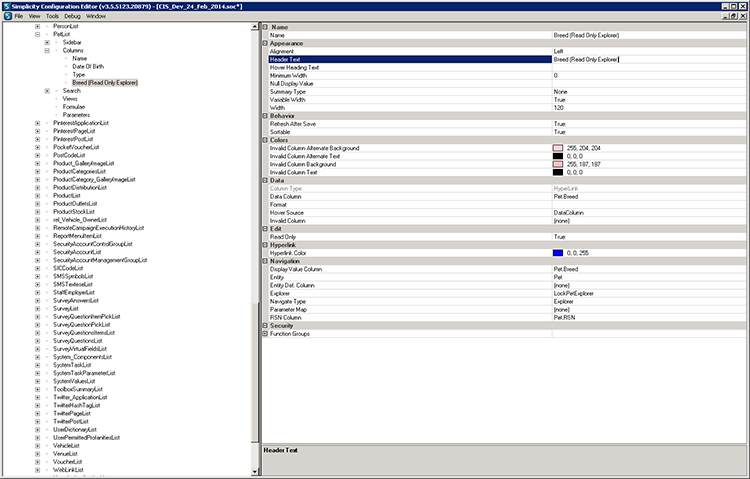
STEP 1.
Both virtual and calculated columns make use of SQL scalar functions. This example uses the following sample function that returns the current age based on the birth date value passed in.
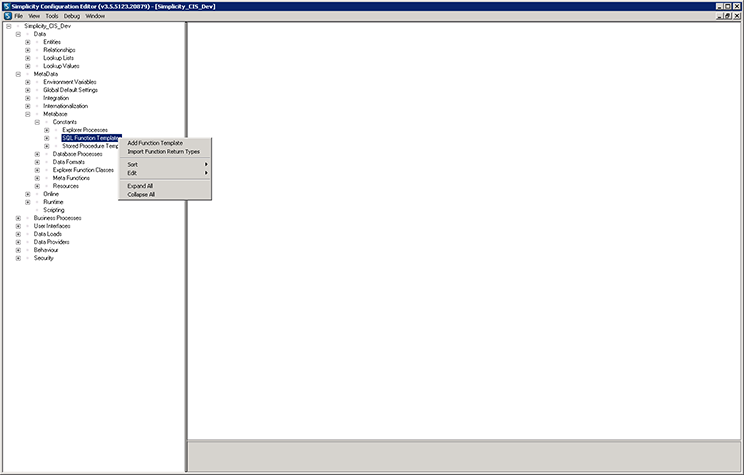
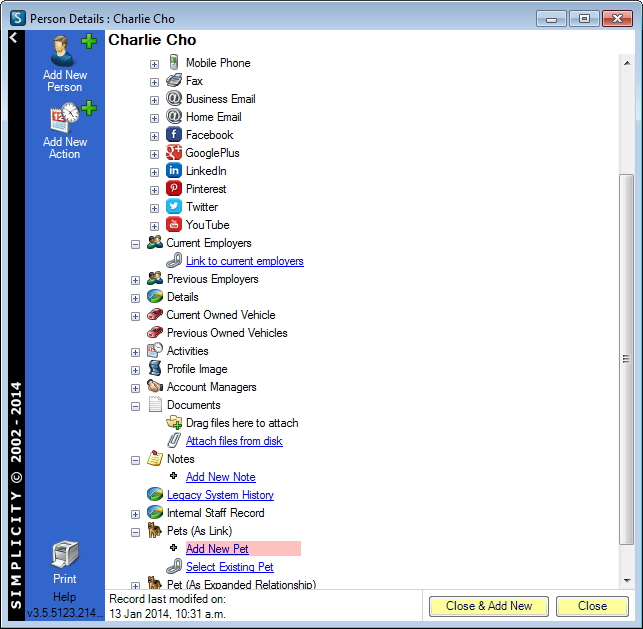
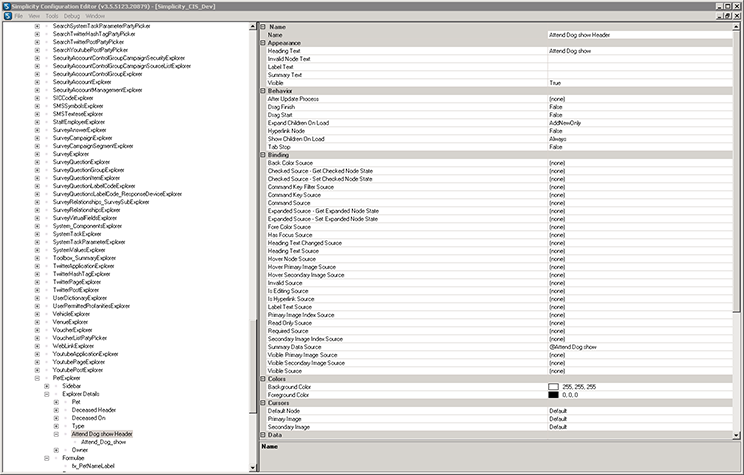
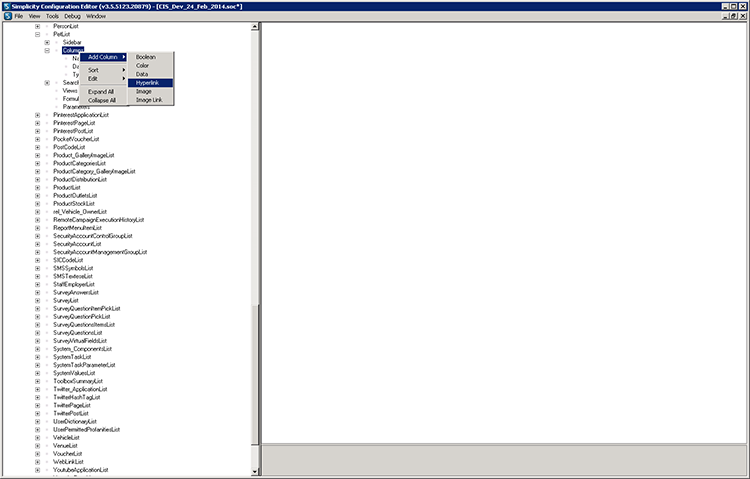
STEP 2.
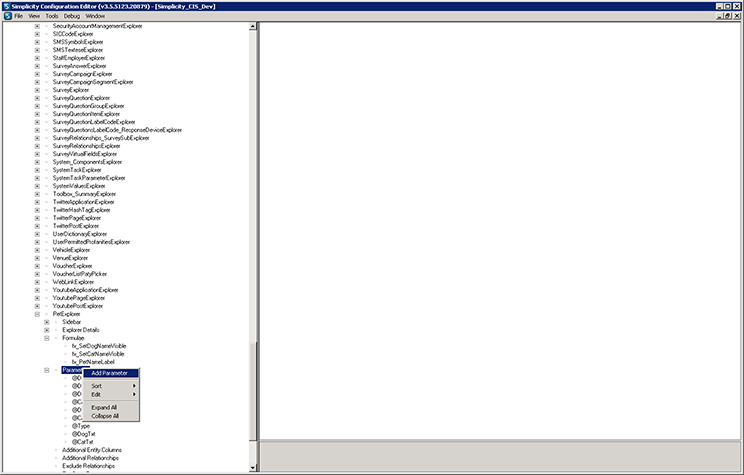
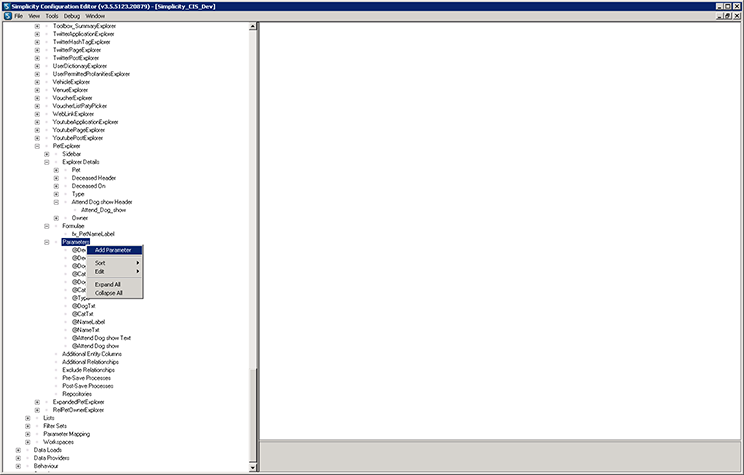
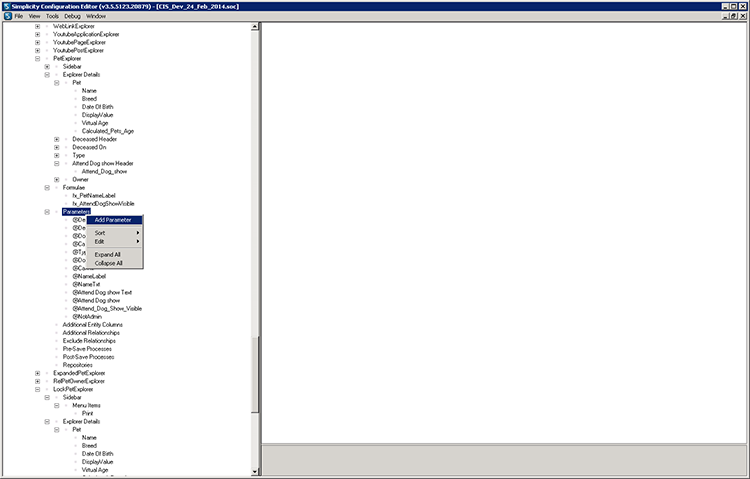
Click on the preview below to view the full image.
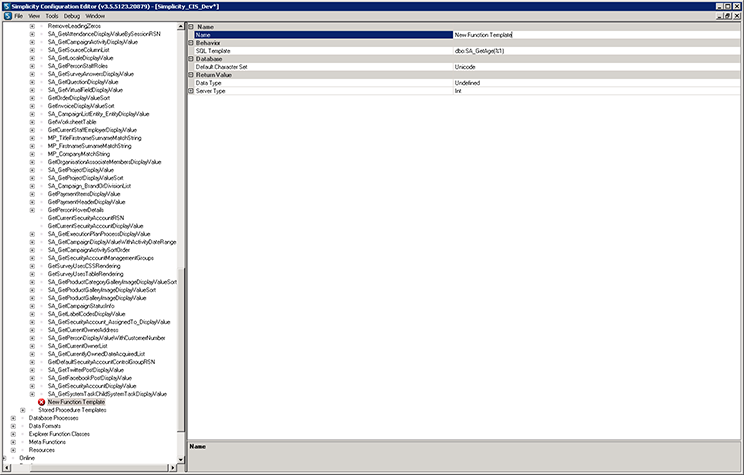
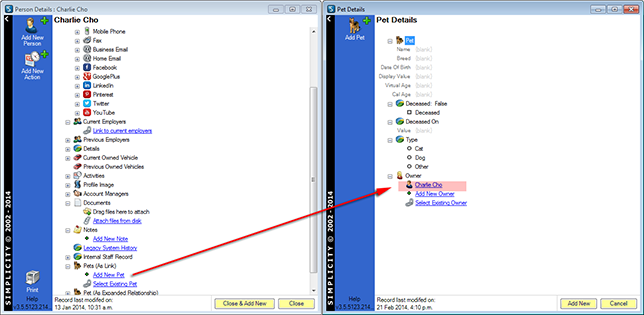
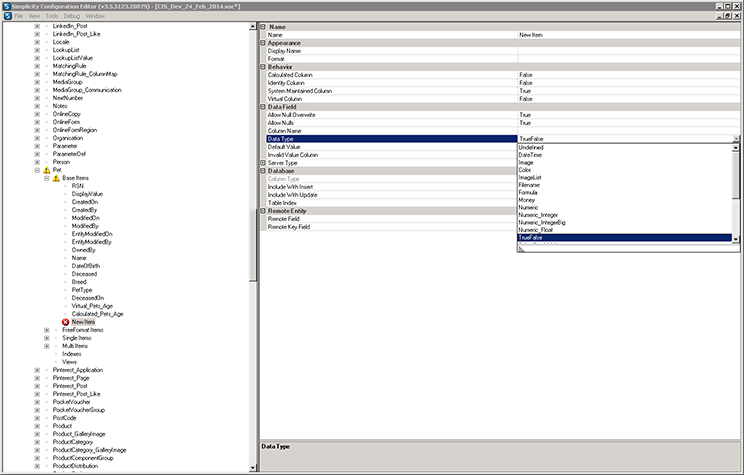
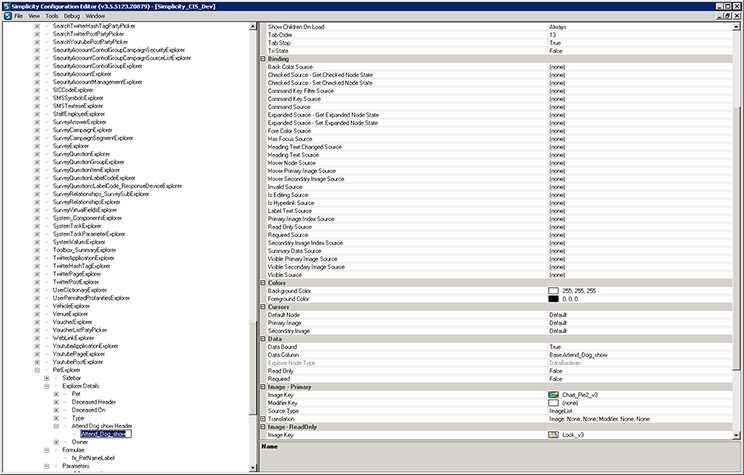
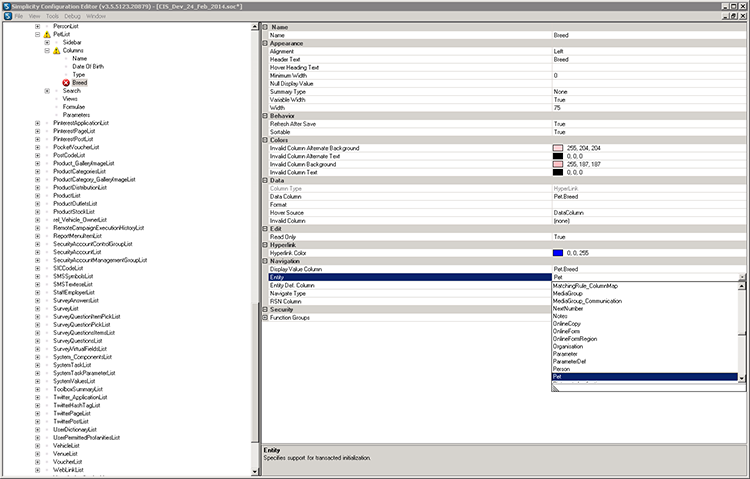
STEP 3.
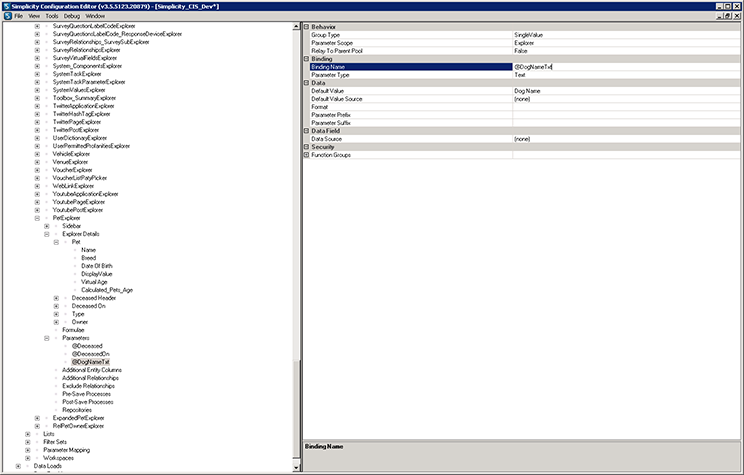
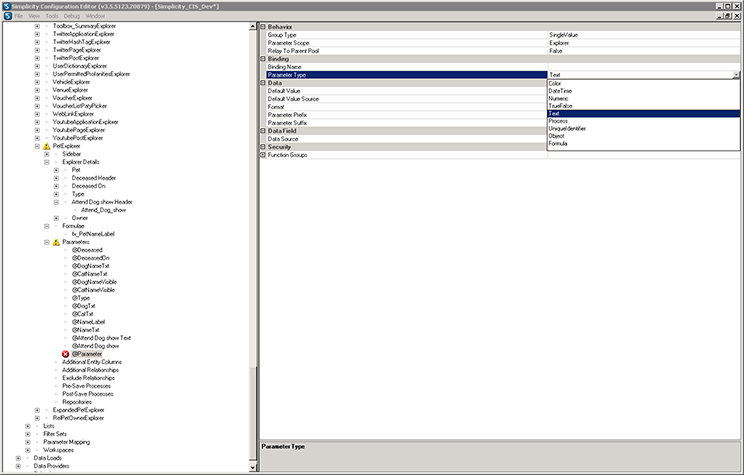
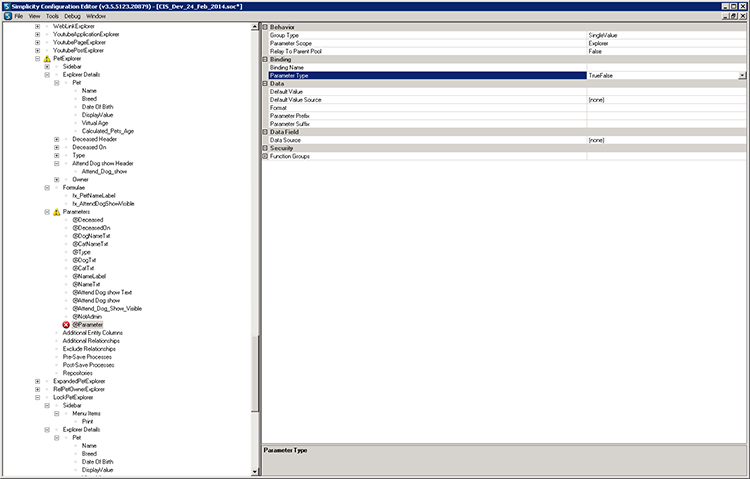
Click on the preview below to view the full image.
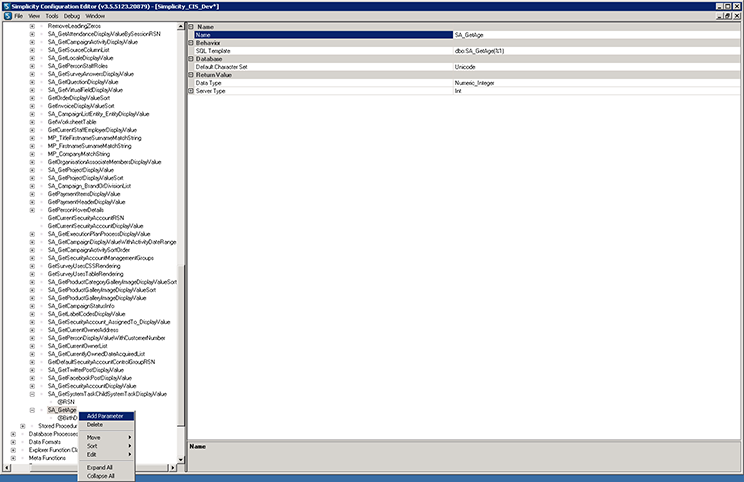
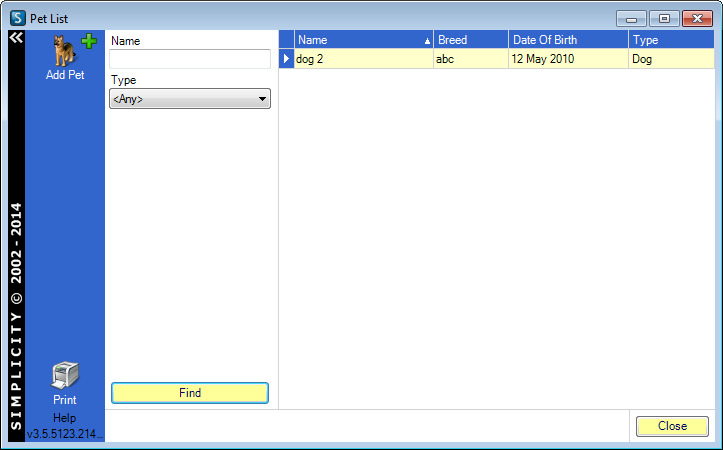
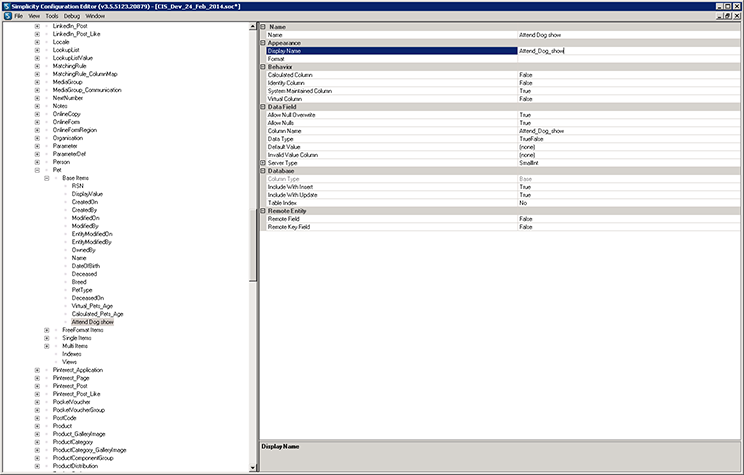
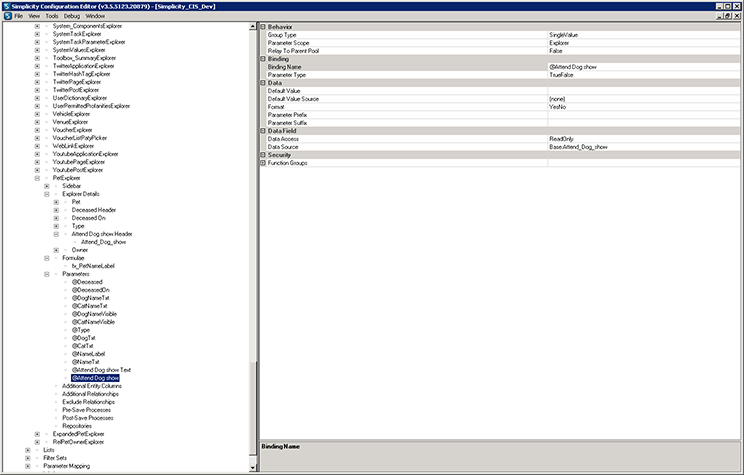
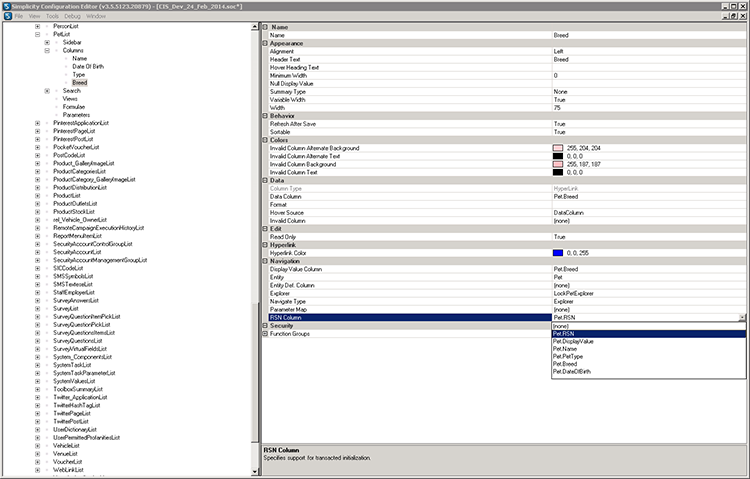
STEP 4.
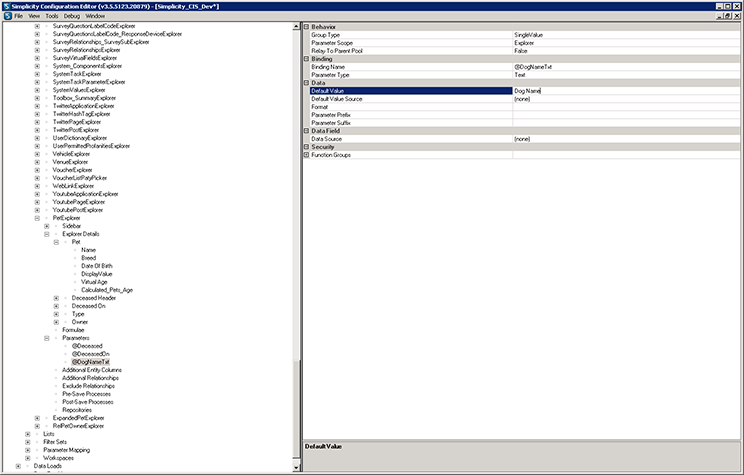
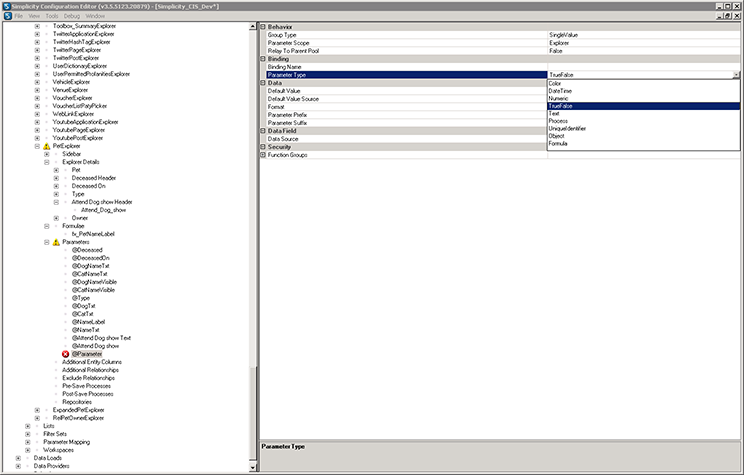
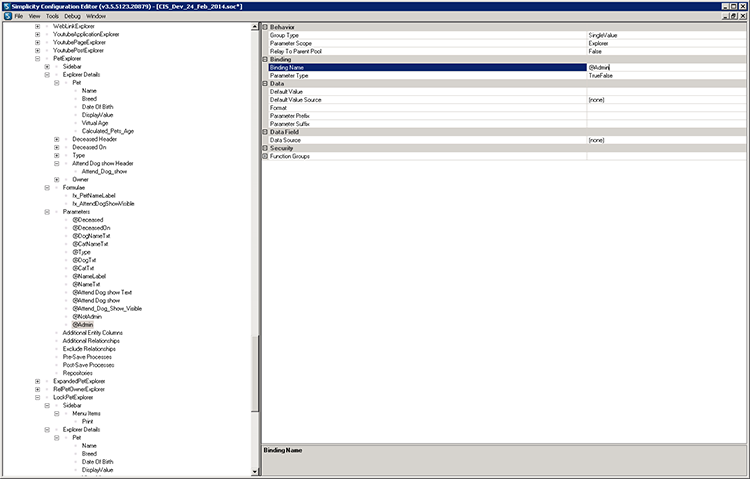
Click on the preview below to view the full image.
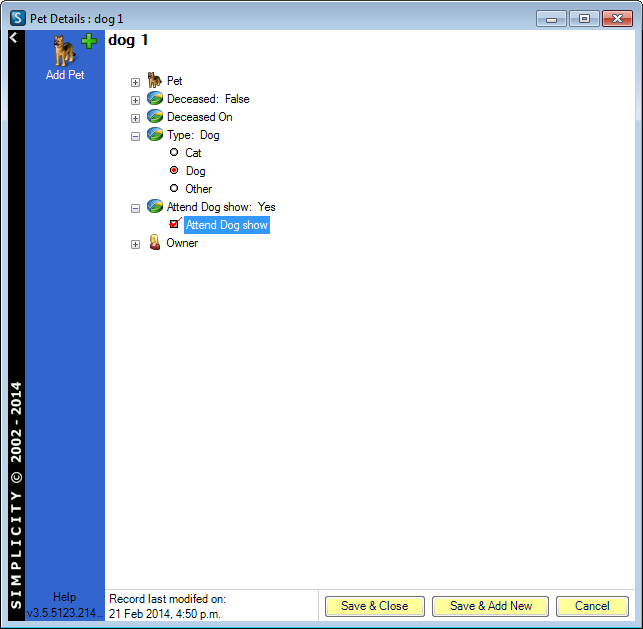
STEP 5.
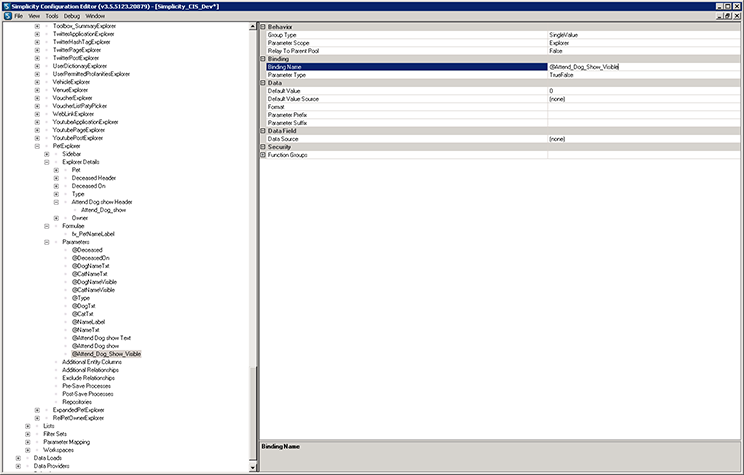
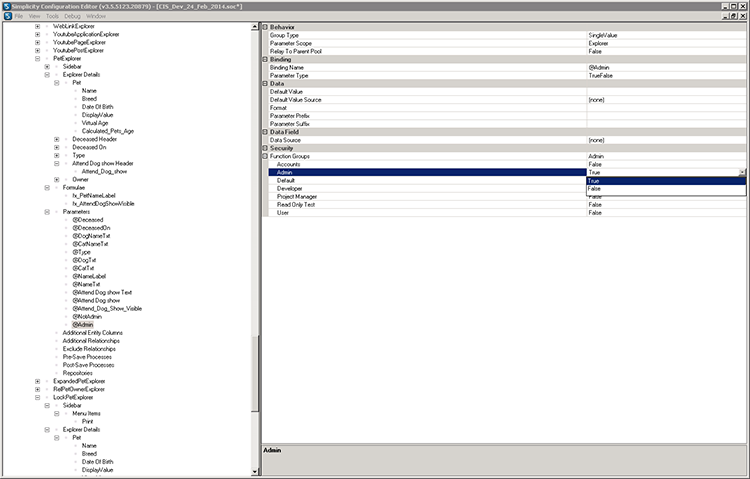
Click on the preview below to view the full image.
STEP 6.
Click on the preview below to view the full image.
STEP 7.
Click on the preview below to view the full image.
STEP 8.
Click on the preview below to view the full image.
STEP 9.
Click on the preview below to view the full image.
STEP 10.
Click on the preview below to view the full image.
STEP 11.
Click on the preview below to view the full image.
STEP 12.
Click on the preview below to view the full image.
STEP 13.
Click on the preview below to view the full image.
STEP 14.
Click on the preview below to view the full image.
STEP 15.
Click on the preview below to view the full image.
STEP 16.
Click on the preview below to view the full image.
STEP 17.
Click on the preview below to view the full image.
Back to Topics Index.
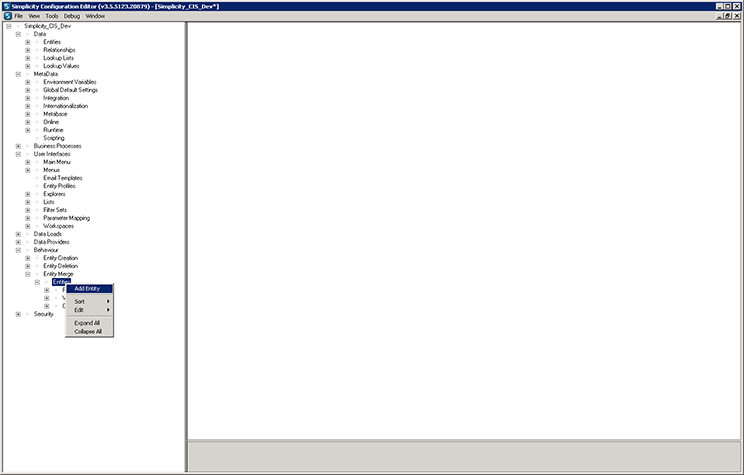
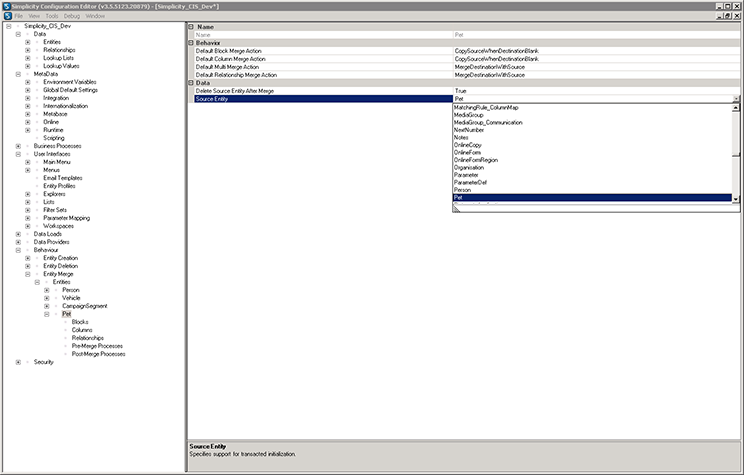
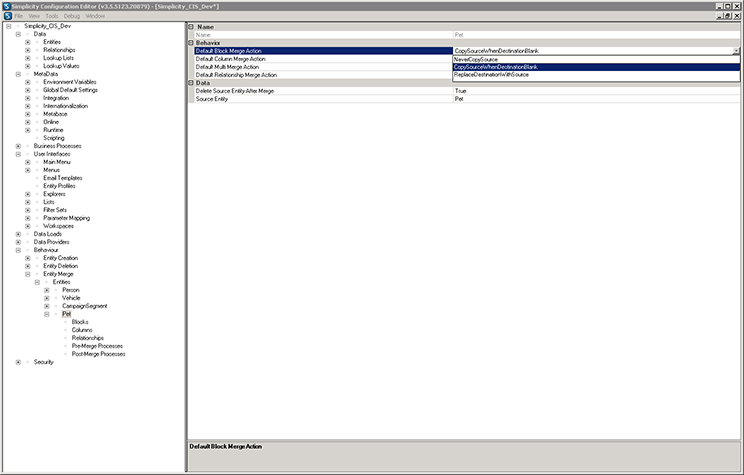
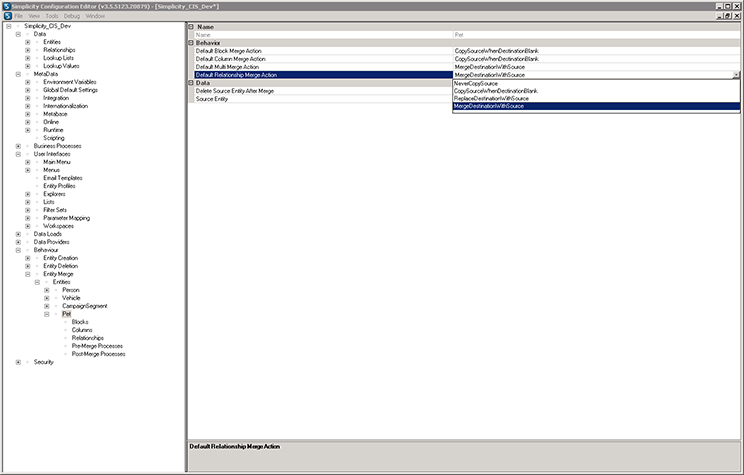
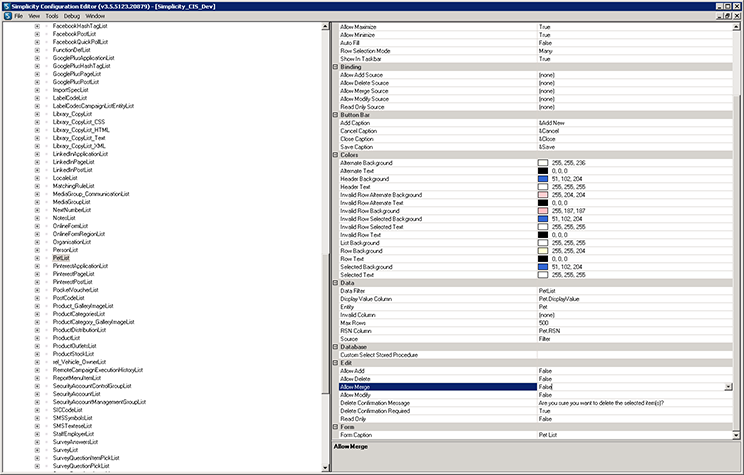
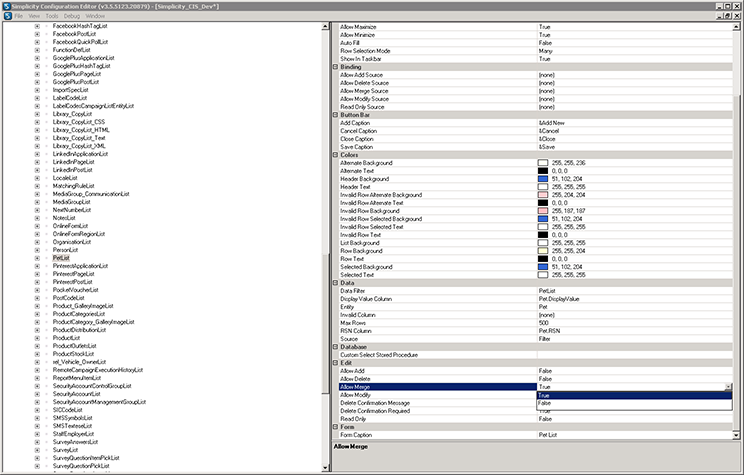
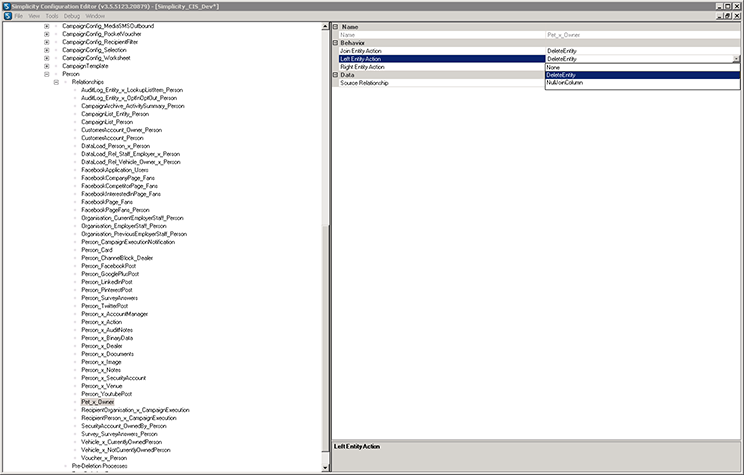
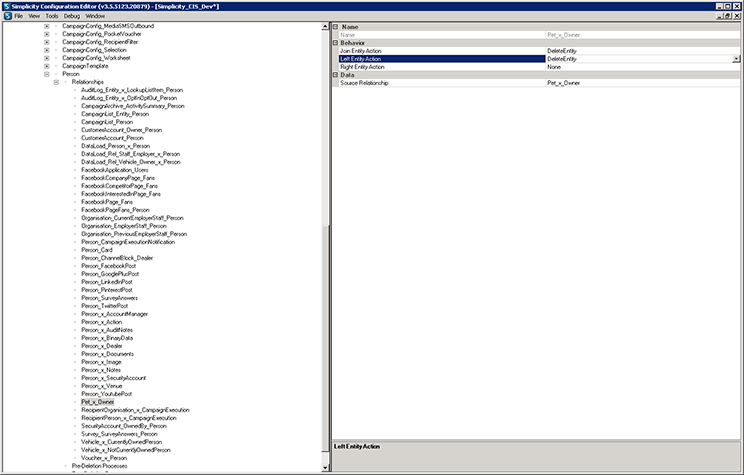
Level 2 Configuration - Entity Merge Rules.
Steps 18 - 23
The following walk through takes you through the process of defining entity merge rules using the example of merging a pet entity.
STEP 18.
Click on the preview below to view the full image.
STEP 19.
Click on the preview below to view the full image.
STEP 20.
Click on the preview below to view the full image.
STEP 21.
Click on the preview below to view the full image.
STEP 22.
Click on the preview below to view the full image.
STEP 23.
Click on the preview below to view the full image.
Back to Topics Index.
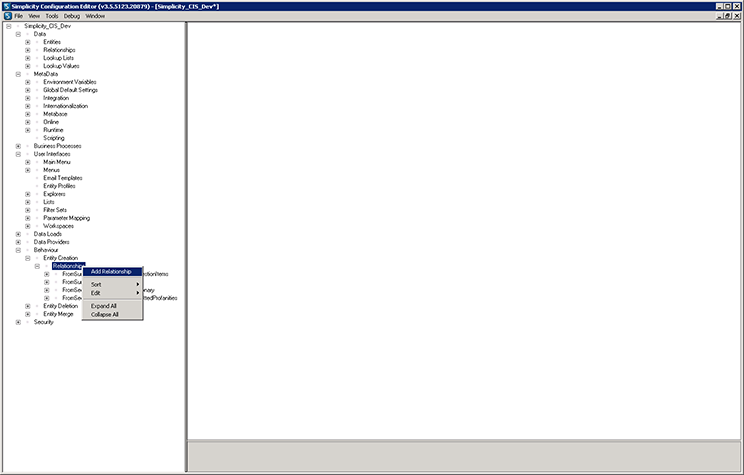
Level 2 Configuration - Entity Creation Rules.
Steps 24 - 28
The following walk through takes you through the process of defining entity creation rules using the example of merging a pet entity.
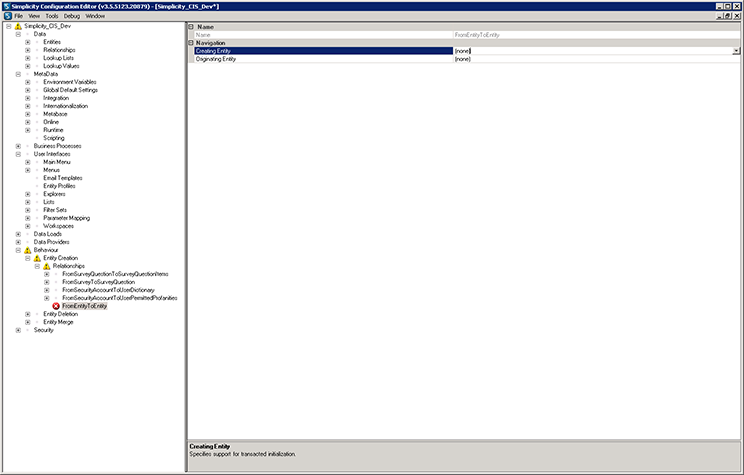
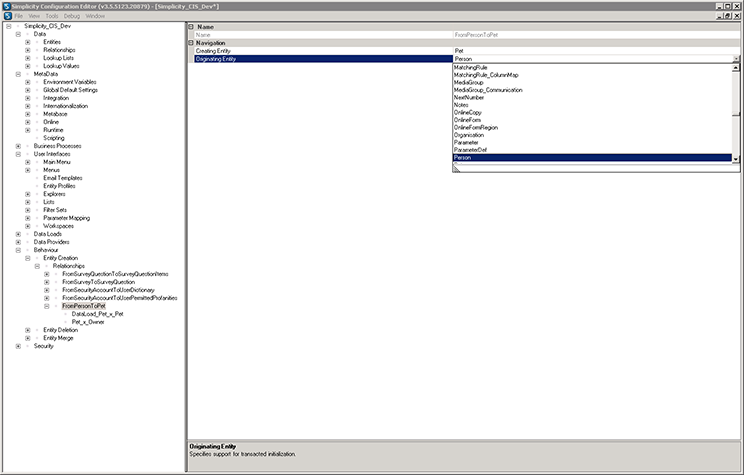
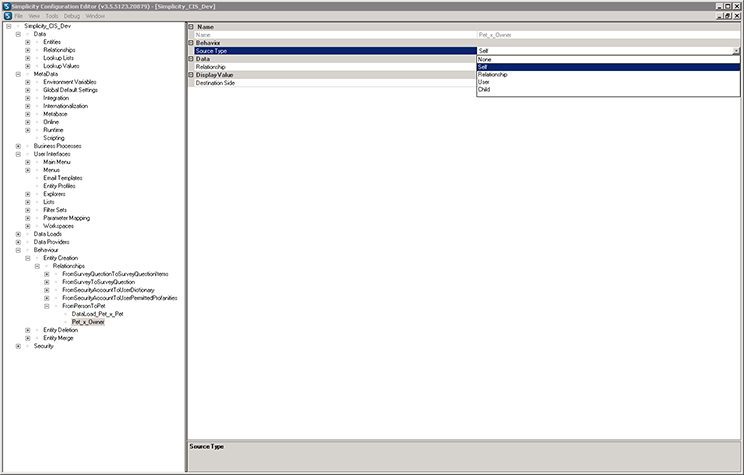
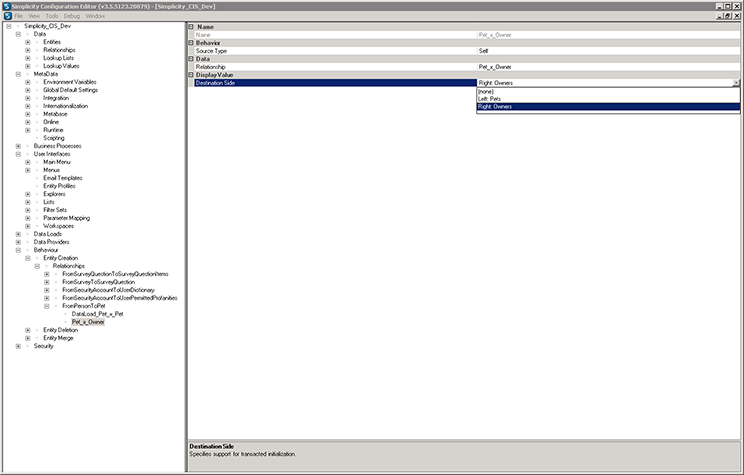
STEP 24.
Click on the preview below to view the full image.
STEP 25.
Click on the preview below to view the full image.
STEP 26.
Click on the preview below to view the full image.
STEP 27.
Click on the preview below to view the full image.
STEP 28.
Click on the preview below to view the full image.
Back to Topics Index.
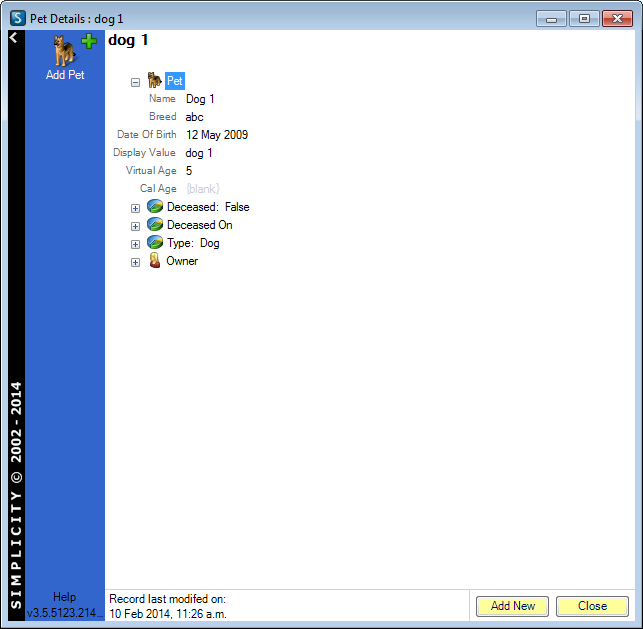
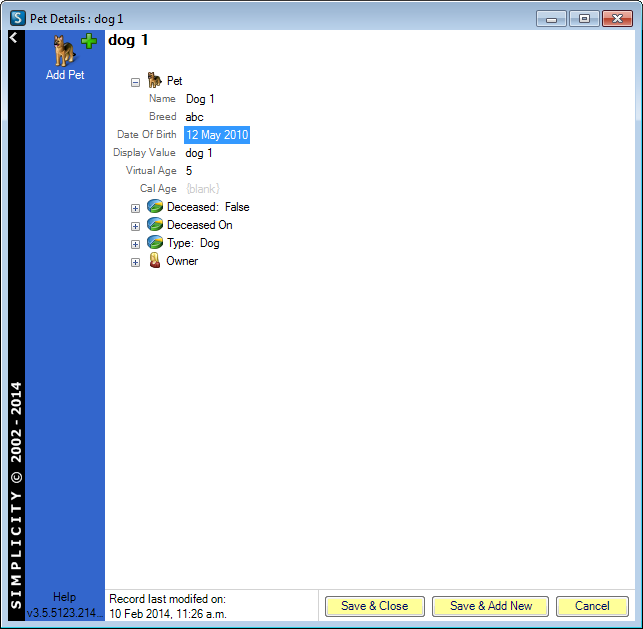
Level 2 Configuration - Entity Deletion Rules.
Steps 29 - 34
The following walk through takes you through the process of defining entity merge rules using the example of deleting a pet entity.
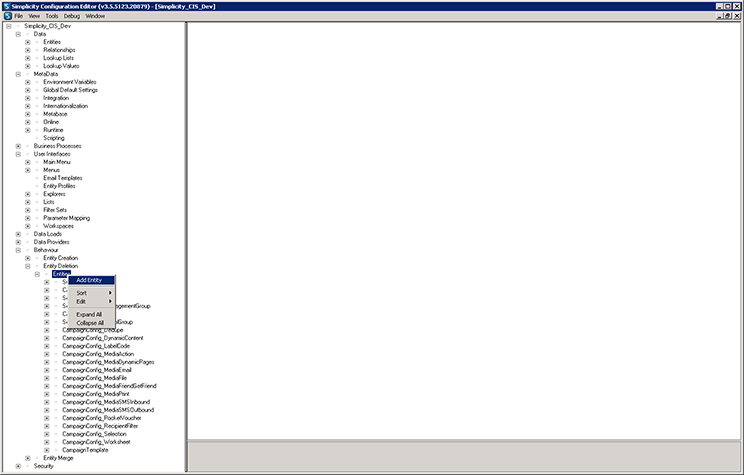
STEP 29.
Click on the preview below to view the full image.
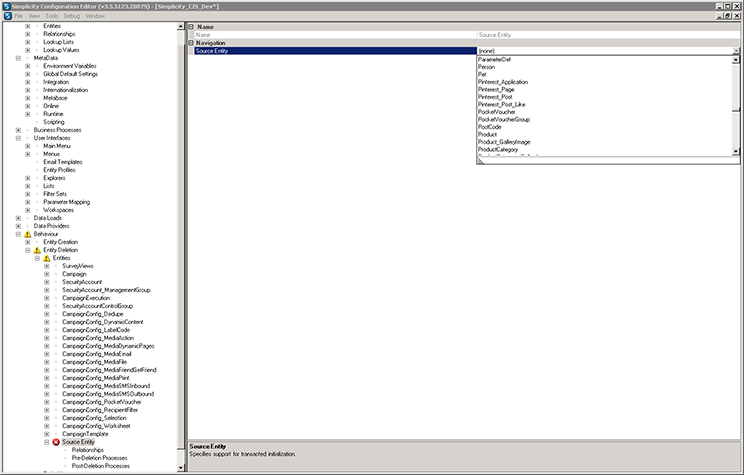
STEP 30.
Click on the preview below to view the full image.
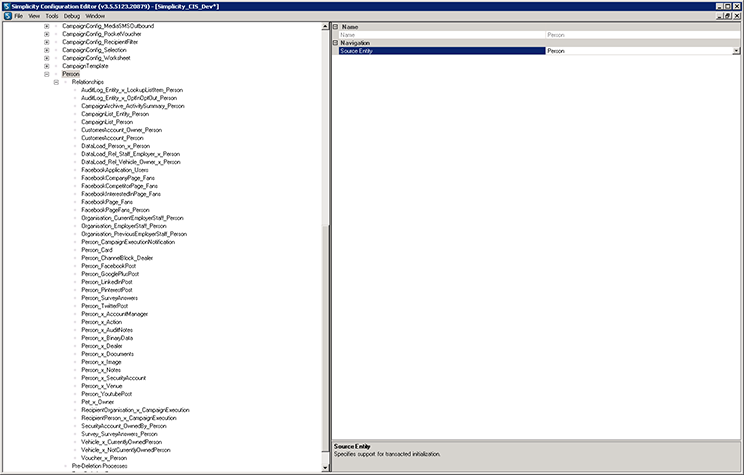
STEP 31.
Click on the preview below to view the full image.
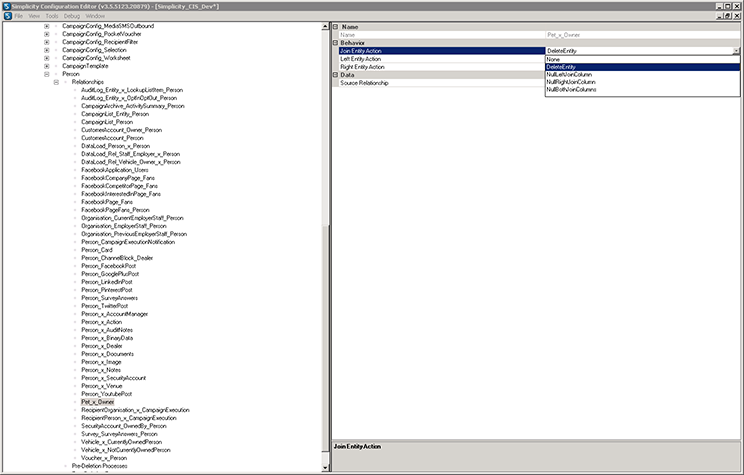
STEP 32.
Click on the preview below to view the full image.
STEP 33.
Click on the preview below to view the full image.
STEP 34.
Click on the preview below to view the full image.
Back to Topics Index.
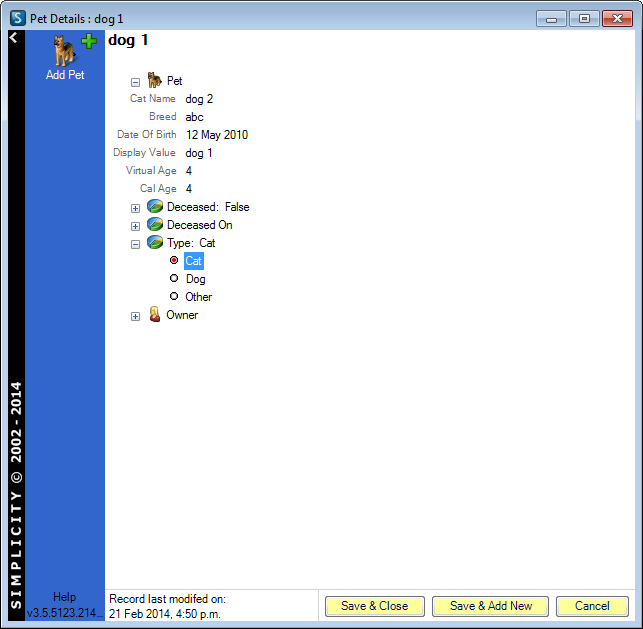
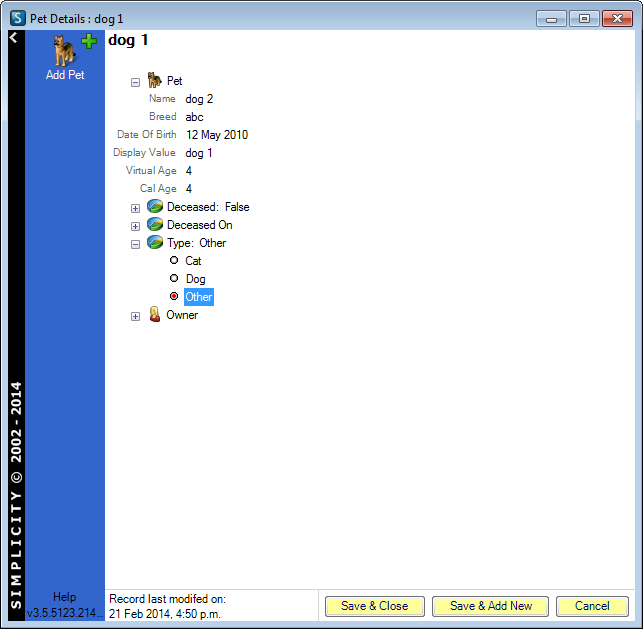
Level 2 Configuration - Reviewing Published Changes.
Steps 35 - 47
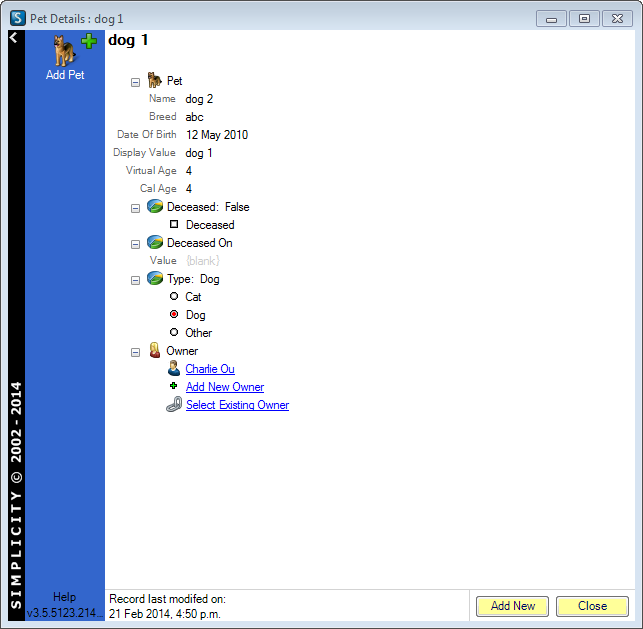
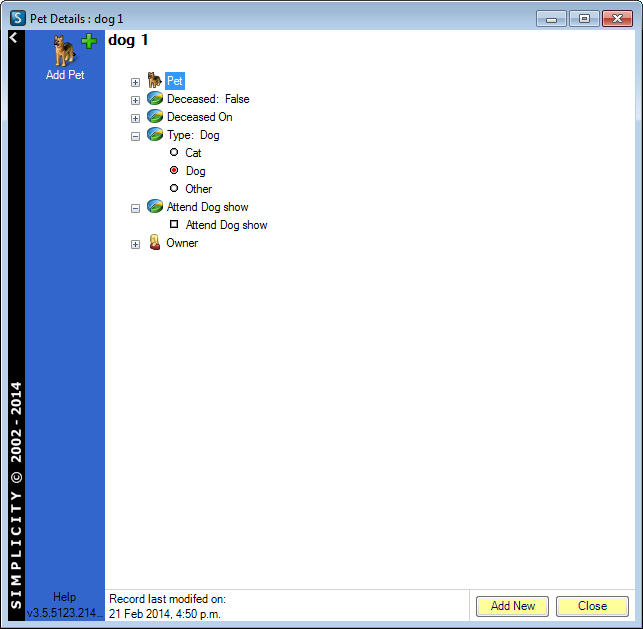
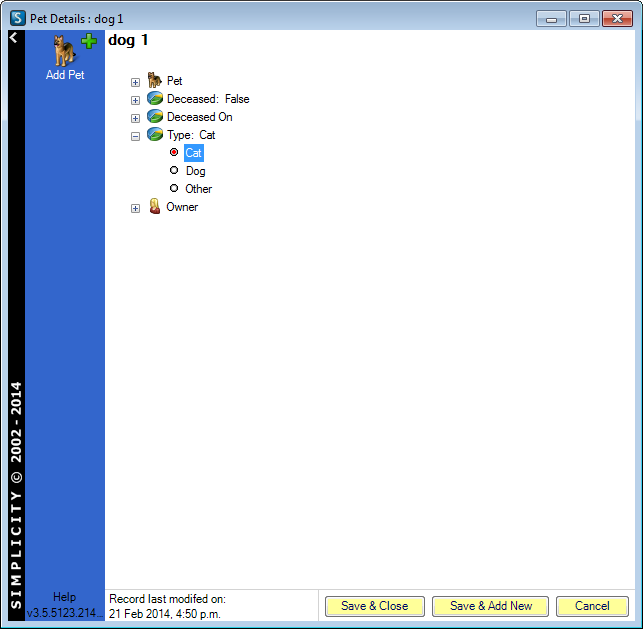
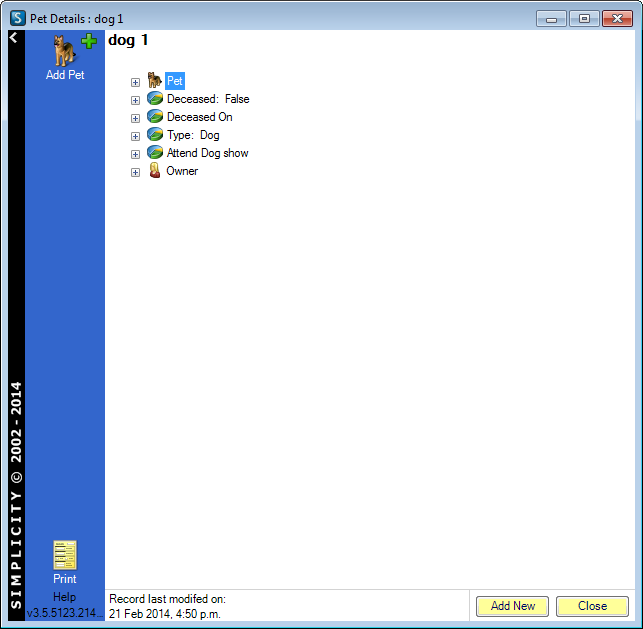
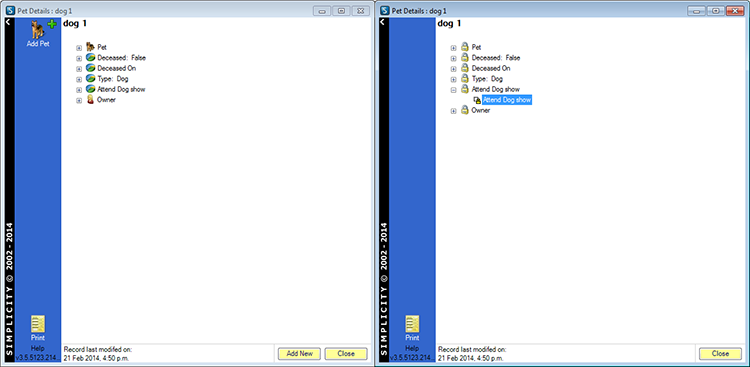
The following walk through takes you through the resulting screen shots of the published configuration changes used in the walk through example.
STEP 35.
Click on the preview below to view the full image.
STEP 36.
Click on the preview below to view the full image.
STEP 37.
Click on the preview below to view the full image.
STEP 38.
Click on the preview below to view the full image.

STEP 39.
Click on the preview below to view the full image.
STEP 40.
STEP 41.
STEP 42.
STEP 43.
STEP 44.
Click on the preview below to view the full image.
STEP 45.

STEP 46.
STEP 47.
Back to Topics Index.
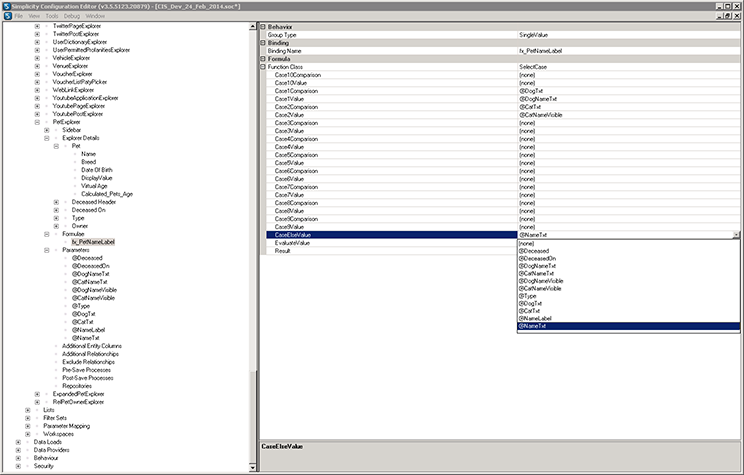
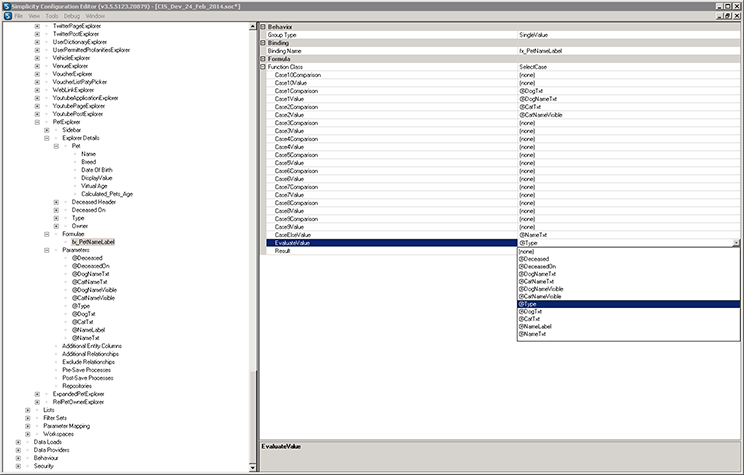
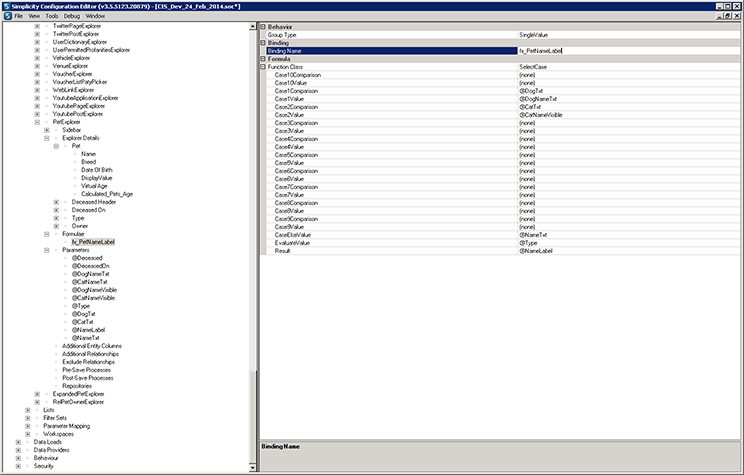
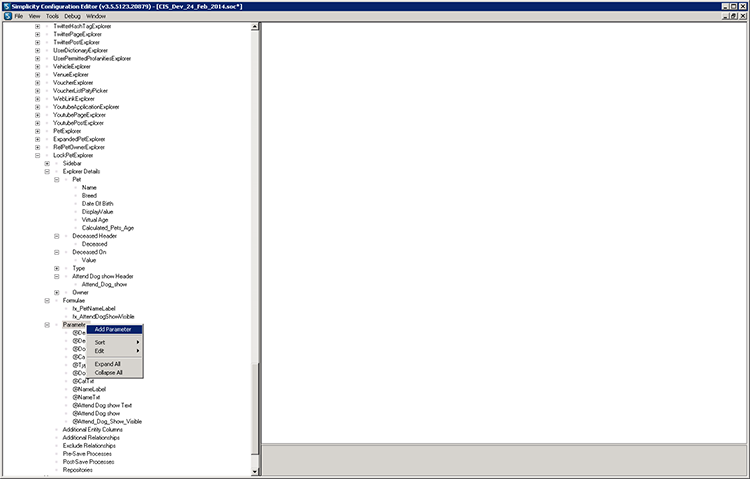
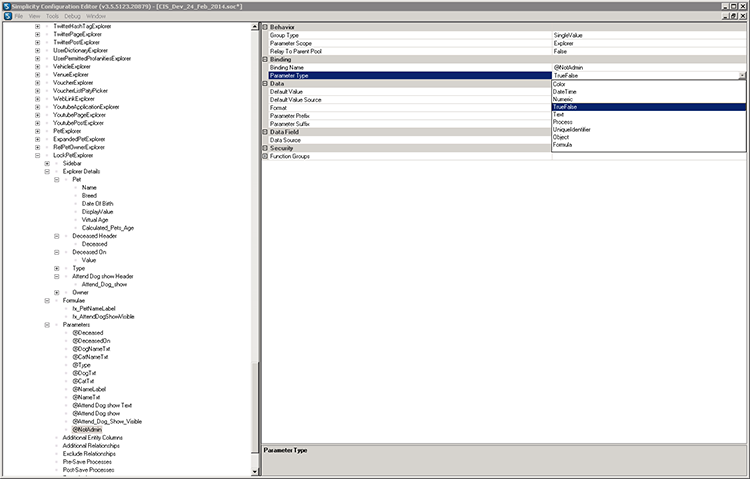
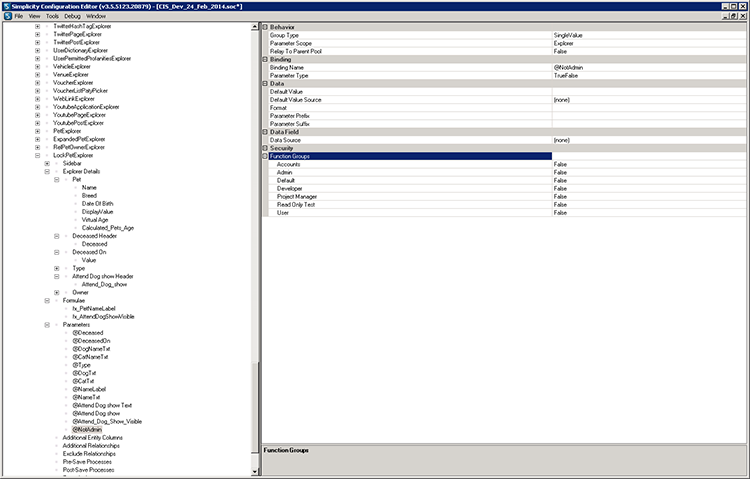
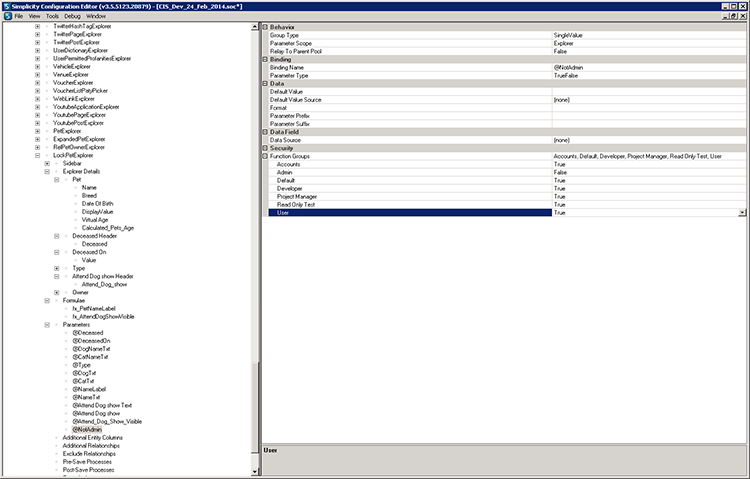
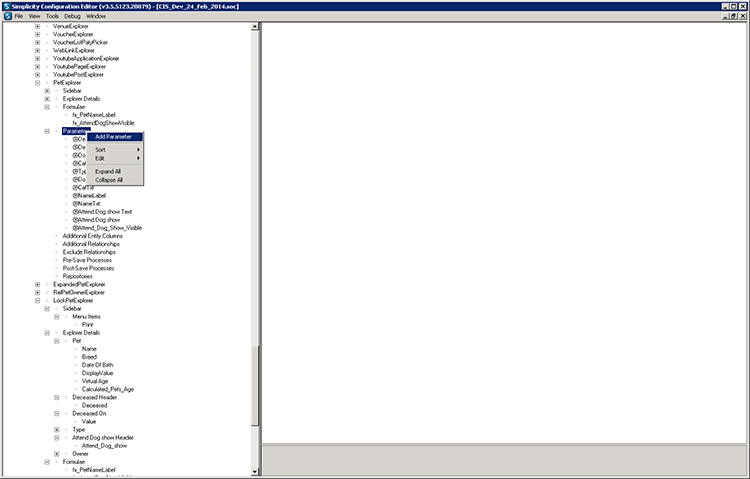
Level 2 Configuration - Functions & Formulas.
Steps 48 - 84
The following walk through takes you through using functions & formulas using the example of rules that could be associated with a pet entity.
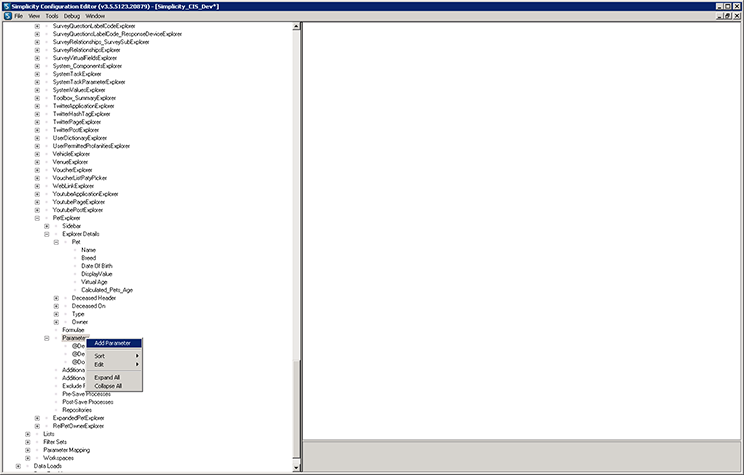
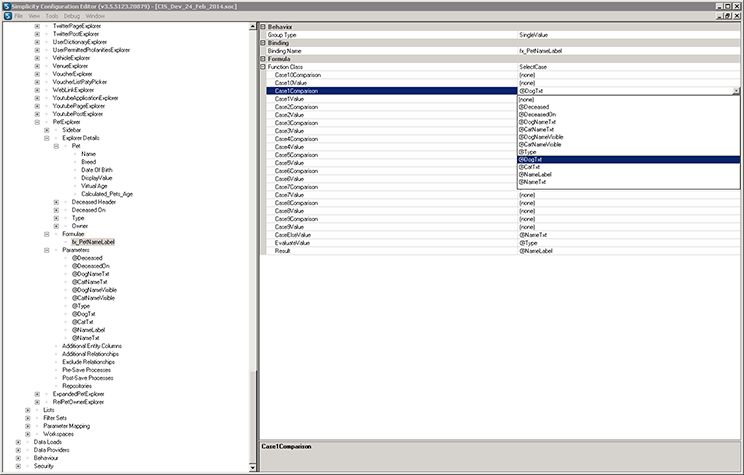
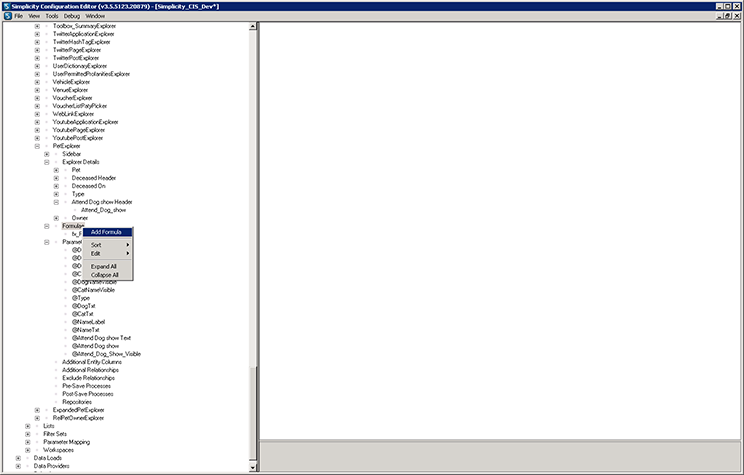
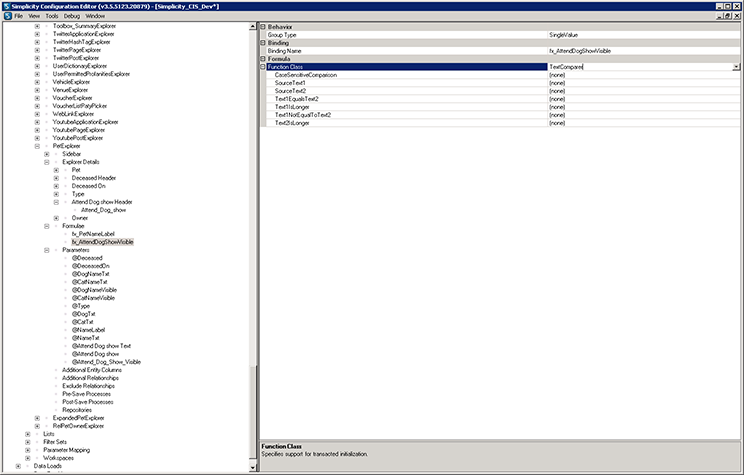
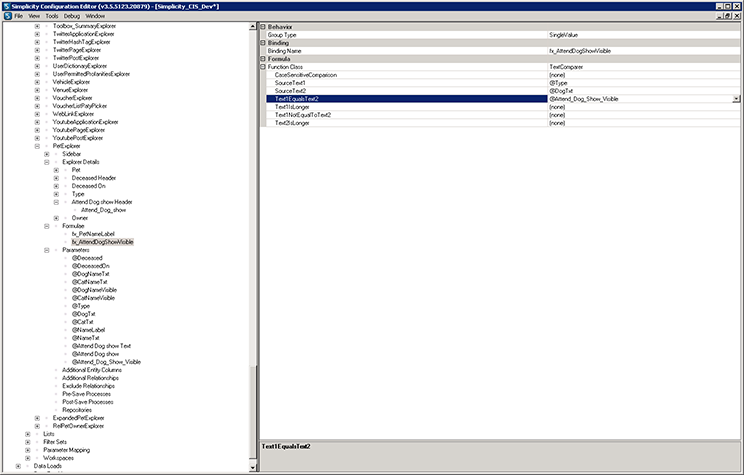
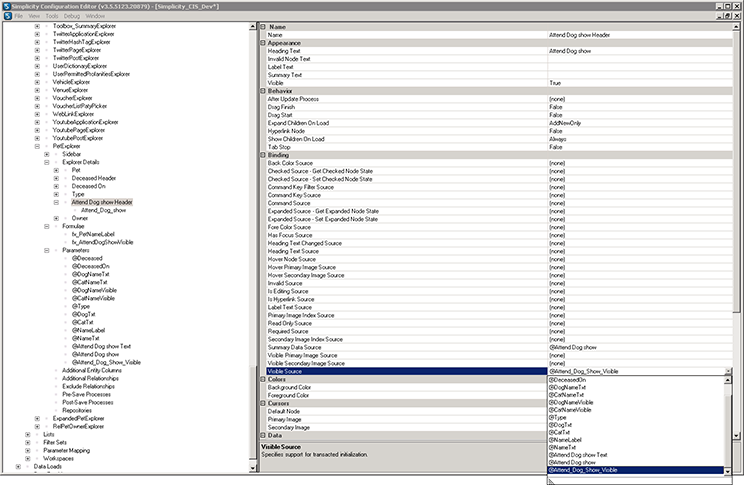
STEP 48.
Click on the preview below to view the full image.
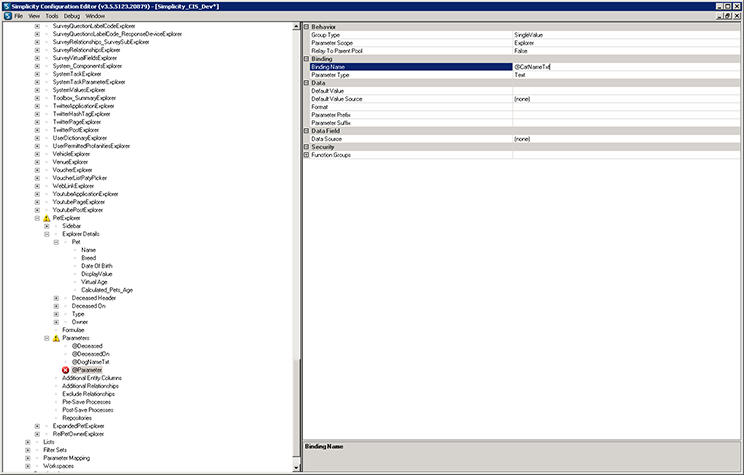
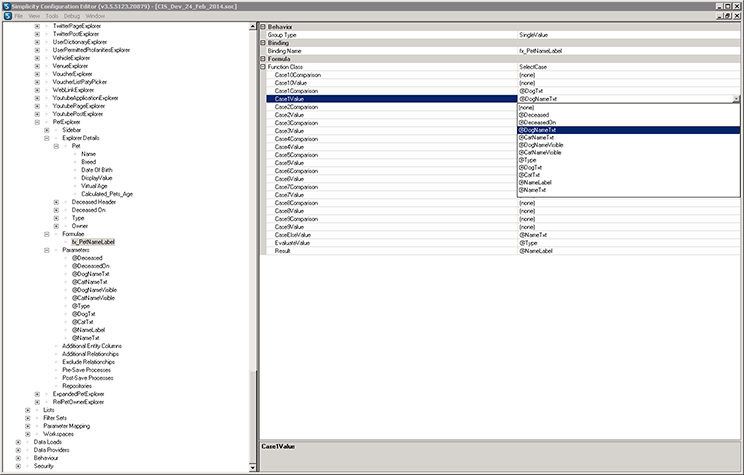
STEP 49.
Click on the preview below to view the full image.
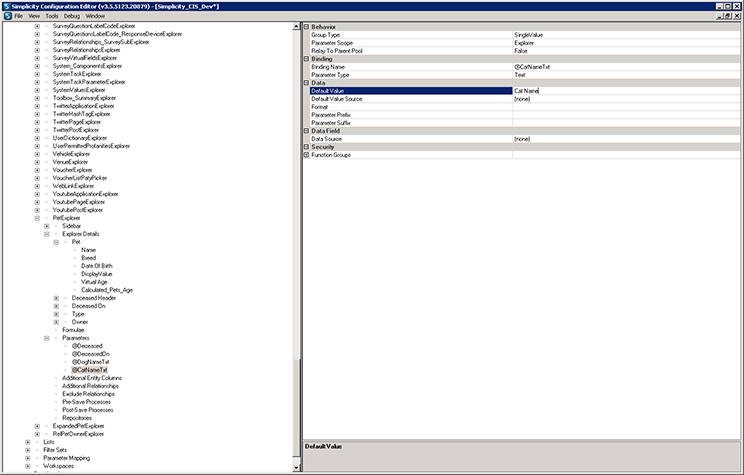
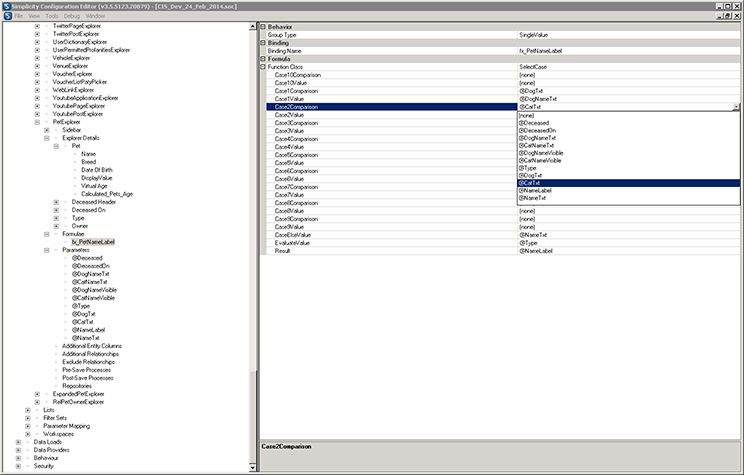
STEP 50.
Click on the preview below to view the full image.
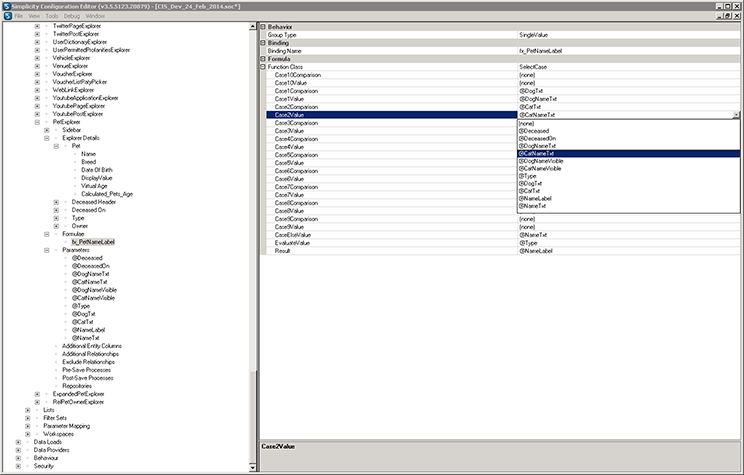
STEP 51.
Click on the preview below to view the full image.
STEP 52.
Click on the preview below to view the full image.
STEP 53.
Click on the preview below to view the full image.
STEP 54.
Click on the preview below to view the full image.
STEP 55.
Click on the preview below to view the full image.
STEP 56.
Click on the preview below to view the full image.
STEP 57.
Click on the preview below to view the full image.
STEP 58.
Click on the preview below to view the full image.

STEP 59.
Click on the preview below to view the full image.
STEP 60.
Click on the preview below to view the full image.
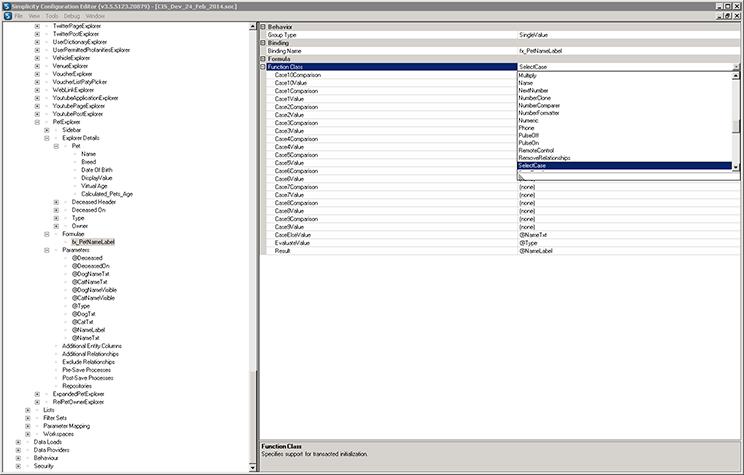
STEP 61.
Click on the preview below to view the full image.
STEP 62.
Click on the preview below to view the full image.
STEP 63.
Click on the preview below to view the full image.

STEP 64.
Click on the preview below to view the full image.

STEP 65.
Click on the preview below to view the full image.
STEP 66.
Click on the preview below to view the full image.
STEP 67.
Click on the preview below to view the full image.
STEP 68.
Click on the preview below to view the full image.
STEP 69.
Click on the preview below to view the full image.
STEP 70.
Click on the preview below to view the full image.
STEP 71.
Click on the preview below to view the full image.
STEP 72.
Click on the preview below to view the full image.
STEP 73.
Click on the preview below to view the full image.
STEP 74.
Click on the preview below to view the full image.
STEP 75.
Click on the preview below to view the full image.
STEP 76.
Click on the preview below to view the full image.
STEP 77.
Click on the preview below to view the full image.
STEP 78.
Click on the preview below to view the full image.
STEP 79.
Click on the preview below to view the full image.
STEP 80.
Click on the preview below to view the full image.
STEP 81.
Click on the preview below to view the full image.
STEP 82.
Click on the preview below to view the full image.
STEP 83.
Click on the preview below to view the full image.
STEP 84.
Click on the preview below to view the full image.

Back to Topics Index.
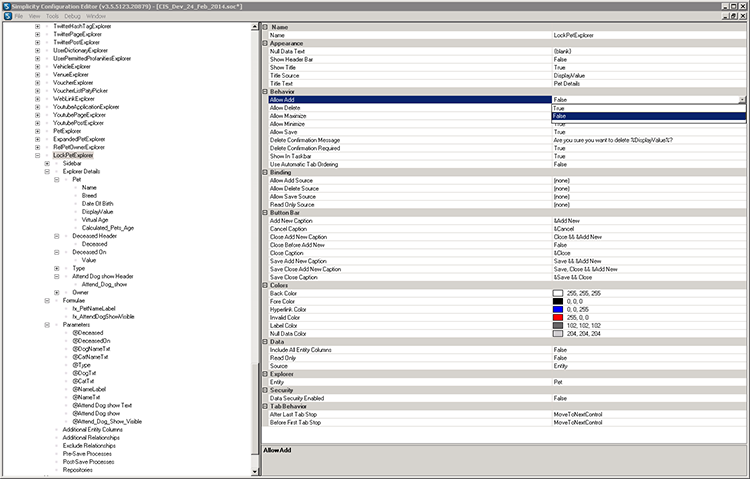
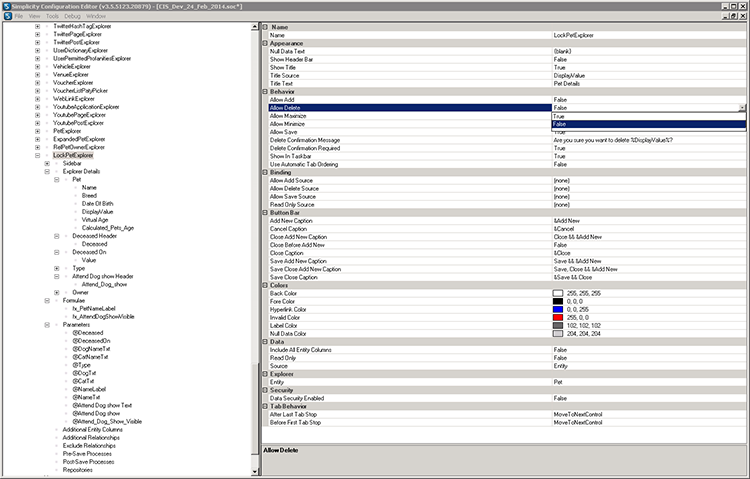
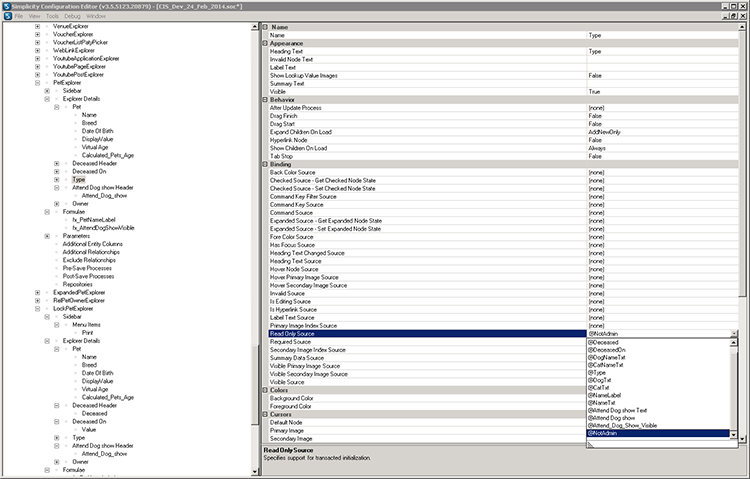
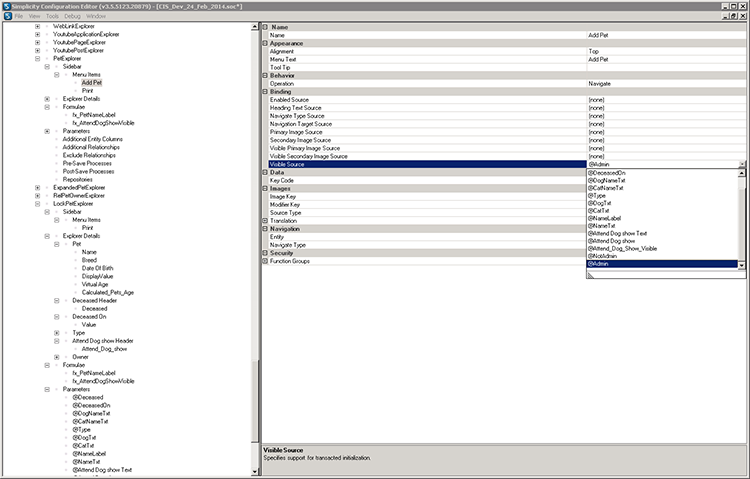
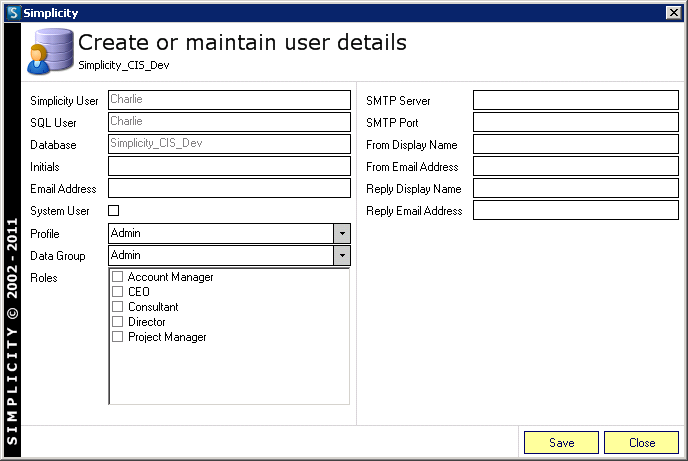
Level 2 Configuration - Defining Security Access, Visibility & Editability Permissions.
Steps 85 - 120
The following walk through takes you through defining security access, visibility and editability permissions that could be associated with a pet entity.
STEP 85.
Click on the preview below to view the full image.
STEP 86.
Click on the preview below to view the full image.
STEP 87.
Click on the preview below to view the full image.
STEP 88.
Click on the preview below to view the full image.
STEP 89.
Click on the preview below to view the full image.
STEP 90.
Click on the preview below to view the full image.
STEP 91.
Click on the preview below to view the full image.
STEP 92.
Click on the preview below to view the full image.
STEP 93.
Click on the preview below to view the full image.
STEP 94.
Click on the preview below to view the full image.

STEP 95.
Click on the preview below to view the full image.

STEP 96.
Click on the preview below to view the full image.
STEP 97.
Click on the preview below to view the full image.
STEP 98.
Click on the preview below to view the full image.
STEP 99.
Click on the preview below to view the full image.
STEP 100.
Click on the preview below to view the full image.

STEP 101.
Click on the preview below to view the full image.

STEP 102.
Click on the preview below to view the full image.
STEP 103.
Click on the preview below to view the full image.
STEP 104.
Click on the preview below to view the full image.

STEP 105.
Click on the preview below to view the full image.
STEP 106.
Click on the preview below to view the full image.
STEP 107.
Click on the preview below to view the full image.

STEP 108.
Click on the preview below to view the full image.
STEP 109.
Click on the preview below to view the full image.

STEP 110.
Click on the preview below to view the full image.
STEP 111.
Click on the preview below to view the full image.
STEP 112.
Click on the preview below to view the full image.
STEP 113.
Click on the preview below to view the full image.
STEP 114.
Click on the preview below to view the full image.
STEP 115.
Click on the preview below to view the full image.
STEP 116.
Click on the preview below to view the full image.
STEP 117.
Click on the preview below to view the full image.
STEP 118.
Click on the preview below to view the full image.
STEP 119.
Click on the preview below to view the full image.
STEP 120.
Click on the preview below to view the full image.

Back to Topics Index.