Defining Selections for A/B Testing
After setting up the campaign as normal open the selection tab and create two selections, one for each media which are assigned the A/B subject lines. There are several ways to set up subject line testing including using User Define Fields and Recipient Filters, however for the purpose of this document only one technique will be profiled.
Setting up 2 Selections and Segments (one for each media):
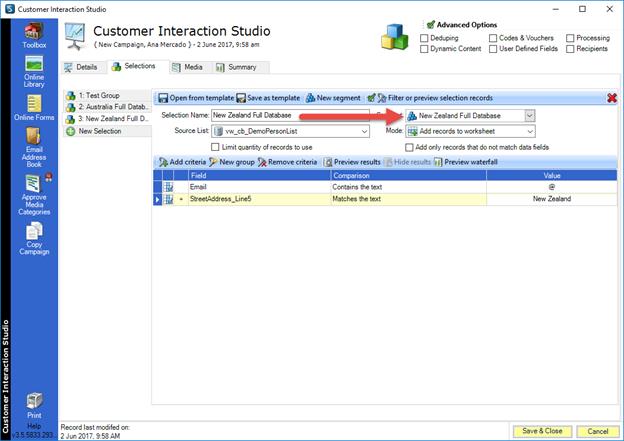
Set up 2 selections with filters applied to create distinct target audiences for the purpose of linking to the media:
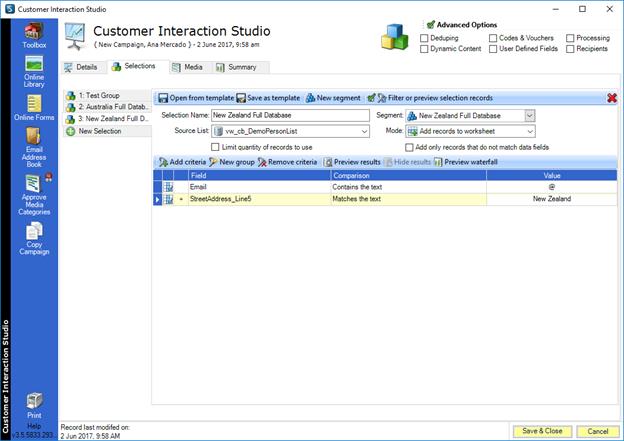
In the example above 1 selection is filtered on the Australia Database and the other targets the New Zealand Database. Each selection will be filtering people on address (StreetAddress_Line5 (country data) in this case and contains either Australia or New Zealand. A segment needs to be created for each selection:
User Defined Fields
Now that the selections have been set up proceed to the User Defined Fields (referred to as UDF) tab to set up the split rules. Please see below for setup steps:
- Selections as documented above are needed before setting up the UDFs e.g.
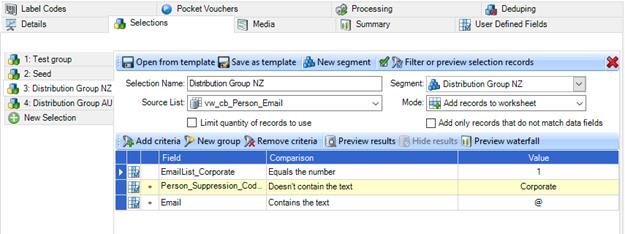
- Selection 1:
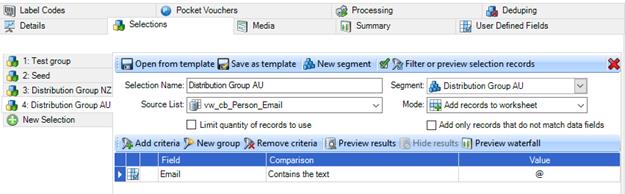
- Selection 2:
- Now that your selections are set up you will need to split these selections into the quantities required using the UDF tab.
- a. Open the UDF tab
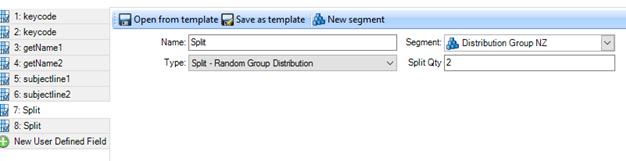
- b. Setup a new UDF with an appropriate name. In this instance the name ‘Split’ has been used
- c. Select the Type to be used: Split – Random Group Distribution
- d. Defining the Type will open up the ‘Split Qty’ option. Use this field to add the number of partitions you would like to segment your selection total into e.g. in this instance the selections have been segmented into 2 parts; segment 1 to receive email version 1 and the second segment to receive email version 2. You can apply this criteria to all segments or decide segment by segment how many parts you would like to apply.
- e. Open the ‘Media Tab’.
- f. Use the Media tab to choose which recipient list will receive the media by accessing the ‘Recipient Filter’ option:
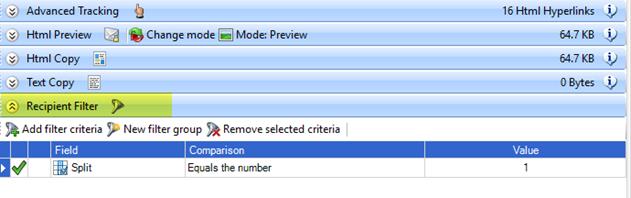
- g. Add filter criteria and select the ‘Field’. You will now have access to the ‘Split’ UDF set up earlier.
- h. Select which ‘part’ you would like the email media to be assigned to. For instance if you have split your segment into 3 ‘parts’ in the UDF you can set up the Recipient Filter to send media 1 to part 1 (Equals the number = 1) and media 2 to part 2 (Equals the number = 2) and so on. The number of ‘parts’ available to be assigned is limited to the number of splits setup in the UDF tab e.g. in this example there were 3 ‘parts’:

Note: You can split all your segments at once or you can split one by one.
Note II: Your UDFs do not require the same name as the affected segment though they must be assigned to the segment via the drop down list.